ENGLISH
26
USB Operation
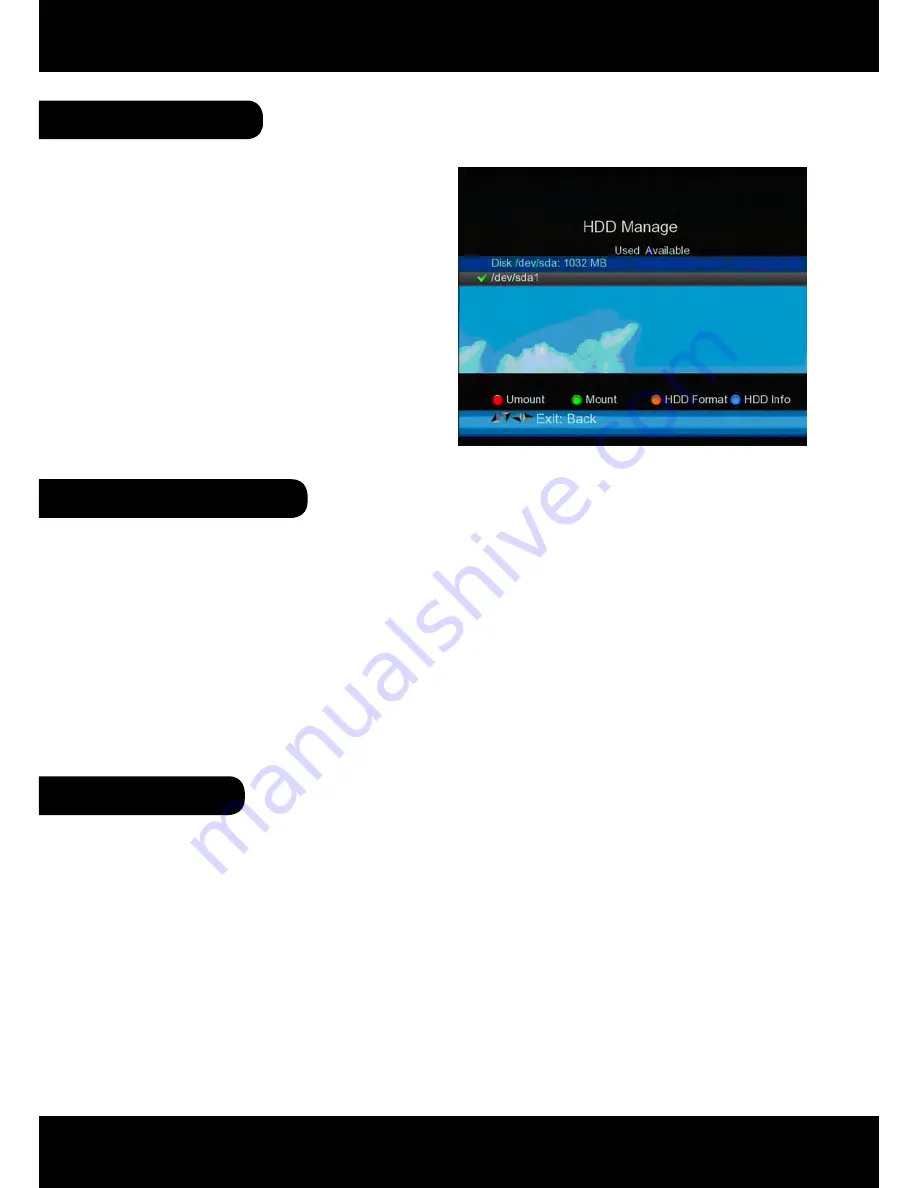
4. HDD Manage
5. Software Upgrade
6. Screenshot
• Press
RED (0/22k)
button to re-
move the external hard drive.
• Press
GREEN (H/V)
button to
mount the external hard drive to
• Press
YELLOW (AN/DG)
button
to check the format of the exter-
nal hard drive.
• Press
BLUE (FIND)
button to
check the information of the ex-
ternal hard drive.
Manage the external hard drive which
you connected to the meter.
1. Press
ON/OFF
button ,turn off the device Then Insert USB disk .
2. Press
ON/OFF
button ,turn on the device ,The device will automatic identification
the Software.
3. The
LOCK
light flashed, that is software upgrading now .
4. The
LOCK
light constant light. Software upgrade have been completed .
5. Press
ON/OFF
button ,turn off the device, pull out the USB disk. Upgrade was
completed.
This device upgrade Software via USB port.
With the screen shot function you could store the device displayed measured values as
an image file. To save images, a USB disk must be connected to the device.
To save the currently display as image, press On/Off 2x short succession. The image will
be saved as a JPG file in the USB disk.


