10
11
ENGLISH
ENGLISH
2. Installation
3. Firmware Update
2.4 Start up and operation
Update procedure
1. Turn on the control unit at the main switch. The green LED (PWR) on the control unit
lights up - the boot process starts.
2. After booting the pre-installed satellites are displayed. Choose
within 2 seconds
the
desired satellite with the satellite selection buttons (up / down).
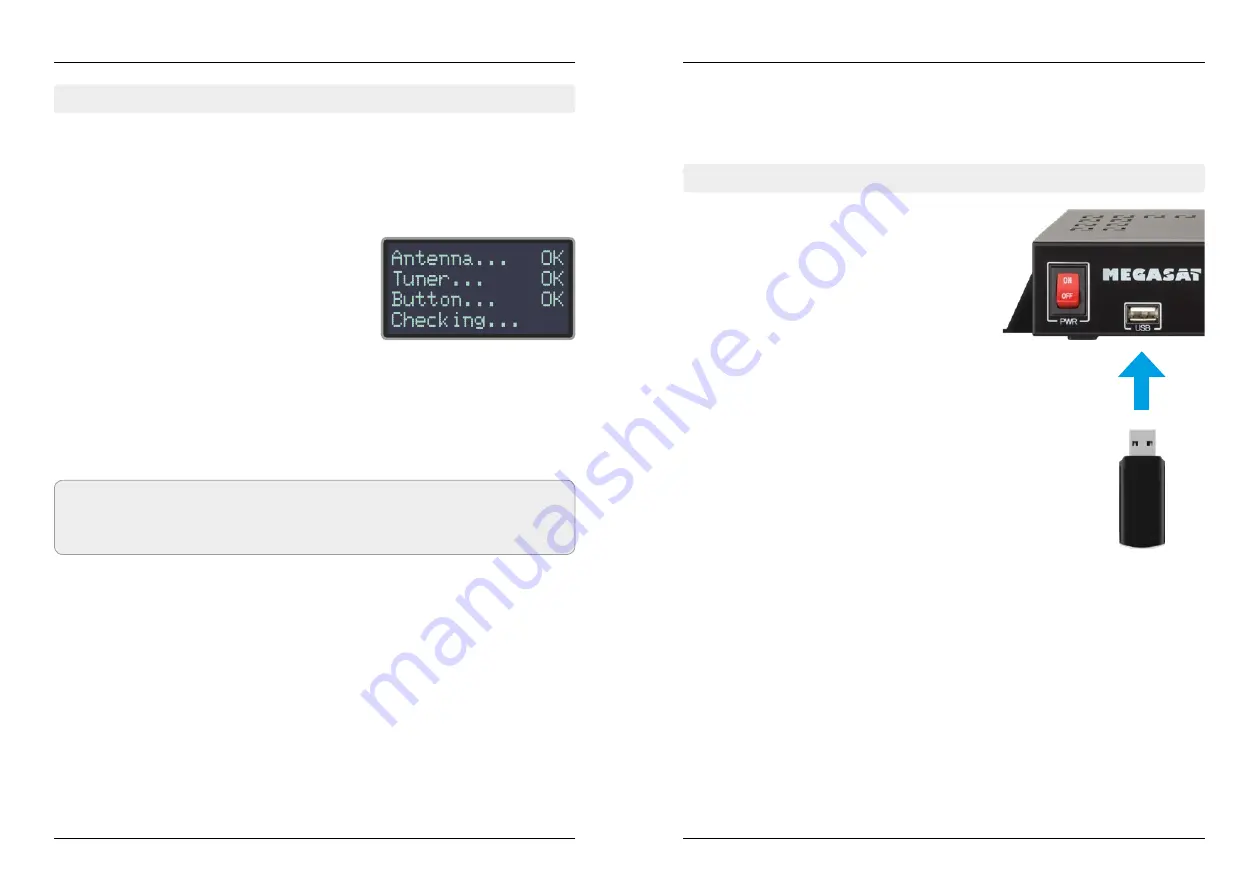
3. The control unit checks whether all components
are connected and the system is ready for opera-
tion. If the control unit found an error, the display
shows „FAIL“ behind the respective point and the
red LED (ERR) is lit continuously. If everything is
confirmed with OK now starts the search process.
During the search operation, the yellow LED indi-
cator (SEARCH) flashes.
4. After a successful search, the control unit displays the satellite list in the display, the
yellow LED goes out and the display is dimmed.
From time to time it happens that the firmware of the controller needs to be updated
(eg. change a frequency of the satellite operator or general improvement of the control
unit). You can find the latest firmware from our homepage
www.megasat.tv
1. Copy the firmware file to an appropriate USB
stick. The USB flash drive should be formatted in
FAT32 and do not include other files.
2. Make sure that the control unit is turned off at
the main switch.
3. Insert the USB flash drive with the new firmware
into the USB socket on the front.
4. Now switch on the control unit. The control unit
boots and starts the update process automati-
cally.
IMPORTANT: Do not turn off the con-
trol unit during the update procedure in
order to avoid any damage!
5. After a successful update, the control unit swit-
ches off and restarts automatically. The update
process is now complete. The current firmware
is displayed shortly after the boot process on
the display.
Note:
To change the satellite, you can use the satellite selection buttons (up / down). The
control unit starts searching again.


