3
User's Manual
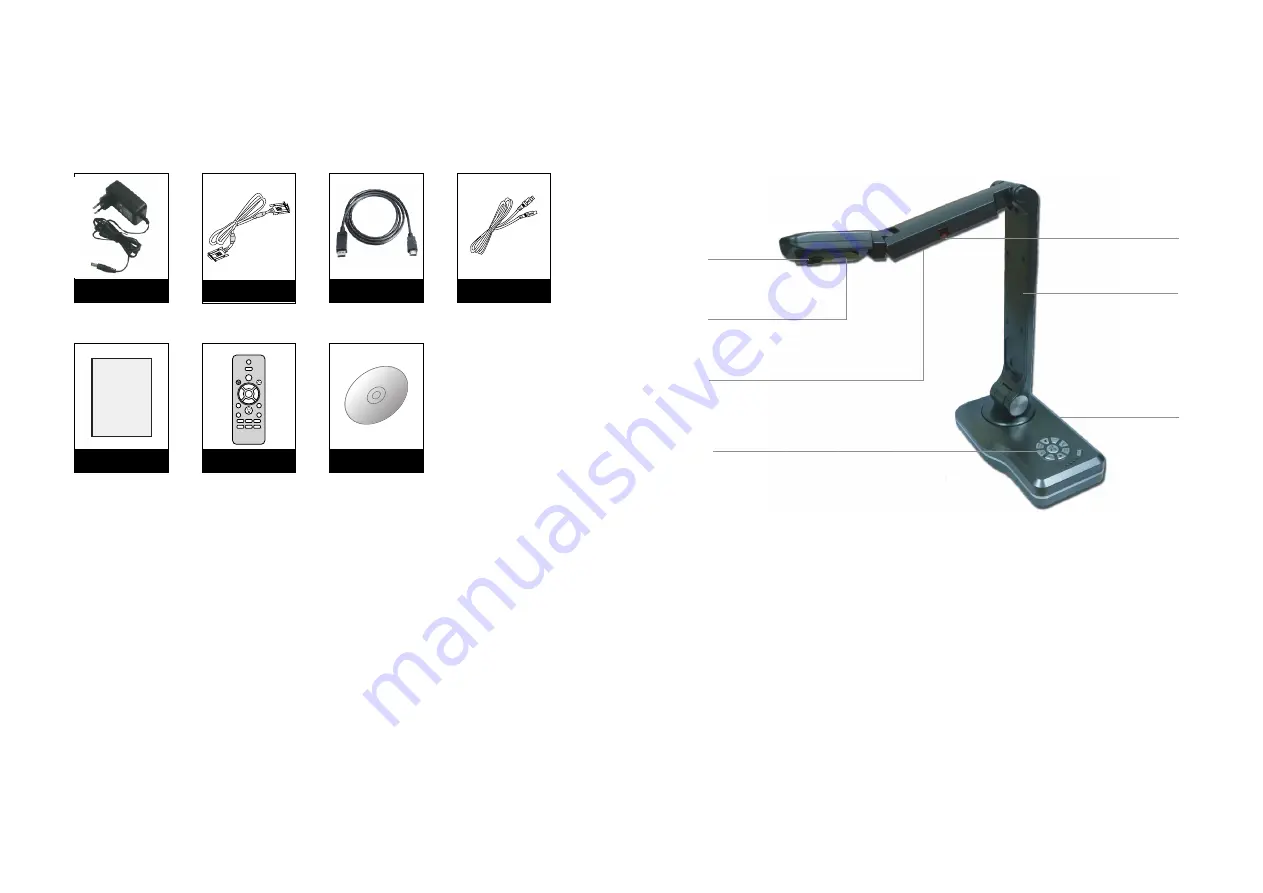
Power Adaptor
Remote Control
1.3 System Contents
Handle your Digital Processor carefully as you remove it from the shipping box.
Accessories
User's
Manual
If any included accessories are missing, please contact your dealer immediately.
USB Cable
DIGIT
AL PR
ESENT
ER
Softw
are D
river
VGA Cable
Driver Software
HDMI Cable
ZOOM IN
ZOOM OUT
NEAR
FAR
AUTO/OK
PHOTO
RECORD
MENU
RESOLUTION
VGA
SWITCH
ONLINE
BROWSE
EXIT
DEL
LIGHT
SPLIT
TEXT / IMG
FREEZE
MIRROR
MONO / NEG
ROTATE
Chapter 2
Installation
2.1 Setting Up
1.
4
Front View
Connector Panel
LED Light on the head
Camera
Control Panel
Arm
LED Light on the arm
Infrared
Receiver Window
Place the
Portable Digital Presenter on a flat surface. Raise or Adjust the
arm and turn the LCD camera so that the camera lens is pointing to the
object to be displayed.
2.
Plug DC jack of the AC Power Adaptor into the port labeled DC 12V on the
rear panel of the Digital Presenter.
3.
Plug the AC Power Adaptor into a convenient AC outlet.
4.
Follow the instructions in section 2.3 to connect other cables.
5.
Place the
object in front of the Digital Presenter. Push the "VGA/HDMI"
button on the top of the base to select the Presenter VGA output, input or
HDMI. Push the "Auto/OK" button to get a sharp image. Adjust the height of
the Arm to vary the size of the displayed object.
6.
Select the light source by pressing "Light" button to obtain the best image.


