EN
44
3.
Anchor loose work pieces using a vice or clamps (not included) to prevent them from moving
while working.
4.
There must be no electrical or gas lines present in the vicinity of the work area.
Use
1.
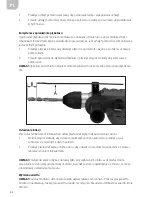
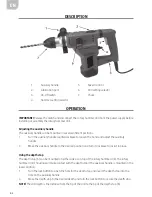
Fit the drill bit.
2.
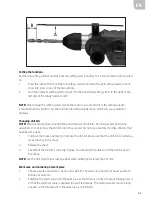
Adjust the auxiliary handle and the depth stop according to use.
3.
Set the desired function with the drill setting selector and the hammer setting selector.
4.
Set the speed with the speed control.
5.
Connect the electrical cable.
6.
Press in and hold the switch so that the rotary hammer drill rotates.
7.
Let the rotary hammer drill reach full speed before putting the drill bit against the work
surface.
8.
Shut off the rotary hammer drill and disconnect the electrical cable after the job is complete
in order to prevent accidents. Let the drill bit cool and then remove it from the chuck. Clean
and then store the rotary hammer drill out of the reach of children.
MAINTENANCE
NOTE!
Procedures not specifically explained in this manual must be performed only by a qualified
technician.
WARNING!
• Release the switch and disconnect the rotary hammer drill from the mains before inspection,
maintenance or cleaning in order to prevent serious personal injury resulting from unintentional
start.
• Do not use worn equipment. If abnormal noise or vibration occurs, rectify the problem before
further use.
Cleaning, Maintenance, and Lubrication
• Inspect the general condition of the rotary hammer drill before each use. Check to see if any
parts of the rotary hammer drill are loose, incorrectly set, cracked, defective, etc. Also check
whether the electrical cable is damaged.
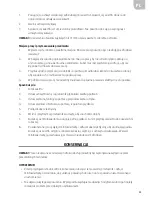
• Open the lubrication port once a month, see the arrow. Remove old grease and refill with new
grease. The warranty is void if the rotary hammer drill is not regularly lubricated.

