D
‐
0125127
‐
C
15
Probe
Tube
Calibration
For
reasons
of
infection
control
and
reliability
of
results,
MedRx
recommends
that
a
new
probe
tube
be
used
with
each
patient.
To
ensure
accurate
measurements,
it
is
necessary
to
calibrate
the
probe
tube
each
time
it
is
replaced.
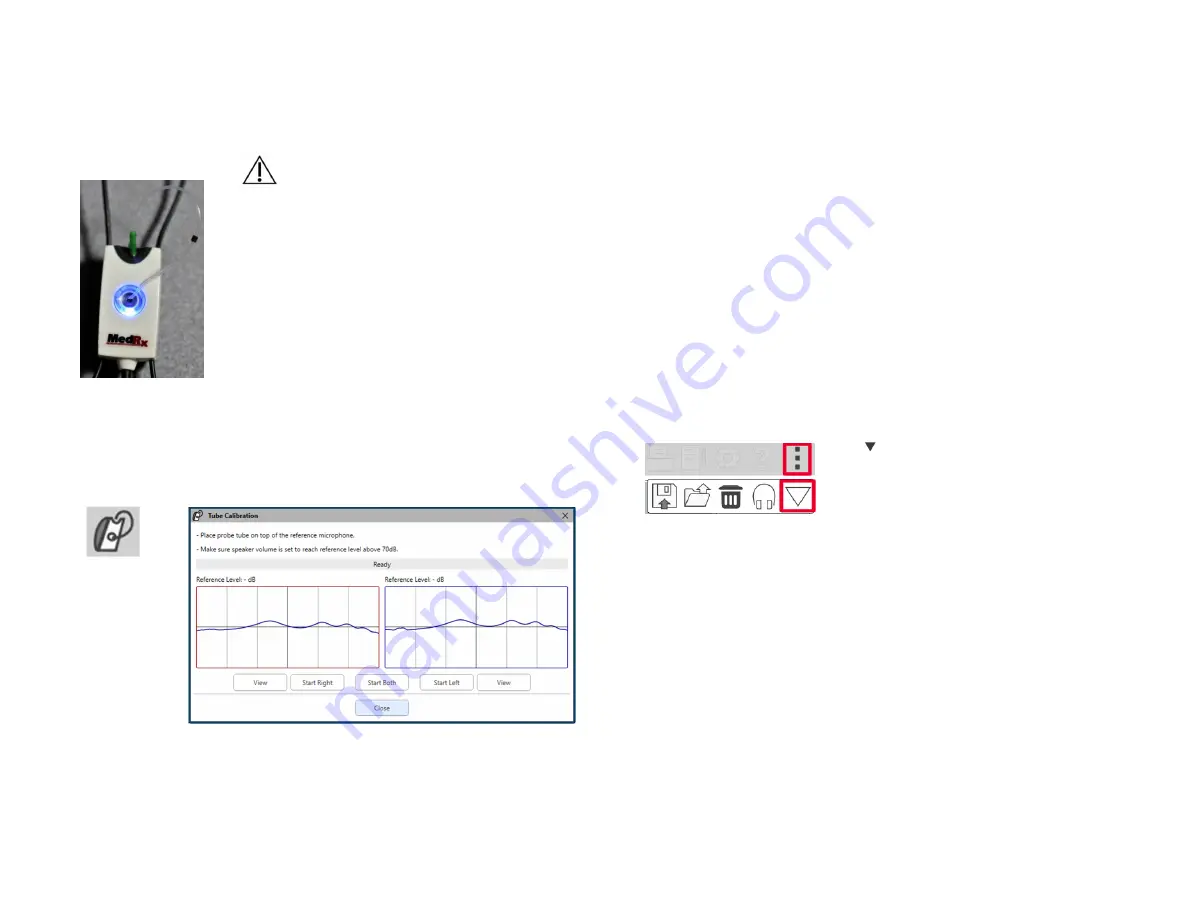
1.
Place
a
new
probe
tube
on
the
probe
micro
‐
phone
port
as
shown.
2.
Place
the
probe
tube
between
the
calibration
nibs
as
shown.
Be
sure
that
the
opening
of
the
probe
tube
is
centered
on
the
opening
of
the
reference
microphone.
In
the
MedRx
Studio
LSM
software,
click
the
Probe
Tube
Calibration
icon.
Position
probe
microphone
between
19
and
39
inches
from
the
loudspeaker
and
click
Start
Both
to
run
simultaneously.
The
signal
must
be
at
least
70
dB
to
complete
a
valid
calibration.
If
the
screen
prompt
indicates
the
signal
is
too
low,
increase
the
volume
on
the
loudspeaker
or
move
the
patient
closer
and
restart
the
calibration.
Repeat
for
the
other
probe
if
calibrated
one
at
a
time.
Valid
calibrations
have
the
same
approximate
shape
as
the
gray
target
curve.
If
the
measured
calibration
curve
differs
greatly
in
shape
or
amplitude
from
the
gray
target
curve,
check
or
replace
the
probe
tube
and
re
‐
calibrate.
If
this
does
not
correct
the
problem,
contact
MedRx
technical
support
at
(888)
392
‐
1234.
The
calibration
values
are
available
under
the
Calibration
top
menu
icon.
Click
the
More
Options
icon
(3
dots)
then
click
the
Calibration
icon.
Return
Probe
Microphones
to
MedRx
for
annual
re
‐
calibration.
Annual
re
‐
calibration
of
the
Avant
REM+
Probe
Microphones
is
recommended.
There
are
no
user
repairable
components
on
this
device.
Summary of Contents for Avant REM+
Page 1: ...D 0125127 C 1...


