D-0126021-A
19
Create New Print Templates
1.
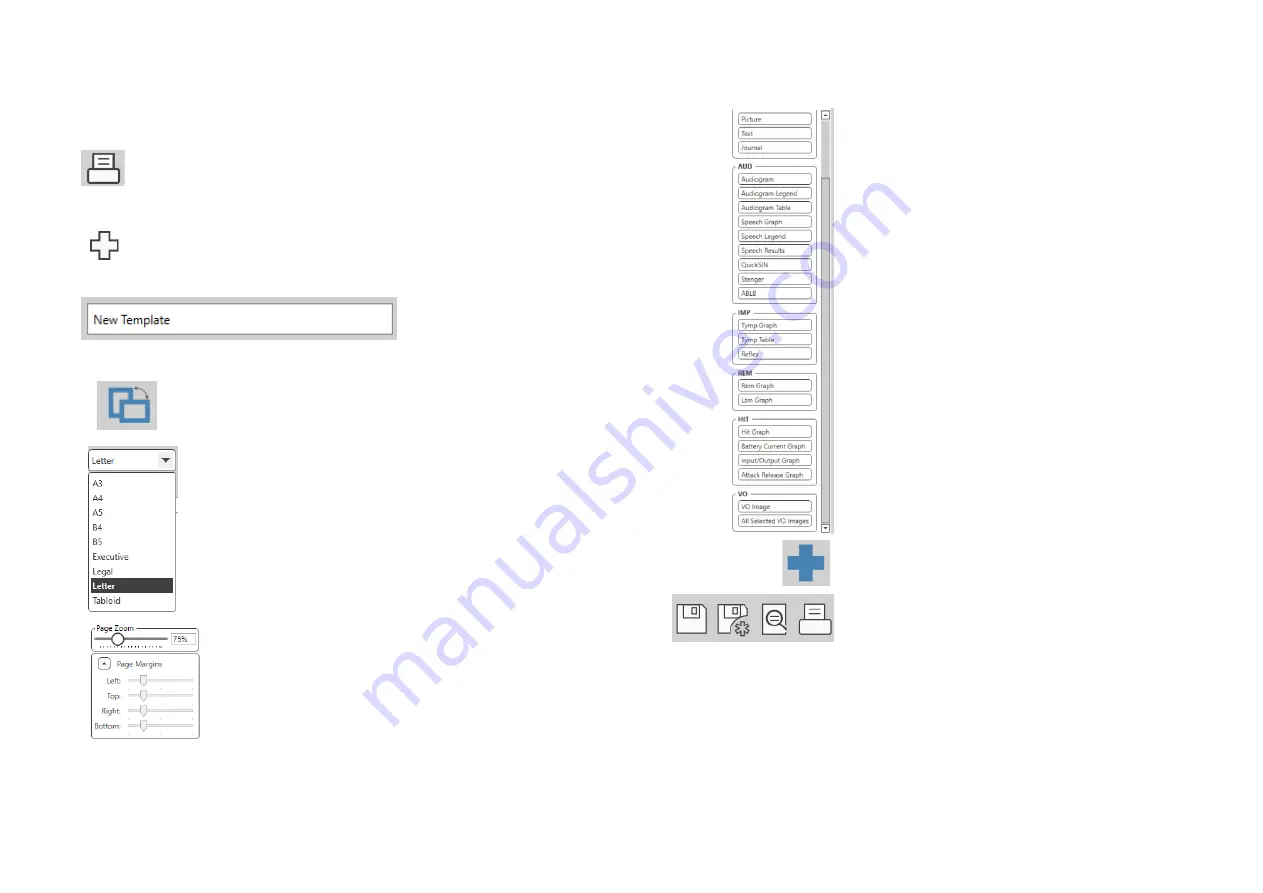
Select the printer icon.
2.
Select the + icon to create a new
template.
3.
Name the template you are creating.
4.
Choose page orientation.
5.
Use the drop-down menu to choose the size
of paper you will be using.
6.
In the bottom left, Page Zoom will allow you
to zoom in/out of the template for easier
editing.
7.
In the bottom left, the Page Margin is set by
default to the ideal level. Adjusting this will
determine how far items will print from the
edges.
8.
Drag and drop elements onto the page to
create your template.
a.
You can combine data from multiple
modules into a single template.
b.
Elements may overlap and will
stack/cover previously added
elements.
c.
Certain elements will have settings
that can be adjusted after dropping
onto the page.
d.
You can resize all elements. The
contents of each element will resize
within the box depending on the
amount of data in the element.
9.
Use the + button to add additional pages
if needed.
10.
After template completion, use the Save,
Save As, Preview and Print Icons for your
template.
Saved templates will be available for future sessions.
Print a template to ensure that all elements print as expected.


