– 14 –
•
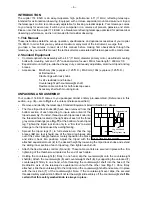
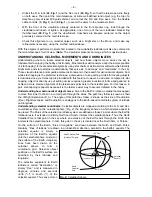
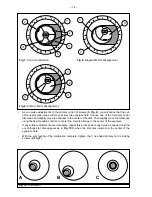
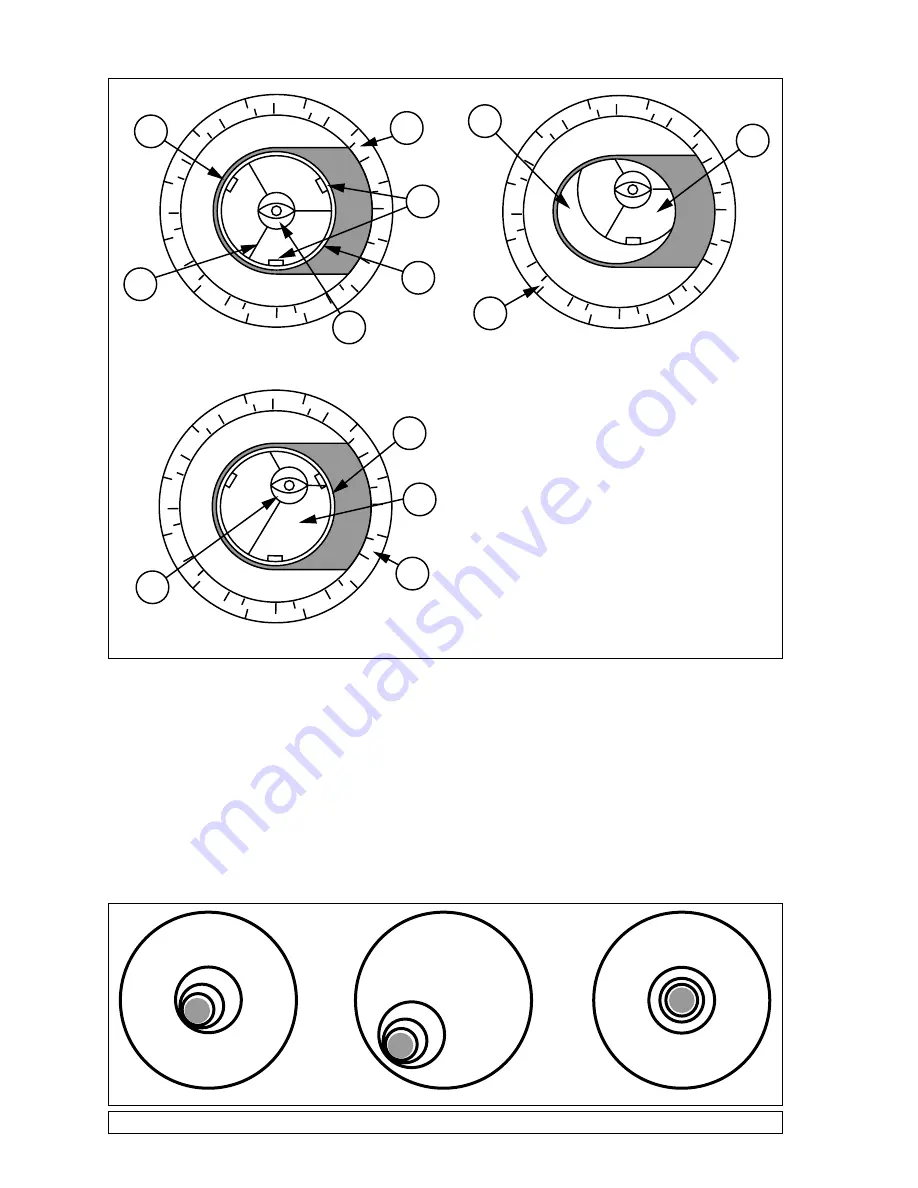
As you make adjustments to the primary mirror tilt screws (3, Fig. 6), you will notice that the out-
of-focus star disk image will move across the eyepiece field. Choose one of the 3 primary mirror
tilt screws and slightly move the shadow to the center of the disk. Then slightly move the telescope
using the flexible cable controls to center the star disk image in the center of the eyepiece.
•
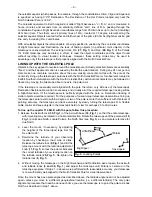
If any further adjustments are necessary, repeat this process as many times as needed until the
out-of-focus star disk appears as in Fig. 10C, when the star disk image is in the center of the
eyepiece field.
•
With the star testing of the collimation complete, tighten the 3 hex-head primary mirror locking
screws (2, Fig. 6).
4
5
3
3
1
2
2
2
2
1
3
4
1
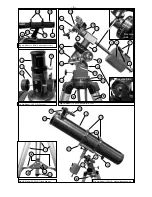
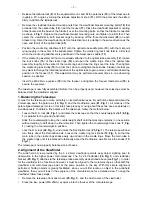
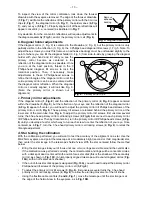
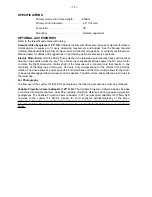
Fig. 9: Primary Mirror Misalignment.
Fig. 7: Correct Collimation.
Fig. 8: Diagonal Mirror Misalignment.
Fig. 10: Collimation.
A
B
C


