background image

22

tracks contained in the folder. The Folder Mode will 

play back the tracks contained in the selected folder. 

Refer to figure 39.

 1. Press the PLAY/PAUSE

„

/

;

 Push-button to start 

Playback. Refer to figure 40.

After all the tracks have been played the MCT500 

will stop.

Note: Use the ▲ up and ▼ down directional Push-

buttons to select folders on the disc.

Display Modes

The MCT500 Front Panel Display indicates both track 

number and playing time. There are three playing time 

display indications: track elapse time, track remaining 

time or disc remaining time. To change from the de-

fault setting of track elapse time, press the DSP/TIME 

Push-button on the Remote Control. Refer to figures 

24, 41, 42 and 43.

Display Brightness

There are three available Settings for the Front Panel 

Display. The choices include brightness settings of 

high (default setting), medium or low. To change the 

brightness setting perform the following steps and 

refer to figure 24:

1. Press the SHIFT Push-button.

2. Momentarily press the 2 (DIM) Push-button to 

change the current brightness setting. Repeat this 

until the desired brightness setting is selected.

3. Press the DISC LAYER Push-button to store the 

new brightness setting.

How to Operate the MCT500, con’t
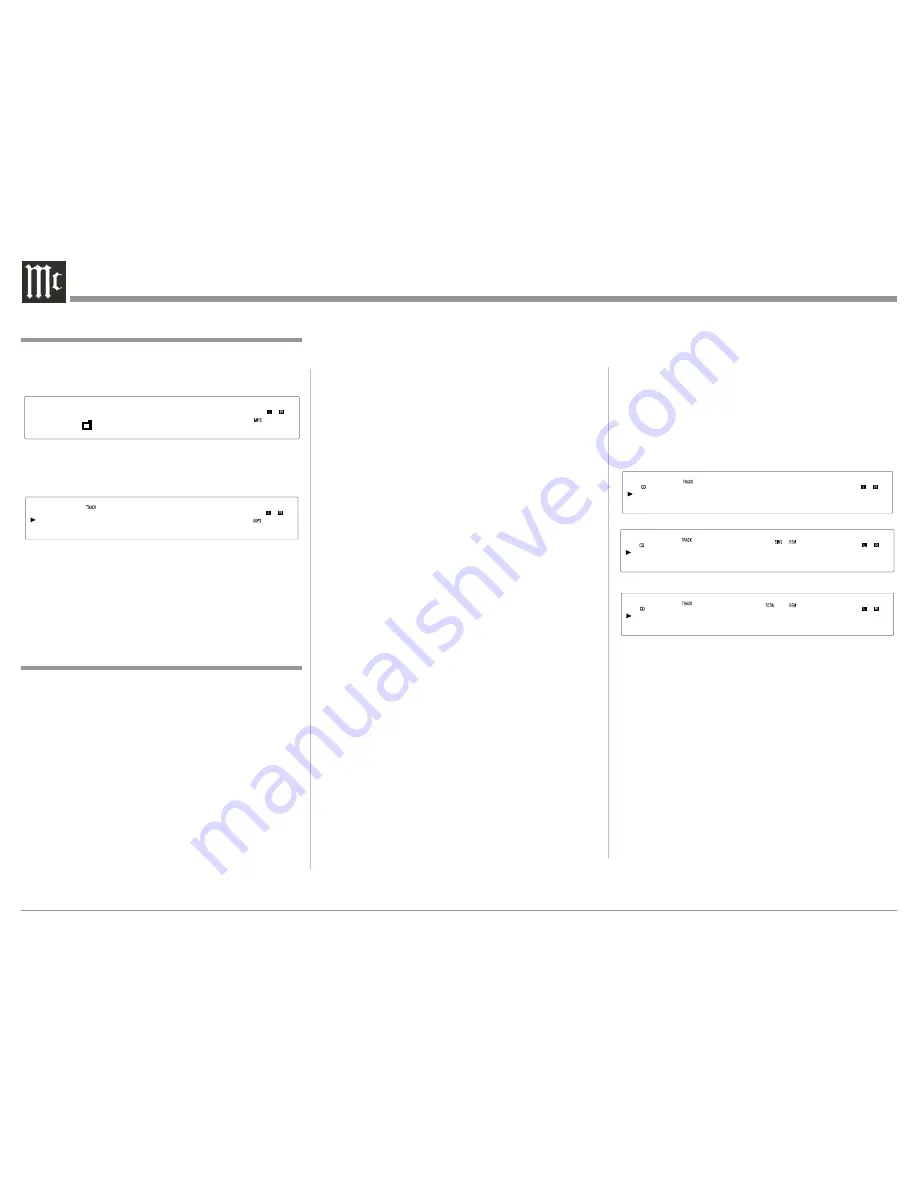
1   m p - 3

Figure 39

Figure 40

  4             2 m 1 5 s

Figure 42

  1           - 2 m 3 5 s

Figure 43

  1         - 5 1 m 3 3 s

Figure 41

  1             1 m 3 5 s

Load a DATA Disc or insert a DATA USB Flash 

Memory into the MCT500. The Front Panel Display 

will then indicate whether a Data Disk or a DATA 

USB Flash Memory has been inserted into the 

MCT500.

The Front Panel Information Display will indicate 

“Reading” of the Data from the source and which in-

cludes the number of Folders, Sub Folders and Tracks. 

It also reads the Album Name, the Artist Name, the 

Track Name, the Track Time, along with the Audio 

Format Type and Sampling Frequency. Refer to the 

graphics on page 17.

To start playback of the desired music track(s) 

perform the following steps using the Remote Control 

Push-buttons as identified on page 16.

Playback of Data Disc or

USB Flash Memory Data Drive

Start Playback of a Track

1. Press the Number 4 Push-button. The Display will 

indicate the name of the current Folder.

2. Press the Number 2 Push-button to select the first 

Music Track in the current Folder. The Display 

will indicate the Track Number and Track Name.

3. To start playback of the track indicated in step 2, 

press the ► PLAY Push-button.

4. Pressing the MENU/TEXT Push-button several 

times will display first the Track Name, followed 

by the Artist Name and then the Album Name.

5. To select a different Folder, press the Number 4 

Push-button followed by pressing the Number 2 

Push-button. Once the desired Folder has been 

selected, press the Number 5 Push-button. Then 

repeat steps 2 and 3.

Selection of a Sub Folder

1. Press the Number 4 Push-button. The Display 

will indicate the name of the current Folder. Then 

press the Number 5 Push-button twice and the Sub 

Folder will now be selected.

2. Press the Number 2 Push-button to select the 

first Music Track in the current Sub Folder. The 

Display will indicate the Track Number and Track 

Name.

3. To start playback of the track indicated in step 2, 

press the ► PLAY Push-button.

4. Pressing the MENU/TEXT Push-button several 

times will display first the Track Name, followed 

by the Artist Name and then the Album Name.

5. Pressing the DISP/TIME Push-button will now 

indicate the Audio Format Type and the Sampling 

Frequency of the current Track playing on the 

Display. Pressing the DISP/TIME Push-button 

a second time will have the Track Number and 

Track Playback Time displayed again.

Summary of Contents for MCT500

Page 1: ...McIntosh Laboratory Inc 2 Chambers Street Binghamton New York 13903 2699 Phone 607 723 3512 www mcintoshlabs com MCT500 SACD CD Transport Owner s Manual...

Page 2: ...adjustments or performance of procedures other than those specified in the Owners Manual may result in Hazardous Radiation Exposure ATTENTION Rayonnnement Laser Invisible en cas d ouverture Ne pas re...

Page 3: ...er Service If it is determined that your McIntosh product is in need of repair you can return it to your Dealer You can also return it to the McIntosh Laboratory Service Department For assistance on f...

Page 4: ...plug connects to a McIntosh Preamplifier or A V Control Center Power Control Output Digital MCT Cable The Digital MCT Cable supplied with the MCT500 is a McIntosh Designed Custom Cable A substitute ca...

Page 5: ...MCT500 On Off with other McIntosh Components in a system The Remote Control provides complete control of the MCT500 operating functions Multi Function Front Panel Display The MCT500 Front Panel displa...

Page 6: ...n for your MCT500 Dimensions 17 1 2 44 5cm 13 1 4 33 7cm 17 1 8 43 5cm 3 16 0 5cm 13 16 2 1cm 10 9 16 26 8cm 14 1 2 36 8cm 2 5 1cm 1 15 16 4 9cm Front View of the MCT500 Rear View of the MCT500 Side V...

Page 7: ...et in maintaining all the system components at the coolest possible operating temperature A custom cabinet installation should provide the following minimum spacing dimensions for cool operation Allow...

Page 8: ...eiver DATA IN receives control data from a McIntosh Control Center OPTICAL and COAXIAL DIGITAL AUDIO OUTPUTS send a PCM Digital Audio Signal to a Preampli fier or an A V Control Center to decode the s...

Page 9: ...9 Notes...

Page 10: ...trol Cable from the MCT500 SACD CD Transport POWER CON TROL OUT Jack to additional McIntosh compo nents with a Power Control In Jack Data Control Connections 3 When a Data Port connection on the Pream...

Page 11: ...ional McIntosh compo nents with a Power Control In Jack Data Control Connections 3 When a Data Port connection on the Digital Preamplifier is available connect a Control Cable from the Digital Preampl...

Page 12: ...dicates various operation functions and times STANDBY ON Push button switches the MCT500 ON or OFF Standby OPENs and CLOSEs the disc tray for load ing or unloading discs Starts disc PLAYback and PAUSE...

Page 13: ...it also displays Drive Directories File Format Type and Sampling Frequency Indicates the RANDom Play Mode is active Indicates when the tracks on the CD disc are MP3 or WMA encoded Indicates the Repeat...

Page 14: ...play ing a SACD Disc containing the information Use to select the SACD or CD Tracks from a hybrid disc for playback Use to direct access tracks 10 and above Momentarily press to Power ON or OFF Selec...

Page 15: ...3 press the 10 Push button twice and then the 3 Push button Reverse and Fast Foward Press the7 Reverse or8 Fast Forward Push button to start moving rapidly through a track on the disc When the desired...

Page 16: ...Display Mode when playing back a music track Momentarily press to Power ON or OFF Selects Disc MODE or Folder Mode for navigating and selection of music on a CD ROM Disc SHIFT push button with LED In...

Page 17: ...and then within 3 seconds pressing or in the case of some functions repeatedly pressing the desired command push button Note Refer to the How to Operate Section of this manual for additional informati...

Page 18: ...Panel or the Power Push button on the Remote Con trol Refer to figures 2 and 21 The LED above the STANDBY ON Push button illuminates green The Front Panel Display will momentarily indicate DISC follo...

Page 19: ...the Time Display Modes refer to Display Modes on page 20 5 SACD Discs containing Multichannel sound tracks are down mixed into two channels and available at the Analog Audio Outputs How to Play a CD D...

Page 20: ...m Mode or Random Play Mode on a continuous basis Refer to figures 2 and 24 1 With the disc playing Regular Program or Ran dom Playback Modes press the SHIFT Push but ton then the REPEAT Push button on...

Page 21: ...yback time for the current program Refer to figures 28 and 29 3 In a similar manner enter the remaining Tracks 4 and 2 Refer to figures 30 thru 33 5 To cancel the Program Playback Mode press the STOP...

Page 22: ...the Album Name the Artist Name the Track Name the Track Time along with the Audio Format Type and Sampling Frequency Refer to the graphics on page 17 To start playback of the desired music track s pe...

Page 23: ...p 3 The Front Panel will indicate RESET and then go through the process of reading the Disc for playback At this time release the NEXT and the STOP Push button 4 The MCT500 will resume normal operatio...

Page 24: ...24...

Page 25: ...25 Photos...

Page 26: ...S I Power Requirements 100 Volts 50 60Hz at 35 watts 110 Volts 50 60Hz at 35 watts 120 Volts 50 60Hz at 35 watts 127 Volts 50 60Hz at 35 watts 220 Volts 50 60Hz at 35 watts 230 Volts 50 60Hz at 35 wat...

Page 27: ...pping damage Use the original shipping carton and interior parts only if they are all in good serviceable condition If a shipping carton or any of the interior part s are needed please call or write C...

Page 28: ...cts is the policy of McIntosh Laboratory Incorporated who reserve the right to improve design without notice Printed in the U S A McIntosh Laboratory Inc 2 Chambers Street Binghamton NY 13903 www mcin...

Reviews: