29
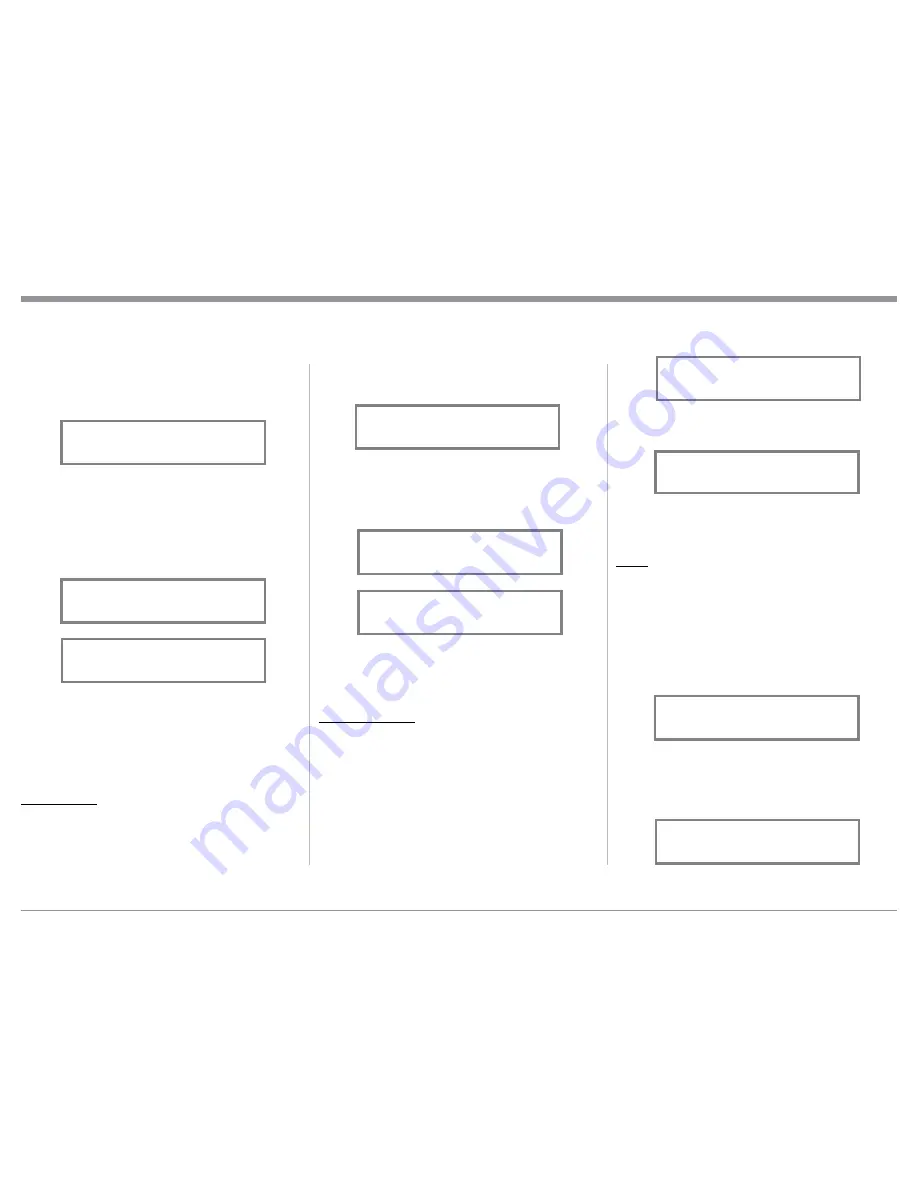
the Front Panel Display. Refer to figure 80.
3. Press TRIM LEVEL UP / DOWN Push-button to
activate the Tone Controls On. Refer to figure 81.
After approximately 6 seconds the Display returns to
indicate the Source Selection and Volume Level.
BASS
The Intensity of the Low Frequencies in the music can
be increased or decreased by using the Trim Select
and Trim Adjust Controls. To make an adjustment
perform the following:
1. Use the Front Panel INPUT/TRIM Control or press
the TRIM Push-button on the Remote Control until
“BASS 0 dB” appears on the Front Panel Informa-
tion Display. Refer to figure 82.
2. Rotate the INPUT/TRIM Control or press the
LEVEL + / - Push-buttons to increase (refer to fig-
ure 83) or decrease (refer to figure 84 on page 30)
the volume level of the low frequencies.
selected Input Source perform the following steps:
1. Select “INPUT TRIM” as indicated on the Front
Panel Information Display. Refer to figures 70, 73
and 77.
2. Adjust the Trim Level of each Input to match the
average volume level of the Input most frequently
listened to. The range of adjustment is ± 6.0dB in
half dB steps. Refer to figures 78 and 79.
After approximately 5 seconds the Information
Display returns to indicate the Source Selection and
Volume Level.
TONE CONTROL
The Tone Controls default setting is Off. The TRIM
TREBLE and BASS Settings may be adjusted for the
currently selected Input Source, by first setting the
Tone Control Trim Setting to On. The LED above the
TONE Push-button will be illuminated. When the
Tone Controls are Disabled the previous settings for
Treble and Bass are bypassed from the signal path. To
deactivate Tone Controls perform the following:
1. Select the desired Input Source.
2. Press the TRIM Push-button on the Remote Con-
trol until “TONE CONTROLS, Off” appears on
mately equal listening volume levels in each Loud-
speaker. To adjust the Balance perform the following:
1. Press the TRIM Push-button repeatedly on the Re-
mote Control until “L BALANCE R, || ” appears
on the Front Panel Display. Refer to figure 74.
Note: The Front Panel INPUT/Trim Control may also
be used.
2. Rotate the VOLUME/Adjust Control or press the
LEVEL UP / DOWN Push-buttons on the Remote
Control to emphasize the Right Channel (refer to
figure 75) or the Left Channel (refer to figure 76).
The Front Panel Display indicates the relative Balance
changes. After approximately 5 seconds, the Display
returns to indicate the Source Selection and Volume
Level. To verify the Balance setting without changing
it, use the TRIM Push-button and select Balance.
TRIM LEVEL
Source Components can have slightly different volume
levels resulting in the need to readjust the MAC7200
Volume Control when switching between differ-
ent sources. The MAC7200 allows the adjustment
of levels for each Source, ensuring the same relative
volume. To adjust the Trim Level for the currently
How to Operate the MAC7200
Figure 76
¦¦¦¦¦¦¦¦¦
L BALANCE R
Figure 74
L BALANCE R
||
Figure 75
¦¦¦¦¦¦¦¦
L BALANCE R
¦
Figure 77
INPUT TRIM
0.0 dB
Figure 79
INPUT TRIM
+4.0 dB
Figure 78
INPUT TRIM
-2.5 dB
Figure 82
BASS
0 dB
Figure 83
BASS
+12dB
Figure 80
TONE CONTROLS
Off
Figure 81
TONE CONTROLS
On
Summary of Contents for MAC7200
Page 15: ...15...


