Email Protection Administrator Guide
Add IP Address of Outbound Server, If
November 2012
Proprietary: Not for use or disclosure outside McAfee without written permission
31
Add IP Address of Outbound Server, If
Necessary
If your service includes Outbound Message filtering, you must identify one or more
outbound mail servers through which your users send outgoing mail. While your outbound
server might use a Domain Name Server (DNS) name within your network (for example,
lewisoutbound.acme.com
), you identify the outbound sever within Email Protection with
an IP address (for example,
111.222.111.0
).
Alternatively, you can specify a Classless
Inter-domain Routing (CIDR) address for a range of outbound servers (for example,
111.222.111.0/27
) only. The address
must
be a public address.
Any server addresses designated here must be valid and available for a connection. After
the
Save Changes
button is clicked, Email Protection immediately accepts email traffic
from the active servers.
Note:
If email is received from an outbound server that is not configured in the Email
Protection system, it will be refused. If no outbound package has been designated for the
selected domain, this window is unavailable.
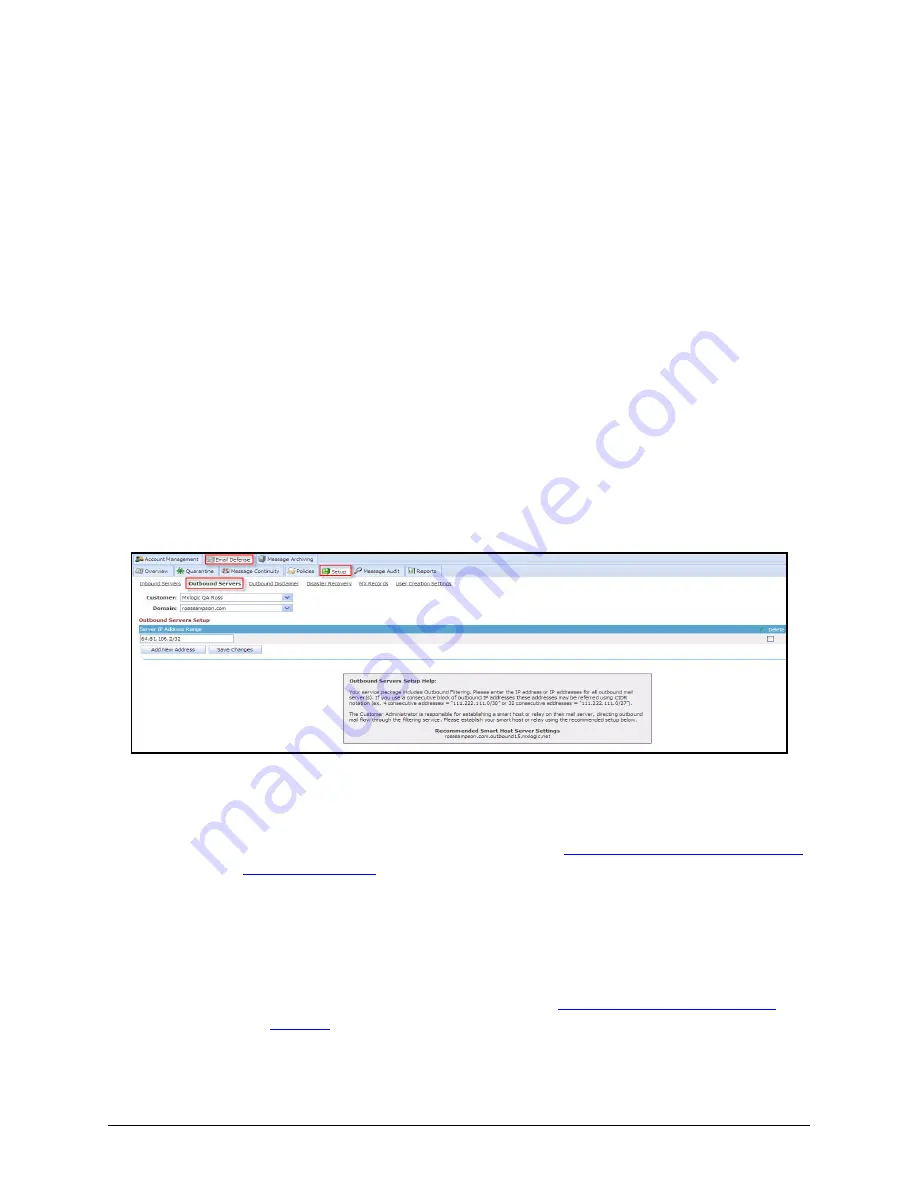
1
Click
Email Protection
|
Setup
|
Outbound Servers
.
The Outbound Server Setup window is displayed.
2
Click
Add New Address
, and add the address of the outbound server.
3
Click
Save Changes
.
4
Record the address listed under
Recommended Smart Host Server Settings
. You
should use this address to perform the next task,
Set up a Smart Host (If Outbound Mail
Defense is Turned on)
.
Important:
You or your network administrator should also do the following before or
immediately after adding your outbound server(s):
•
Update Sender Policy Framework (SPF) records on your mail server(s) to ensure
only authorized sources are sending outbound email.
•
Scan your network for open relays, viruses and malware.
•
Refer to the Accepted Use Policy (AUP) at
http://www.mxlogic.com/terms/aup/
index.cfm
for information on bulk mail.


