TRAFx MANUAL: PART II
Mountain Bike Counter
2018
www.trafx.net
6
E
CHECKLISTS
Field Equipment Checklist
✓
TRAFx Manual: Part I and II
✓
Counters, dock, etc
✓
Desiccant packs (in sealed bag); spare batteries for counter; Ziploc bags
✓
Items y
ou’ll need for installation
✓
Tape measure, camera, GPS, shovel, toothbrush, umbrella, safety equipment, etc
Installation do
and don’t
Do:
✓
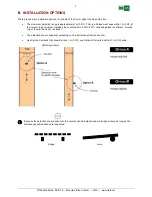
install at proper distance (p. 3); use tape measure!
✓
Install perpendicular to the trail (p. 5)
✓
install where bike speed is moderate (not on downhill)
✓
install at choke points where bikes are single file
✓
install where bicycles pass by without stopping
✓
place inside sealed bag, container or box (see p. 5)
Don’t
install:
where water pools or collects
within 10m (33ft.) of a road
within 20m (65ft.) of a train line
near high-voltage powerlines (overhead or underground)
inside a steel box
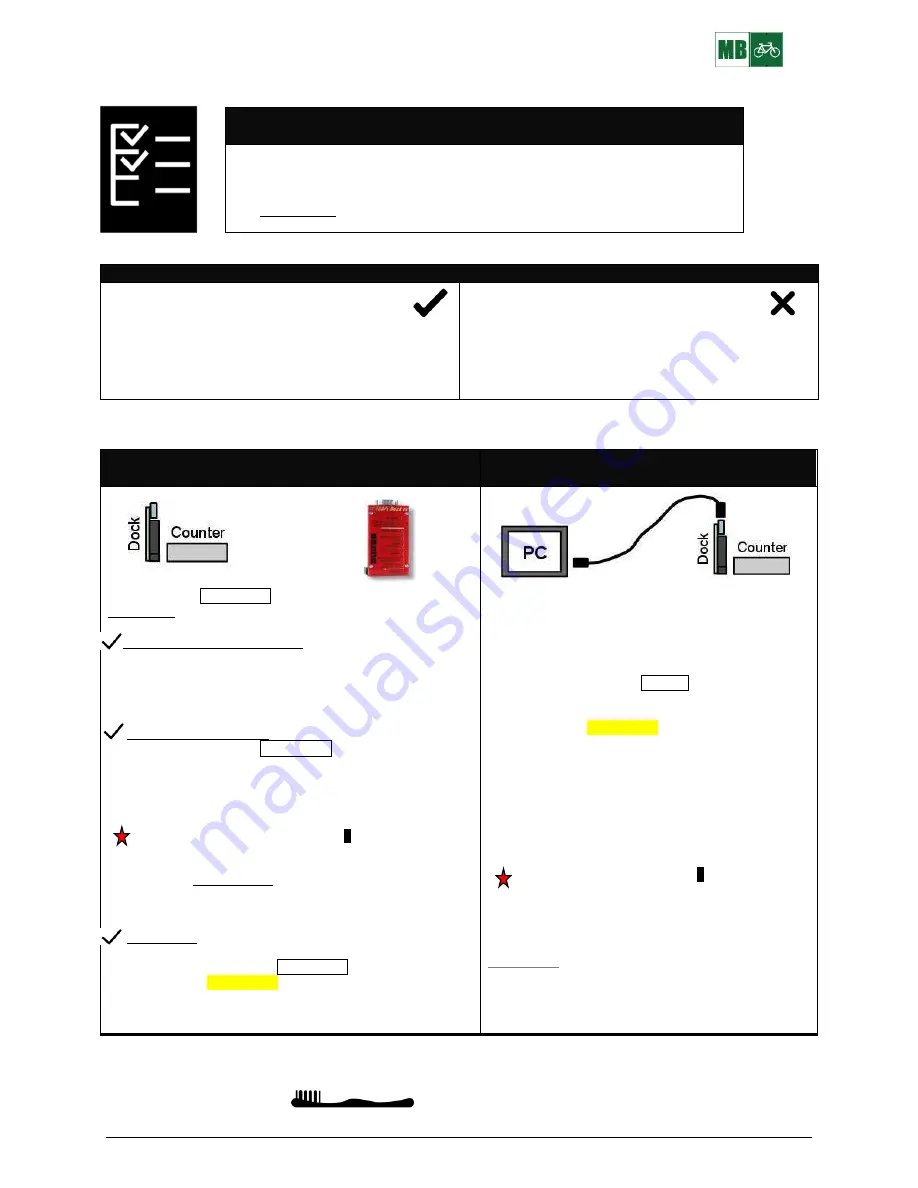
Download, launch, etc. checklist
Dock in Shuttle Mode
(recommended)
Dock in PC Mode
(not recommended)
Use your dock in Shuttle Mode to Download / Launch a counter,
without a PC.
Before going to the field confirm:
1.
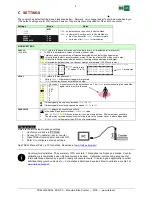
The dock’s
TIME
is correct, (yy-mm-dd and 24 hr time).
2.
The dock’s battery voltage
is
3.4
or higher (if not, replace
dock’s batteries and reconfigure
TIME
).
3.
Erase old data stored in the dock’s memory. Enter E.
Go to a counter in the field
1.
Confirm dock is in Shuttle Mode.
2.
Connect to a counter.
3.
Do what the dock’s LIGHTs indicate.
--If the
Replace Counter’s Batteries
LIGHT blinks,
disconnect, replace the counter’s batteries and then
reconnect.
4.
After disconnecting, the counter’s
S
tatus LIGHT should be
blinking rapidly; this confirms a successful launch. If not,
repeat 2 and 3.
5.
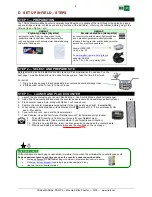
Put a fresh desiccant
pack inside the counter’s case.
Go to the next counter. Repeat 1 to 5.
Back in office
✓
Open TRAFx Communicator and follow its instructions
✓
Make sure you are in Shuttle Mode
✓
Click on
D
to download and save Shuttle file
✓
Upload Shuttle file to your DataNet account
See TRAFx Manual Part I, p. 13 to 15 for details.
Using a PC to Download / Launch counters is not
recommended because it is slower and more prone to
human error than Shuttle Mode.
However, these are the main steps:
1.
Confirm dock is in PC Mode.
2.
Open TRAFx Communicator and follow its
instructions.
3.
Click on
D
to download and save data.
4
4
.
.
Find saved data file and confirm successful
download.
To continue to collect data, you
must relaunch the
cou
nter by entering “L”. Ensure that the counter’s
TIME
is correct. When prompted, erase existing data.
Data logging will begin at the
START
date/time. Also,
don’t forget to replace the desiccant pack.
After disconnecting, the counter’s
S
tatus LIGHT should
be blinking rapidly; this confirms a successful launch.
If not, connect up and launch it again.
See TRAFx Manual Part I, p. 10 to 12 for details.
Back in office
✓
Upload file to your DataNet account
Maintenance reminder
:
keep the field case’s l
id seal free of dirt and organic material, with a toothbrush. Otherwise, it might
leak.

