


6
OPERATION
Please always pair the monitor and camera before the 1
st
operation, please refer to belo
w “Pairing” step.
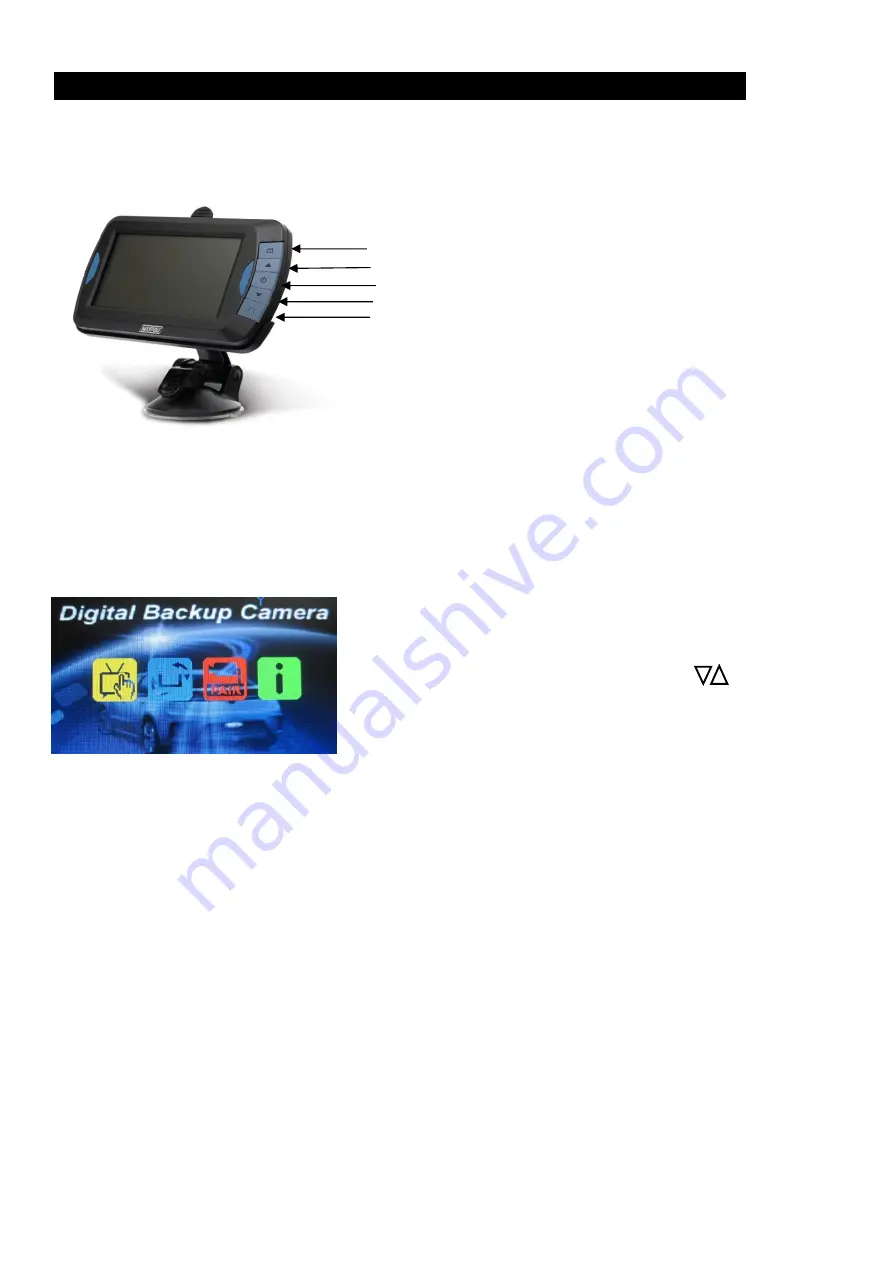
There are 5 control buttons available for users to have their controls:
Power button
Press the POWER button to supply power to the monitor. The picture on the monitor will automatically turn on when the vehicle
is in reverse gear (when already paired as described below). When the monitor gets an image, the blue LED will be lit. If there is
power to the monitor, but the monitor does not get any image, the blue LED will blink on and off. When the monitor power is off,
no picture can appear on the screen and the blue LED will be off.
Menu button
Press the Menu button to enter the menu screen as shown below: Picture SPEC, Picture Direction, Pair and Product Information.
Select the desired menu by pressing the arrow buttons and confirm your
choice with the Power Button.
Pairing:
Two cameras can be paired to the display.
Ensuring that power is first being supplied to the camera by placing the vehicle into reverse with the ignition on but engine off,
press the menu button, s
elect the “Pair” icon
using the arrow buttons and enter the menu using the Power button. Select which
channel (A or B) you wish the camera to connect and select with power button. Note : each camera requires a different channel.
Press and hold the rubber button on the bottom of camera unit for at least 2 seconds.
Once the monitor correctly receives a signal from the camera the monitor will display
“OK”
and the view from the camera will
appear on the screen. The camera is now paired with the monitor and will automatically connect from now on. A second camera
(MP7411, if purchased) can be paired in the same way on the other channel.
If two cameras are in use a priority camera can be selected by selecting the ‘master’ option; selecting channel A or B will d
etermine
which camera will be displayed on the screen if a signal is simultaneously received by both cameras. Press the menu button to exit
the selection; alternatively the screen will automatically exit after 30 seconds.
Menu button
Guideline button
Power button
Arrow button
Arrow button