READ AND SAVE THESE INSTRUCTIONS
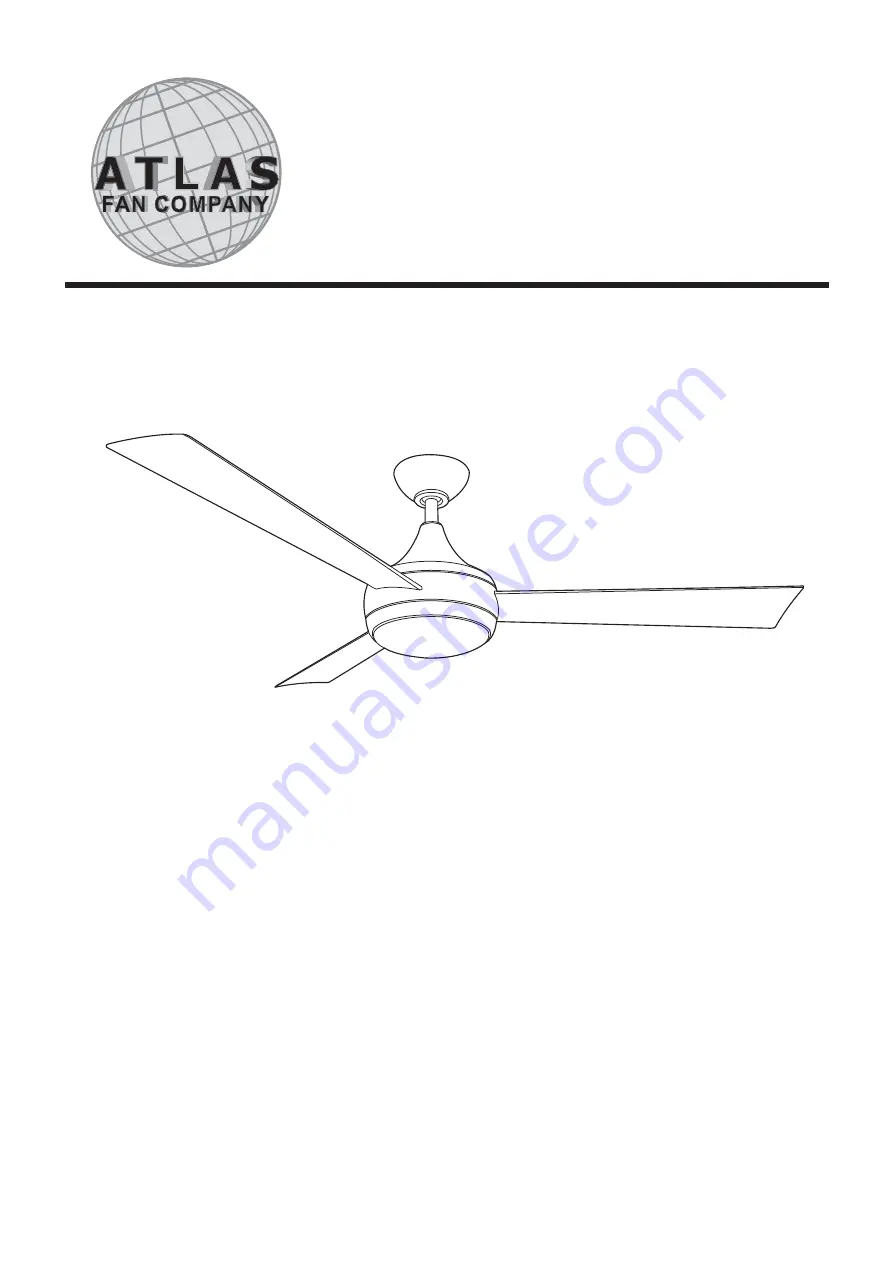
Donaire
52” CEILING FAN
Please do not use any electric or battery powered tools in the assembly and installation of
this or any Matthews Fan Company product.
FAN RATING AC 220-240V~, 50/60Hz
AUSTRALIA ONLY
YG480-MG
Page 1: ...NSTRUCTIONS Donaire 52 CEILING FAN Please do not use any electric or battery powered tools in the assembly and installation of this or any Matthews Fan Company product FAN RATING AC 220 240V 50 60Hz AUSTRALIA ONLY YG480 MG ...
Page 2: ...Attaching the Fan Blades Hanging the Fan Make the Electric Connections Finishing the Installation Attaching the Fan Blades Installing the Light Kit Operating the Remote Control Operating Your Fan Care of Your Fan Troubleshooting TABLE OF CONTENTS 1 1 2 3 4 4 5 7 7 8 9 10 11 11 ...
Page 3: ... cover o Receiver with 5 wire nuts p Transmitter holder 2 mounting screws q 23A 12V battery r Allen wrench s Package hardware 1 Mounting hardware wood screws 2 screws 2 lock washers 2 washers 2 star washers 2 wire nuts 3 2 Blade attachment hardware screws with lock washers 10 Please do not use any electric or battery powered tools in the assembly and installation of this or any Matthews Fan Compan...
Page 4: ... the floor 9 To reduce the risk of personal injury do not bend blades or any other part of fan when cleaning Do not insert foreign objects in between rotating fan blades or in space surrounding entire rotating fan unit Fan must be turned off at power at supply source before installation cleaning or servicing 10 Instructions for Supply Connections Conductor of a fan identified as grounded conductor...
Page 5: ...al injury or property damage 15 This appliance can be used by children aged from 8 years and above and persons with reduced physical sensory or mental capabilities or lack of experience and knowledge if they have been given supervision or instruction concerning use of the appliance in a safe way and understand the hazards involved 16 Children shall not play with the appliance 17 Cleaning and user ...
Page 6: ...itch pin through the holes in the central shaft and downrod Be careful not to jam the pin against the wiring inside the downrod Insert the locking pin through the hole in locked position Re tighten the set screws against the down rod 7 Slide the coupling cover with wide end oriented to floor down the down rod Connect the two ground wire from the fan and inside of coupling cover and than fasten the...
Page 7: ...e units The frequency on your Receiver and Transmitter units have been preset at the factory No frequency change is necessary should you desire to install another fan within the same home or area with a seperate frequency code please see the learn Mode Process operating the remote control section of this instruction manual to learn how to change the frequency Fig 6 1 Insert Receiver into Hanger Br...
Page 8: ...ECEIVER Green Ground Hanger bracket Green Ground Green Ground fan Green Ground downrod Black receiver White receiver Neutral household Green Ground household Live Hot household Female plug Male plug from fan Terminal block Green Ground Black LI to fan Blue N to fan Brown L to fan Female plug Male plug from fan Receiver Blue LI White N Black L Male plug from receiver Female plug Female plug Male pl...
Page 9: ...neatly into ceiling outlet box 2 Slide the canopy up to hanger bracket and place the key hole on the canopy over the screw on the hanger bracket turn canopy until it locks in place at the narrow section of the key holes Fig 12 3 Align the circular hole on canopy with the remaining hole on the hanger bracket secure by tightening the two set screws Note Adjust the canopy screws as necessary until th...
Page 10: ...against bottom of fan housing and secure it to the fan by turning the glass shade clockwise until snug DO NOT OVERTIGHTEN 5 If installing the optional metal light cover make sure is securely tighten NOTE The metal light cover included with your fan is an option to replace the glass for the light in the event that you prefer not to use the light feature of your fan The metal light cover is not nece...
Page 11: ...ion select switch to dimmer position 4 Please note the remote can learn multiple receivers Please make sure not to learn with other receiver during the learning process OPERATING YOUR REMOTE CONTROL To prevent damage to transmitter remove the battery if not used for long periods A H M L Buttons These buttons are used to set the fan speeds as follows Fig 17 L Low Speed M Medium Speed H High Speed B...
Page 12: ...utton while the fan is running Warm weather Forward A downward airflow creates a cooling effect as shown in Fig 18 This allows you to set your air conditioner on a warmer setting without affecting your comfort Cool weather Reverse An upward airflow moves warm air off the ceiling area as shown in Fig 19 This allows you to set your heating unit on a cooler setting without affecting your comfort Figu...
Page 13: ...hen blade levels are unequal Check this level by selecting a point on the ceiling above the tip of one of the blades Measure this distance Rotate the fan until the next blade is positioned for measurement Repeat for each blade The distance deviation should be equal within 1 8 3 If the blade wobble is still noticeable interchanging two adjacent side by side blades can redistribute the weight and po...