41
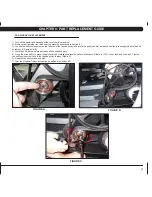
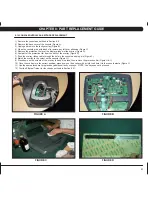
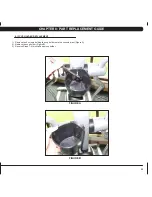
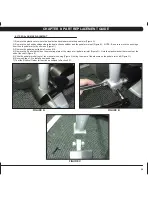
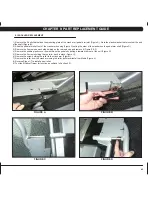
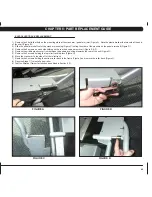
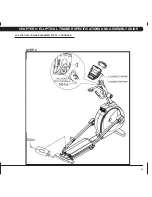
1) Remove the crank arm plastic cap at the front disk (Figure A).
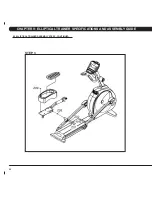
2) Disconnect the crank arm from the crank assembly (Figure B).
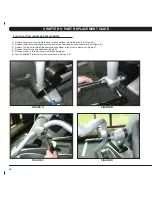
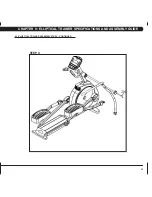
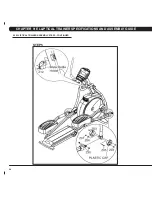
3) Remove the 3 bolts that hold on the mounting plate at the crank arm / pedal arm joint (Figure C). Note the plastic washer that mounts at the end
of the shaft (Figure D).
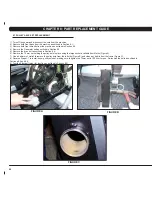
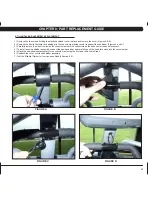
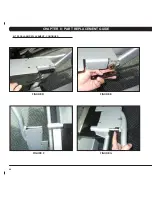
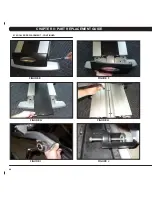
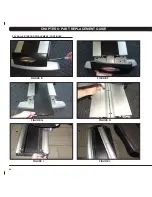
4) Slide the pedal arm shaft out of the crank arm housing (Figure E) noting the order of the washers on the pedal arm shaft (Figure F).
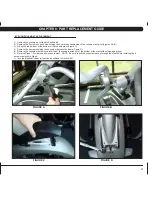
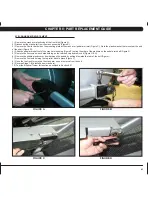
5) Remove the 2 screws on each side holding on the rear end cap and remove it (Figure G & H).
6) Remove the middle plastic cover from between the pedals by pulling it towards the rear of the unit (Figure I).
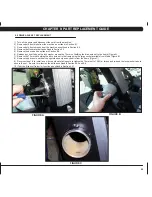
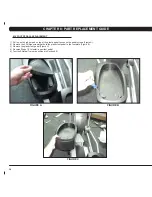
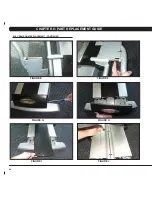
7) Remove the 3 screws holding the top roller track in place (Figure J).
8) Once the top track is removed, the crank arm can be removed from the unit.
9) Reverse Steps 1-8 to install a new crank arm.
10) Test the Elliptical Trainer for function as outlined in Section 8.21.
8.18 crank arM rEplacEMEnt
figUrE a
figUrE b
figUrE c
figUrE d
cHaptEr 8: part rEplacEMEnt gUidE
Summary of Contents for E3X-01
Page 1: ...E 3 x 0 1 e l l i p t i c a l T r a i n e r S E R V IC E M AN U A l...
Page 2: ......
Page 5: ...1 Chapter 1 Serial number location 1 1 SERIAL NUMBER LOCATION...
Page 16: ...12 Chapter 7 TROUBLESHOOTING 7 1 Electrical Diagrams...
Page 17: ...13 Chapter 7 TROUBLESHOOTING 7 1 electrical diagrams...
Page 18: ...14 7 1 electrical diagrams chapter 7 troubleshooting...
Page 65: ...61 notes...

