Mathey Dearman D2235 Parts & Operating Manual Download Page 1

WHERE THERE’S PIPE, THERE’S MATHEY 

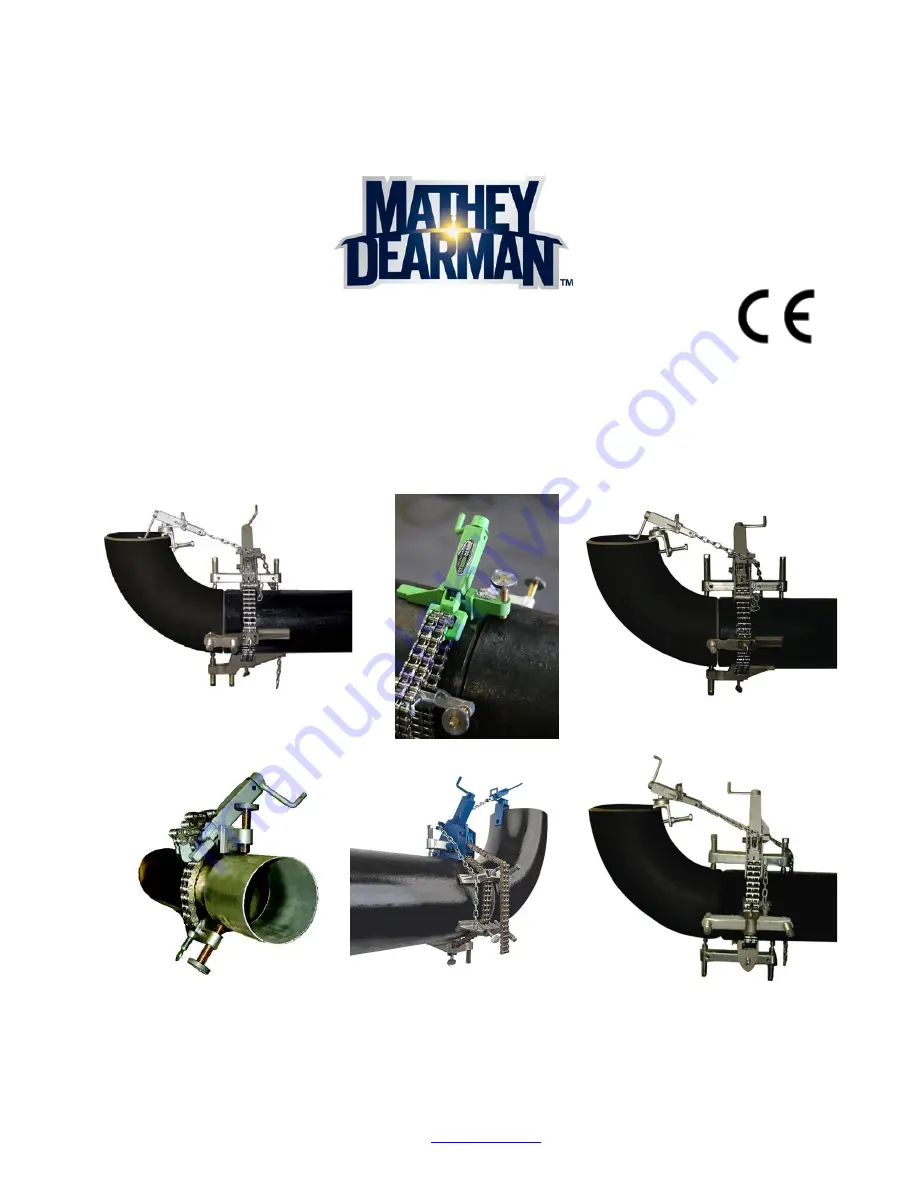
Mathey Dearman Single and Double Screw 

Chain Clamp Parts & Operating Manual 

Revised: 1/9/2018 

P. O. Box 472110, Tulsa, OK 74147-2110  USA 

Toll Free: 800-725-7311 

918-447-1288 Office

918-447-0188  Fax

www.mathey.com

Machine Model

___________ 

Serial#

_____________________ 

Summary of Contents for D2235

Page 1: ...an Single and Double Screw Chain Clamp Parts Operating Manual Revised 1 9 2018 P O Box 472110 Tulsa OK 74147 2110 USA Toll Free 800 725 7311 918 447 1288 Office 918 447 0188 Fax www mathey com Machine...

Page 2: ...o Cross Tee Horizontal Fit Up 19 10 Inspection and Repair Procedures 20 11 Subcomponent Assembly Procedures 27 12 Chain Clamp Assembly Procedures 28 13 Warranty 30 14 Intended Uses 31 15 Storage 31 16...

Page 3: ...tion Make sure that the chain clamp will function properly prior to attempting the alignment or reforming of pipes or fittings The chain clamp should never be used as the sole support of the pipe or f...

Page 4: ...crew Chain Clamp and Universal Chain Clamp This makes it a little more difficult if you are running your root pass with a Mig or Tig torch Dearman Lite Single Jackscrew Chain Clamp Manufactured from t...

Page 5: ...deal for Schedule 40 below pipe alignment and reforming Lighter weight than the original Mathey Dearman Chain Clamps The Sturdi Clamps are quick and easy to setup while still providing the ability to...

Page 6: ...Pipe Schedule D2250 27 12 1 8 25 203 40 20 D2250SS 27 12 1 8 25 203 40 20 D2249 70 32 4 16 102 406 40 20 D2249SS 70 32 4 16 102 406 40 20 D2235 145 65 10 36 254 914 40 20 D2235 SS 145 65 10 36 254 91...

Page 7: ...e D249 LT 36 14 4 20 102 506 40 20 D249 LTSS 36 14 4 20 102 506 40 20 D235 LT 90 41 6 36 152 914 40 20 D235 LTSS 90 41 6 36 152 914 40 20 Chart 6 Dearman Sturdi Clamp Chain Clamps Model Net Weight Ope...

Page 8: ...4 DC 100 DC 500S 13 DC 100 DC 300 15 DC 400 DC 301 D234SS DC 100 DC 500S 13 DC 100 DC 300S 15 DC 400S DC 301S D250 DA 100 DA 600S 3 DA 200 DA 300 2 7 DA 400S DA 301 D250SS DA 100 DA 600S 3 DA 200 DA 3...

Page 9: ...23S DXL 523 C N A DXL 525S 22 38TS 114 Note The 600 series Jackbar requires two per assembly All others require one per assembly Chart 9 Universal Jackbar Model Jackbar Universal Jackscrew Thumb Locki...

Page 10: ...0 N A DB 100 DB 101 DB 102 DB 103 DB 131 DB 820 DA 701 22 14TS 034 11 12C0 300 1L 12C0 000 N A DB 100LT DB 101 DB 102 DB 103 DB 131 DB 820 DA 701 22 14TS 034 11 12C0 300 1L 12C0 000 N A DB 100SC DB 10...

Page 11: ...6 DC 424 12 0058 F00 DC 425 DC 200 DC 201 DC 206 DC 205 DC 202 12 0078 F00 DC 203 DXL 200 DXL 521 DXL 522 DB 426 DXL 526 12 0012 F00 DB 425 DXL 200LT DXL 521 DXL 522 DB 426 DXL 526 12 0012 F00 DB 425...

Page 12: ...24 DB 426 DB 440 DA 406 10 12C0 114 12 0012 F00 DB 425 DB 409 DB 400SSC DB 402 DA 201 DB 411 DB 424 DB 426 DB 440 DA 406 10 12C0 114 12 0012 F00 DB 425 DB 409 DC 400 DC 401 DB 201 DC 411 DC 424 DC 426...

Page 13: ...ew F5 Not Shown Lock Nut F6 Thumbscrew F7 DA 900 DA 701 DA 941 DA 945 DB 820 10 38C0 200 1L 38C0 000 22 14TS 034 DB 900 DA 701 DA 941 DA 945 DB 820 10 38C0 314 1L 38C0 000 22 14TS 034 DC 900 DC 501 DC...

Page 14: ...ngle or double Jackbars when working with stainless steel DC 572 DB 571S 10 14C0 200 1L 14C0 000 Main Block Universal Jackbar Spacing Screws DA 870 DA 100 Main Block and DA 800 universal Jackbars when...

Page 15: ...orage container Place the Clamp on the floor or table Place the Fine Adjustment Assembly Chart 11 on the right if right handed and on left if left handed 5 2 Determine the circumference of the pipes f...

Page 16: ...ck on the side of the pipe that is to receive the pipe or fitting one full turn This distance may vary depending on the out of round condition of the pipes fittings or valves that you are aligning or...

Page 17: ...cessary to loosen the Jackscrew or Jackscrews opposite the high point to bring the outside or inside diameters of the pipes into alignment This process may need to be repeated with several of the Jack...

Page 18: ...high point until the desired outside or inside alignment of the pipes or fittings is achieved It will be necessary to loosen the Jackscrew s opposite the high point to bring the outside or inside diam...

Page 19: ...elders Gauge English D253E Metric D253M 8 9 The pipe and elbow are now ready for welding 9 0 FIT UP OF HORIZONTAL CROSS TEE TO PIPE 9 1 Steps 5 1 through 5 18 must be completed before using the follow...

Page 20: ...ameter pipes the best tool to use is the Mathey Dearman Q C Welders gauge English D253E Metric D253M 9 9 The pipe and tee are now ready for welding 10 0 INSPECTION OF CHAIN CLAMP SUBASSEMBLIES Equipme...

Page 21: ...e used without the stainless steel swivel pad If the swivel pad is missing replace the Jackscrew 10A 3 2 Check the Jackscrew to make sure the tip that contacts the pipe will rotate freely without bind...

Page 22: ...10 item B7 threads The Thread Gauge when screwed into the Main Block should not exceed 015 of an inch of play when moved in any direction If the play exceeds the maximum allowable tolerance replace th...

Page 23: ...10B 6 4 Screw the Jackscrew Chart 10 item B6 into the Universal Jackbar Chart 10 item B5 If play between Jackscrew and the Universal Jackbar Chart 10 item B5 exceeds 010 of an inch screw the appropri...

Page 24: ...alled or missing replace the Piston 10C 2 3 Check the hole in the Piston at the point where the Chain E attaches for elongation If the hole in the Piston is elongated the Piston should be replaced 10C...

Page 25: ...l not warranty of accept any responsibility for heating welding or straightening of the Level and Support Piston 10D 3 2 Check the threaded hole in the Piston for galled or missing threads If the thre...

Page 26: ...embly if cracks are found 10G 1 2 Check the Nut for galled or missing threads Replace the Bracket Assembly if there are galled or missing threads 10G 2 Spacing Screw 10G 2 1 Check the Spacing Screw fo...

Page 27: ...A 11B 6 Insert the Jackscrew Chart 13 item A3 into the threaded hole of the Jackbar Chart 13 item A 1 The Jackscrew should be able to be screwed into the Jackbar without the use of tools 11B 7 Repeat...

Page 28: ...1 11D 3 Thread the Piston Chart 11 item C2 on the Threaded Stud Chart 11 item C4 by turning Crank Handle Chart 11 item C3 11D 4 Assembly of the Fine Adjustment is now complete 11E Level and Support 11...

Page 29: ...echanism 12C 3 Insert the Chain Chart 14 between the round bars and Chain Adjustment Mechanism Chart 10 item B2 until about 5 inches of chain is protruding out of the Main Block Chart 10 12C 4 Install...

Page 30: ...30 of 32 13 0 WARRANTY For Warranty Information visit www mathey com...

Page 31: ...n Clamp Storage Box Chart 12 if the clamp will not be used for an extended period of time 16 0 RECYCLING OF COMPONENTS 16 1 Separation of the components Separate the components by category for a possi...

Page 32: ...32 of 32 WHERE THERE S PIPE THERE S MATHEY P O Box 472110 Tulsa OK 74147 2110 USA Toll Free 800 725 7311 918 447 1288 Office 918 447 0188 Fax www mathey com...

Reviews: