


9. Verify that the original green connector is not burnt and that
there are no black marks on it.
10. Connect the original green connector to the new PLC.
11. Reconnect the three wires to the 24v (white connector).
12. Power up the printer.
Replacing the Block PLC Hardware
From the Replacing the Machine PLC Hardware section, repeat
steps #1-12.
Updating the Block/Machine PLC Software
Burning a File into the PLC
¾
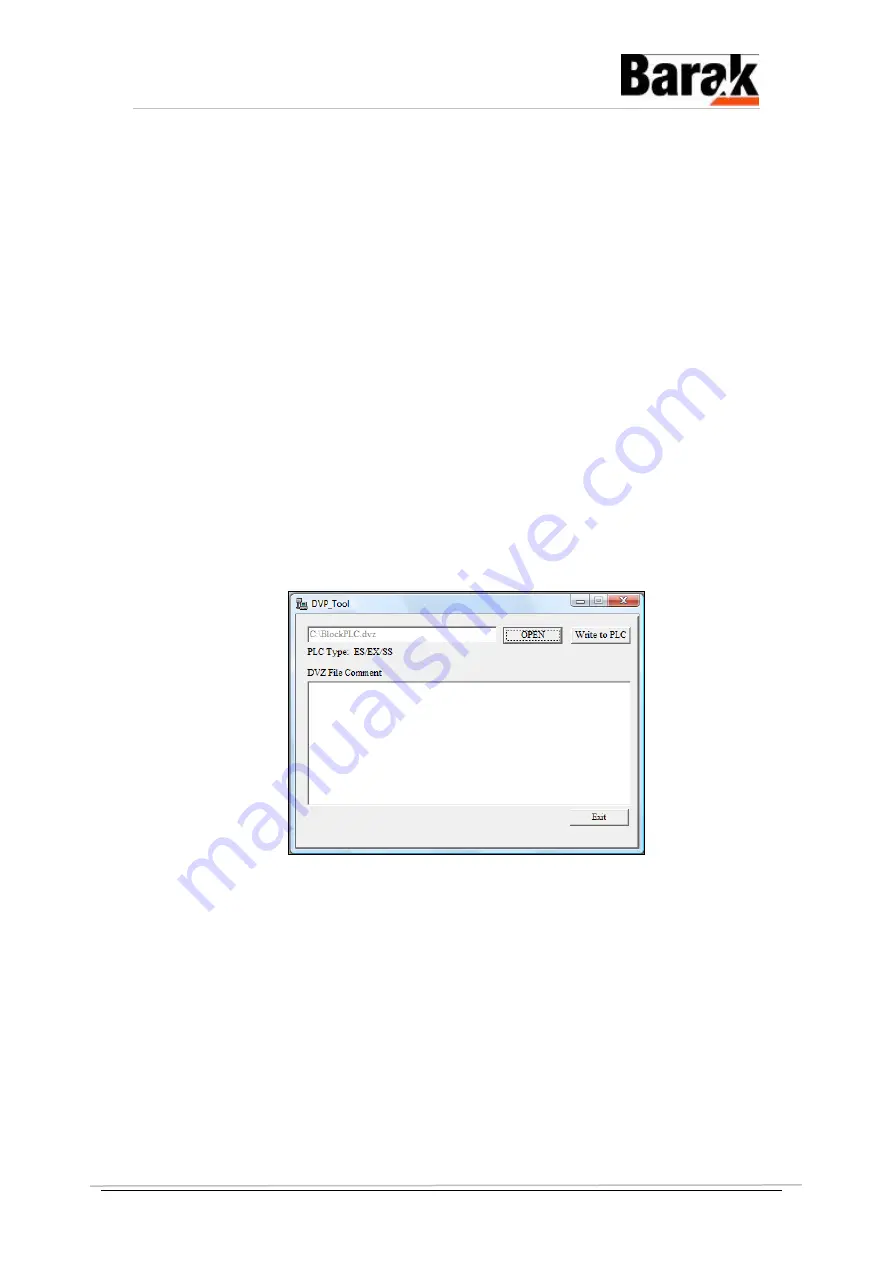
Burn a File into the PLC:
1. Double click the ‘
DVPServer
’ application at
C:\Program
Files\Matan Barak FE\Drivers\Delta
to enter the
DVP_Tool
.
2. Click O
PEN
to chose the desired
*.DVZ
file (
BlockPLC.dvz
or
MachinePLC.dvz
) by double clicking it, as shown below.
3. Click W
RITE TO
PLC to open the C
OMMUNICATION
S
ETTINGS
dialog
box.
4. Configure the parameters in the C
OMMUNICATION
S
ETTINGS
dialog
box, and note the S
TATION
A
DDRESS
and the COM
P
ORT
.
Both the Machine and Block PLC allocation is for the same
COM Port and it is set according to the Barak FE in the
E
NGINEERING
dialog box (Currently set to COM8).
10100142 - A
© Matan Digital Printers Ltd.
Page 4 of 8


