INSTRUCTION
MANUAL
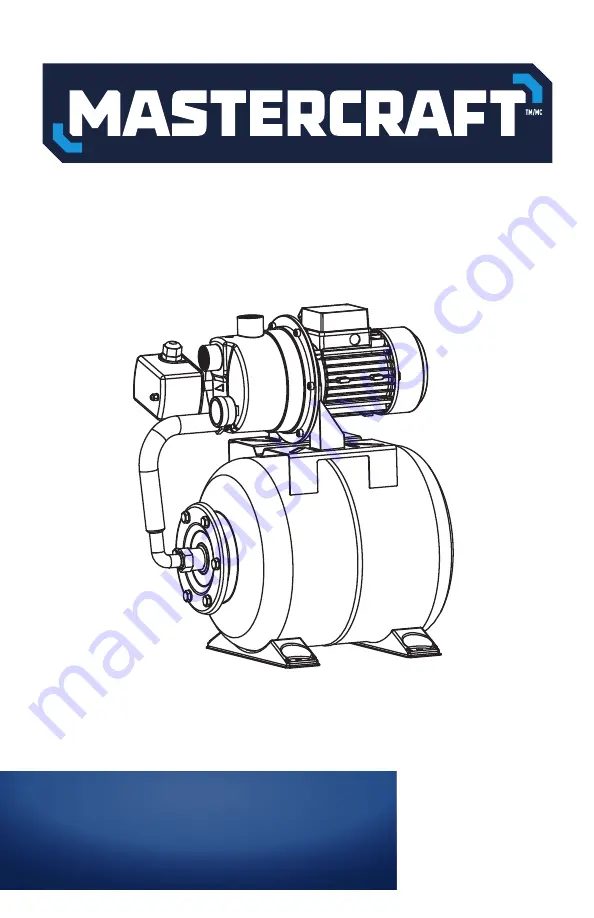
with 6 U.S. Gallon (22 L) Tank
SHALLOW WELL JET PUMP
IMPORTANT:
Please read this manual carefully before runningthis pump and save it for reference.
model no. 062-3428-8
Page 1: ...INSTRUCTION MANUAL with 6 U S Gallon 22 L Tank SHALLOW WELL JET PUMP IMPORTANT Please read this manual carefully before running this pump and save it for reference model no 062 3428 8 ...
Page 2: ...model no 062 3428 8 contact us 1 800 689 9928 2 ...
Page 3: ...e Troubleshooting Warranty TABLE OF CONTENTS TABLE OF CONTENTS NOTE If any parts are missing or damaged or if you have any questions please call our toll free helpline at 1 800 689 9928 SAVE THESE INSTRUCTIONS This manual contains important safety and operating instructions Read all instructions and follow them with use of this product 4 5 6 7 8 10 12 13 14 15 ...
Page 4: ...OT FOR POTABLE WATER NOTE Performance of this pump if powered by line voltage may vary depending on variations in local line voltage Extension cord usage may also affect pump performance Before start up note the following The pump can be connected to any shock proof plug which has been installed according to regulations The plug must have a supply voltage of 120 V 60 Hz Fluid Type The pump is desi...
Page 5: ...t be taken to higher ground 5 Circulation of caustic fluids as well as the circulation of abrasive materials must be avoided at all costs 6 The pump must be protected from frost 7 The pump must be protected from running dry 8 Access by children should also be prevented with appropriate measures 9 WARNING Handling the power cord on this product will expose you to lead a chemical known to cause canc...
Page 6: ...outlet If the tool should electrically malfunction or break down grounding provides a low resistance path to carry electricity away from the user reducing the risk of electric shock 2 The grounding prong in the plug is connected through the green wire inside the cord to the grounding system in the tool The green wire in the cord must be the only wire connected to the tool s grounding system and mu...
Page 7: ...7 KEY PARTS DIAGRAM KEY PARTS DIAGRAM No Description 1 2 3 4 5 Priming inlet Discharge Air valve hidden Intake Pressure gauge 4 5 1 3 2 ...
Page 8: ...no 062 3428 8 contact us 1 800 689 9928 8 PARTS LIST PARTS LIST 1 2 3 4 6 5 8 9 10 11 7 17 18 19 20 21 12 13 14 15 16 22 23 24 25 26 27 28 29 30 33 34 35 36 37 38 39 40 31 32 41 42 43 44 45 46 47 48 49 50 51 ...
Page 9: ...erminal lug 1 Heat shrinkable tube 0 18 Connector 4 Wave spring 1 End plate 1 Fan 1 Fan cover 1 Pressure switch 1 Nut 1 Cable 1 Foot 1 No Qty Description 1 2 3 4 5 6 7 8 9 10 11 12 13 14 15 16 17 18 19 20 21 22 23 24 25 Flexible pipe 1 Pressure gauge 1 Pipe connection 1 Screw 2 O ring 2 Dust cover 2 Screw 6 Pump body 1 O ring 1 Injector 1 O ring 1 Diffuser 1 Hexangular nut 1 Spring washer 1 Washer...
Page 10: ...signed for use as a well pump INSTALLATION INSTRUCTIONS NOTE a ONLY pump clean water b Additional components such as valves and pipes may be required for installation but not included c Installation requires skilled workmanship and compliance with local building codes If you are not confident in your ability to properly and safely install this pump have a qualified technician perform the installat...
Page 11: ...ump functions and or STOP water flow Pump Setup Example 4 Intake and discharge pipes must be at least 1 2 5 cm in diameter 5 Lay an off set line from the well to the structure the pump will be installed in The off set line should slope slightly towards the well as shown in the above illustration Systems with longer off set lines should use larger diameter pipe to improve efficiency 6 Install the p...
Page 12: ...lose the inlet after verifying that there are no leaks c Open the spigots faucets and or taps on the delivery pipe so that air can be release from the suction cycle 4 This is a self starting pump that uses a pressure switch Once the power cord is connected the pump can start at any time Do not handle or perform maintenance on the pump if the power cord is plugged in 5 After reading these instructi...
Page 13: ...pump clean with a soft damp cloth dampened with soapy water Do not use solvents Do not get the electrical components wet 3 Drain water from pump before storage by disconnecting the water lines and turning the pump upside down If storing the pump for a long time store it in a dry location and apply a light layer of oil to the metal parts prior to storage to inhibit rust Do not expose to freezing te...
Page 14: ...ling too often 1 Increase pipe diameter 2 Clean screen frequently 3 Reduce lifting height 4 Inflate to 23 PSI 5 Replace piping with plastic where possible 1 Eliminate use of extension cord or use shorter heavier gauge cord 2 Cut in and cut out pressure may be set too close together Have the pressure switch adjusted by a qualified technician Cut in and cut out pressure may be set too closely 1 Air ...
Page 15: ...ming inlet 2 Check all pipes and joints in the suction line for air leakage using soapy water 3 Reduce vertical lift to within specifications See specifications on page 4 4 Lower suction line into water and re prime If water is deeper than the maximum suction lift height a deep well pump may be needed 5 Thaw the pipes Bury pipes below freeze line and or insulate pipes 6 Raise foot valve to clean w...