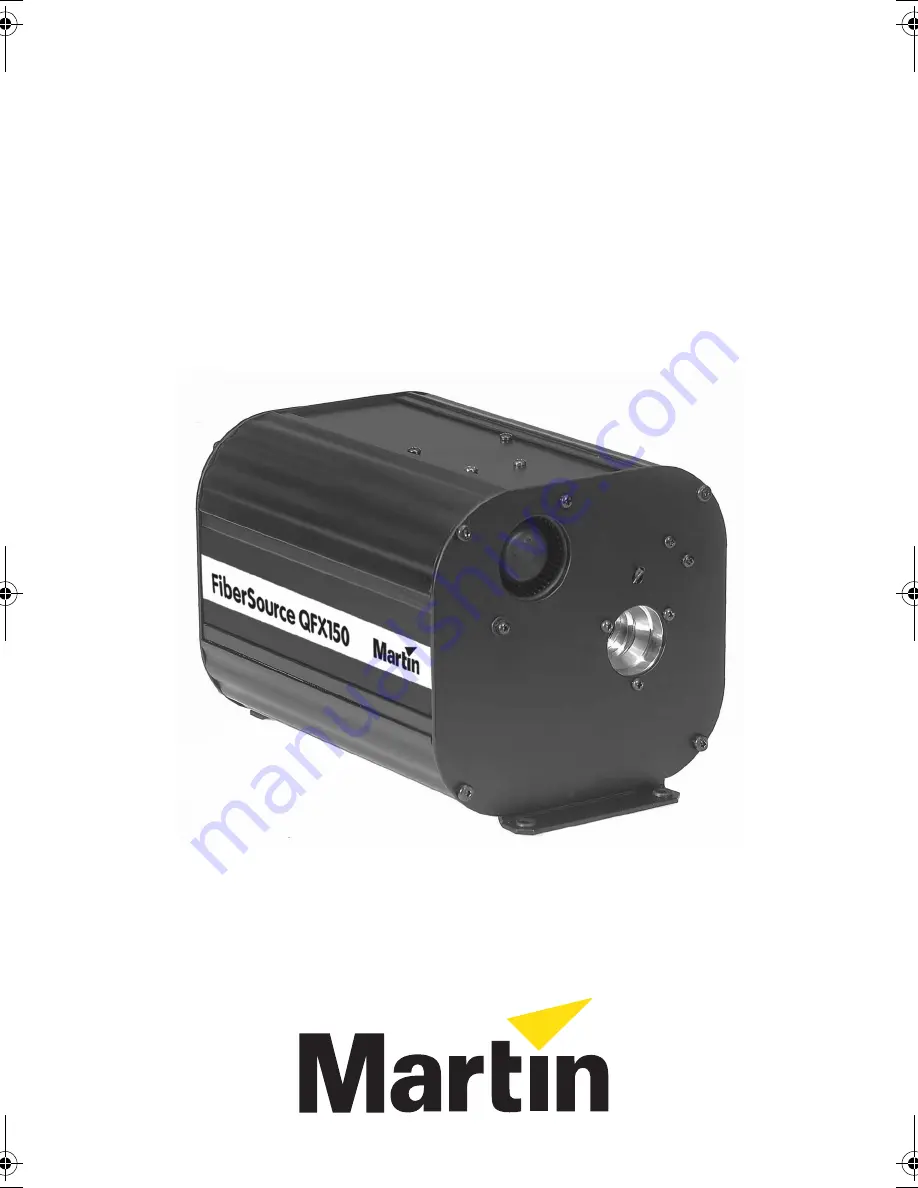
FiberSource QFX 150
user manual
35000079B.fm Page 1 Thursday, December 9, 1999 11:47 AM
Page 1: ...FiberSource QFX 150 user manual...
Page 2: ...flange 6 DIP switch 7 data sockets 8 AC input main fuse 1999 Martin Professional A S Denmark All rights reserved No part of this manual may be reproduced in any form or by any means without permission...
Page 3: ...4 LAMP 6 AC POWER 7 INSTALLATION 9 FIBER OPTIC CABLE 11 CONTROLLER OPERATION 12 STAND ALONE OPERATION 16 MASTER SLAVE OPERATION 18 BASIC SERVICE 19 TROUBLESHOOTING 22 DMX PROTOCOL 23 SPECIFICATIONS 25...
Page 4: ...ontact your Martin dealer or call the Martin 24 hour service hotline To protect yourself and others from electric shock Disconnect the fixture from power before removing or installing the lamp fuses o...
Page 5: ...operate the fixture if the ambient temperature Ta exceeds 40 C 104 F To protect yourself and others from injury due to falls When suspending the fixture above ground level verify that the structure ca...
Page 6: ...alone Squeeze the sides of the lamp plug and pull it out 3 To position the lamp turn it so the wires where they exit the lamp base point towards the ground when the fixture is installed This puts the...
Page 7: ...ttings match local AC supply before use To check or change the voltage setting 1 Disconnect the fixture from power Remove the lamp access cover 2 Set the 5 position switch to the setting closest to th...
Page 8: ...o install a plug on the power cable The power cable must be fitted with a grounding type cord cap that fits your power distribution system Consult an electrician if you have any doubts about proper in...
Page 9: ...air around the fixture at 40 C 104 F or below The DIP switch is accessible and there is room to insert cables The lamp access panel can be removed All safety requirements are met To install the Fiber...
Page 10: ...that can hold at least 10 times the weight of the fixture through one of the small holes and around the truss or pipe Remove a rubber washer if necessary to thread the safety cable 5 Verify that the f...
Page 11: ...able used S ID E E M IT T IN G C A B L E With 1 fixture best results are had when the fiber optic cable is 10 m 33 ft or shorter The length may be increased to 15 m 50 ft by looping the cable and illu...
Page 12: ...ndard pin assignment for DMX devices One or more adaptor cables may be required to connect the fixture to the controller and other devices because many devices have 5 pin connectors and others may hav...
Page 13: ...as the start channel is the first channel used to receive instructions from the controller The FiberSource QFX 150 uses 5 DMX channels Each fixture must be assigned its own address and non overlapping...
Page 14: ...35 267 299 331 363 395 427 459 491 0 0 1 1 0 12 44 76 108 140 172 204 236 268 300 332 364 396 428 460 492 1 0 1 1 0 13 45 77 109 141 173 205 237 269 301 333 365 397 429 461 493 0 1 1 1 0 14 46 78 110...
Page 15: ...effects reset to their home positions when the fixture is powered up There is also a reset command on channel 1 To prevent accidental resets the command must be sent for 5 seconds D I M M E R The int...
Page 16: ...color 1 position 1 a range of colors and continuous rotation If continuous color wheel rotation is selected then the color change speed must be slow medium or fast If a range of colors is selected th...
Page 17: ...n 8 pin 9 pin 10 Effect Setting no twinkle 0 0 0 0 1 slow twinkle 1 0 0 0 1 medium twinkle 0 1 0 0 1 fast twinkle 1 1 0 0 1 snap color change 0 0 0 0 1 slow color change 1 0 0 0 1 medium color change...
Page 18: ...socket of the first fixture and the IN socket of the next fixture 3 Continue connecting fixtures output to input Up to 32 FiberSource QFX 150s may be connected 4 Terminate the data link on both ends...
Page 19: ...the filter back towards the lamp to unlock Remove filter 4 To place a filter in the wheel insert the plastic holder between the spring clip with the protruding tab facing forwards until it snaps into...
Page 20: ...glass cleaner may also be used but no residues may remain 3 Rinse with distilled water Mixing the water with a small amount of wetting agent such as Kodak Photoflo will help prevent streaking and spo...
Page 21: ...y the DIP switch and one screw by the data IN socket 3 Pull the circuit board assembly out until you can access the fuse which is located behind the data IN socket 4 Remove the defective fuse and repl...
Page 22: ...ation plug in output of the last fixture on the link Incorrect address setting Check DIP switch settings One of the fixtures is transmitting as a master or is defective Bypass one fixture at a time un...
Page 23: ...44 50 56 57 72 57 58 58 59 60 61 61 63 63 64 65 66 66 67 68 69 69 70 71 72 73 86 87 100 Color Wheel Continuous scroll Open Color 1 blue 108 Color 2 green 206 Color 3 yellow 603 Color 4 red 308 Color...
Page 24: ...LE slow 9 8 7 6 4 3 2 1 0 5 ce QFX150 DMX Protocol 100 125 150 175 200 225 250 C 9 C 7 C 8 C 6 40 50 60 70 80 90 RESET LAMP ON 100 125 150 175 200 225 250 DIMMER open slow CCW fast fast stop fast CCW...
Page 25: ...capacitance 85 150 shielded twisted pair I N S T A L LA T I O N Orientation horizontal Minimum distance to combustible materials 0 1 m 4 in Minimum clearance around fan and air vents 0 1 m 4 in A C S...
Page 26: ...101 P N 62327016 Accessory color filter cyan 401 P N 62327017 Accessory color filter green 202 P N 62327018 Accessory color filter yellow 604 P N 62327019 Accessory color filter red 301 P N 62327021...