Y Limits
(These values are shared with WFM settings)
Set luminance upper and lower limits to be monitored.
• Limits are displayed in IRE unit
• Varies between -7.3 IRE and 109.1 IRE
• This value will be shown in WFM window as red line
• Any data exceeding these values will be displayed as red on the picture
• These values are shared with WFM settings
• Internally, Y values ranges from 0 to 255
• -7.3 IRE equals to 0 in digital
• 0 IRE equals to 16 in digital
• 100 IRE equals to 235 in digital
• 109.1 IRE equals to 255 in digital
C Limits
Sets the chrominance levels to be monitored.
• Displayed in 8-bit digital video representation.
• Any data exceeding these values will be displayed as Yellow in the picture
• The factory preset for C limits are 16 and 240 according to ITU-R BT.709
• Typically these values should not be exceeded during normal video production
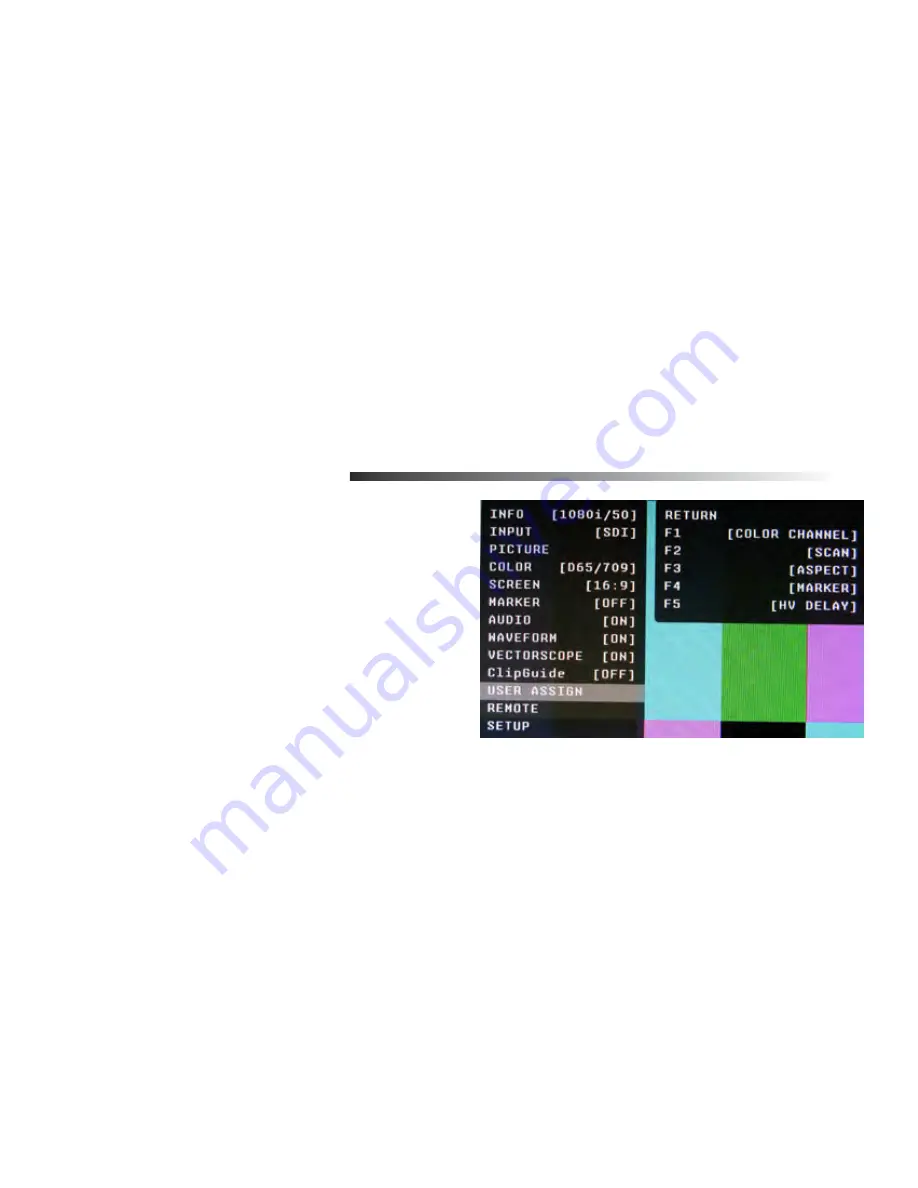
USER ASSIGN SUBMENU
■
F-1 thru F-5
There are five Function Keys on the front panel of the
OR-434. Each of these F-keys key may be assigned any
one of 31 different functions as required by the job or
individual user. These functions are listed in the Menu
Overview section of this manual.
One-way functions
• Pressing pre-defined key will activate the feature
• When it is enabled, the indicator of the key will
be lit up.
• Pressing again will have no effect.
FOR EXAMPLE: Selecting Input, Selecting
Audio Preset, Selecting White Balance
Two-ways functions
• Pressing pre-defined key will active the feature
• When it is enabled, the indicator of the key will turn on
• Pressing again will deactivate the feature.
FOR EXAMPLE: Scan, WFM, ALM, Layout, HV Delay
Sequential functions
• Pressing pre-defined key will rotate features in sequence.
FOR EXAMPLE: Timecode, Color Channel
• TimeCode will change its state for OFF->LTC->VITC1->VITC2->OFF
• Color Channel will change its state for RGB->R Only->G Only … -> RGB
To assign a function while in the User Assign submenu, use the Joystick to highlight the desired F-key. Press
the Joystick
è
and the
é
or
ê
to choose the function. When the appropriate function is highlighted, press the
Joystick in to save the selection.
19
Front Panel Features
2
1
5
3
4
Power Button with Indicator
Press power switch to turn on the power. The unit and indicator lights will turn on.
Press again to turn off the power.
Tri-Color Tally Light
30mm Tri-Color tally lamp controlled via the Remote connector on the rear of the unit.
User-Definable Function Keys
Five user-definable function buttons can be used for direct access to various settings.
Functions are assigned using the on-screen menu.
Joystick Control
Press the Joystick IN to access the on-screen Menu. Gently move the Joystick Up-
é
,
Down-
ê
,
Left-
ç
, or Right-
è
to navigate the on-screen menu, and to change values. Press the Joystick
IN
to save
any changes or selections. Exit the on-screen menu by moving the Joystick to the Left one or more times.
When not in the Menu mode, the Joystick is used to control the following settings directly:
• Brightness
• Contrast
• Saturation
• Sharpness
• Volume
Move the Joystick in the
é
or
ê
direction to choose the setting you want to adjust, then move the Joystick
ç
, or
è
to change the value. Release the Joystick after making the necessary adjustment. The display
will return to normal within 5 seconds.
Headphone Jack
3.5mm stereo headphone jack. Left and Right source are selected from the on-screen menu.
1
2
3
4
5
6


