


12
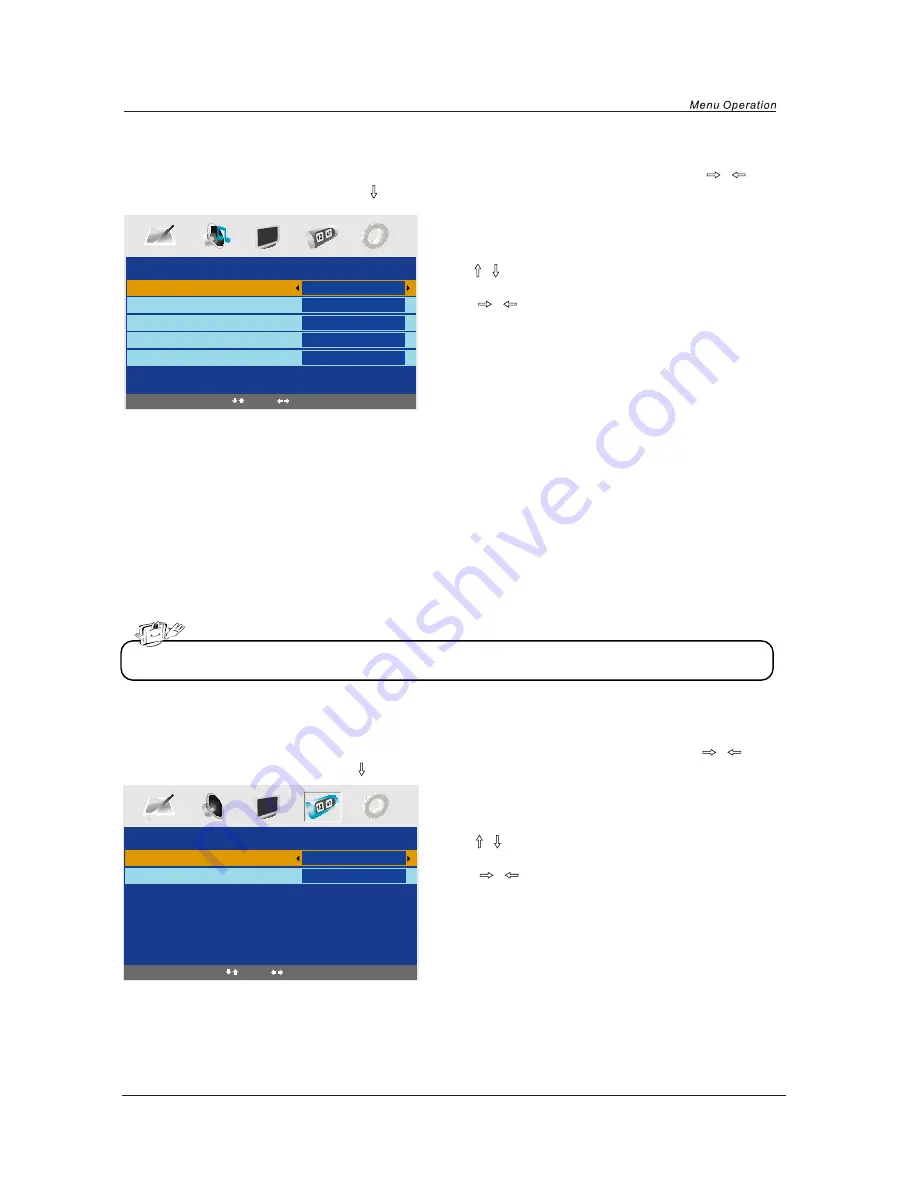
Press the MENU button on the right hand side of your TV or on the remote control and then use
/
button to select the Sound menu, press
button to enter the menu (see the picture below).
1. Use
/
button to select what you want to
adjust in the Sound menu.
2. Press
/
button to Adjust.
3. When you are satisfied with your adjustment, press
MENU
button.
1. Use
/
button to select what you want to
adjust in the Timer menu.
2. Press
/
button to Adjust.
3. When you are satisfied with your adjustment, press
MENU
button.
Volume
Adjust the volume.
Sound Mode
Select the type of sound which best corresponds to your listening requirements by selecting Sound
Mode in
Sound
menu. You may select the picture mode directly by pressing the
SOUND
button on
the remote control.
B
ass
Adjust the level of the lower-pitched sounds.
Treble
Adjust the level of the higher-pitched sounds.
B
alance
Adjust the audio output between left and right speakers.
Sleep Timer
Select the sleep time to put automatically the TV in standby mode. Timer can be selected as 15,30,45,60,
75,90,105,120 and 0 Min(Off). You may select the sleep time by pressing SLEEP repeatedly.
OSD Timer
You can select the time when the OSD display on the screen such as: 5Sec,10Sec,15Sec,20Sec,25Sec,
30Sec.
SOUND menu options
Press the MENU button on the right hand side of your TV or on the remote control and then use
/
button to select the Timer menu, press
button to enter the menu (see the picture below).
TIMER menu options
SOUND
Volume
Sound Mode
Bass
Treble
Balance
20
Music
60
52
50
TIMER
Sleep Timer
OSD Timer
0 Min
30Sec
Select
Adjust
Select
Adjust
NOTE: The Treble and bass levels can only be adjusted when the sound setting Personal is selected.


