50
English
3139 246 XXXXX
Using the Browser
(cont’d)
TIPS:
Press
RETURN
to go back to previous menu item. Press
BROWSER
to exit the menu.
Browsing the picture disc
The Media Browser allows you to view
the JPEG pictures discs or playback as a
slide show or store them in an album.
JPEG Photo can handle up to 100 photos
in one album on a DVD+RW or DVD+R
from this DVD recorder, depends on the
JPEG file parameters.
The supported functions are shown
at the bottom of the disc content
menu via the color coded buttons
on the remote control.
Adding pictures to an album
Photo roll
is a folder for storing original
JPEG pictures and they are protected. It
is comparable with a conventional 35mm
film for cameras. Rolls will be created
automatically from the digital cameras.
Photo album
contains different pictures
on the rolls. You can delete an album
without deleting the pictures of the rolls.
1
Press
BROWSER
on the remote
control.
➜
The disc content menu appears.
2
Press
1
2
to select photo roll menu and
press
3
4
to select a desired photo roll
folder.
DVD / Photo / Photo Rolls
All Photo Rolls
01.02.2003 - 1
01.02.2003 - 1
01.02.2003 - 2
01.02.2003 - 3
Berwang
Davoux
Sylvia
01.02.2003
42 photos
Stop
To Album
[PLAY] [RETURN] [BROWSER]. For overview press [OK]
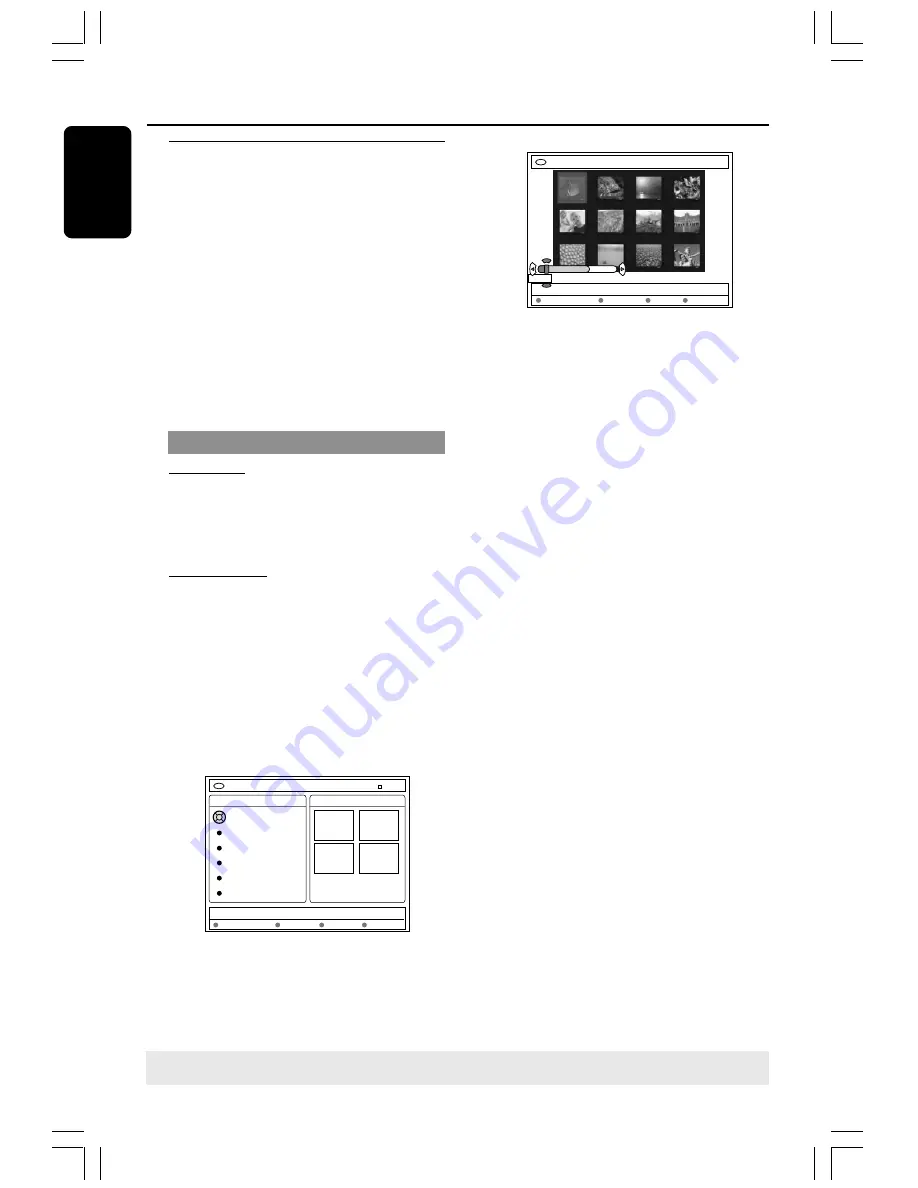
3
Press
OK
to display the picture overview.
➜
The 12 roll thumbnails picture screen
appears.
DVD / Photo / Rolls / Roll KYZ
To Album Select All Select Rotate
06/06/2004
00:00
[PLAY] [OK] [RETURN] [EDIT] [BROWSER]
4
Use
1
2
3
4
to select the photo which
you wish to add to the album.
➜
To make a multiple selection, press the
matching color button on the remote
control to select {
Select
} to confirm
each selected photo.
➜
Select {
Select All
} to add all photos
to the selection.
➜
Select {
Rotate
} to rotate the
selected photo in 90 degree clockwise
increments.
5
Press the matching color button on the
remote control to select {
to Album
.}
➜
The ‘Add to Photo Album’ menu
appears.
6
Press
3
4
to select an album or create a
new album folder which you want to add
photo(s) to it, then press
OK
to confirm.
➜
The selected photo(s) is/are now
stored in the album.
Helpful Hint:
– Do not pay attention to the order of the
pictures. You can change it later in the
album.
MRV660_17_Eng40
9/3/05, 10:26 AM
50


