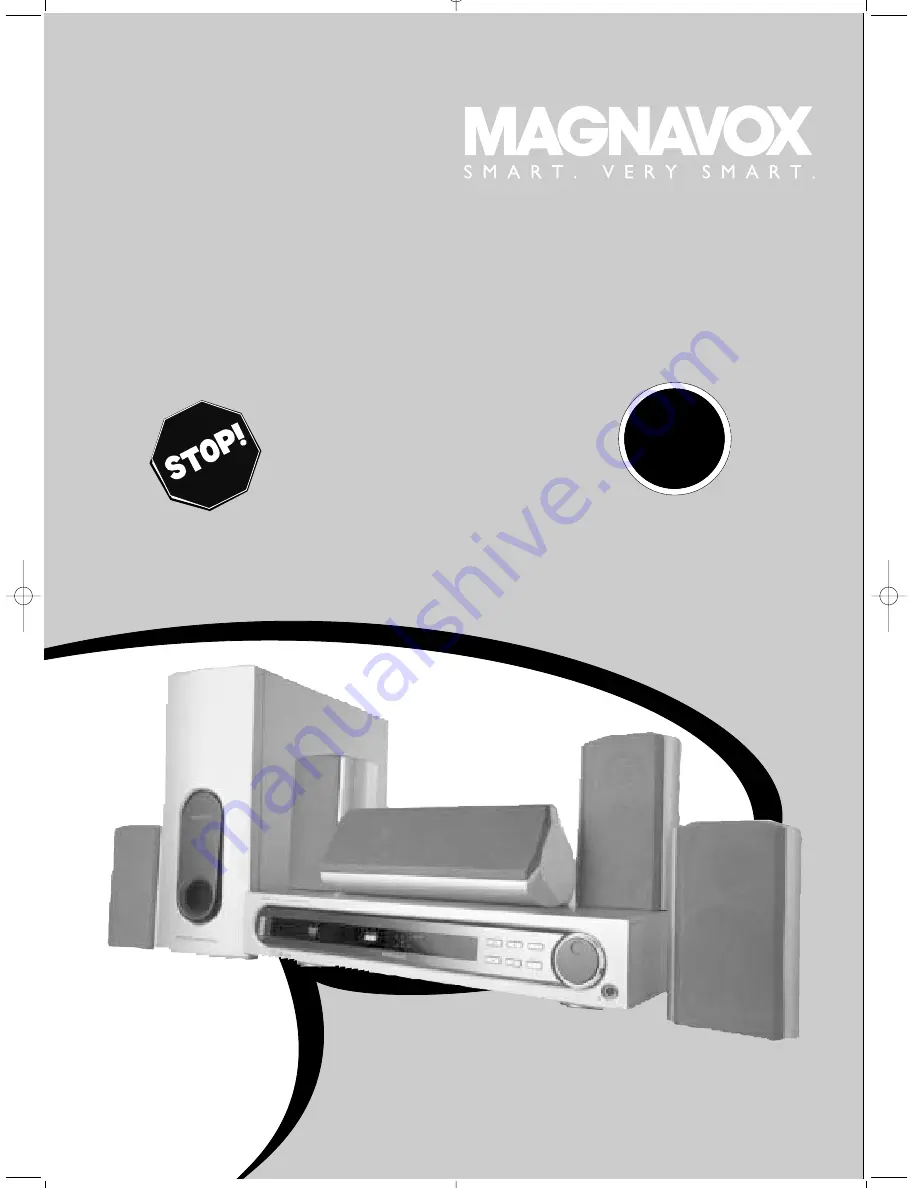
background image

User guide

MRD-200

DVD HOME CINEMA SYSTEM

Read this first!

Congratulations on purchasing this Magnavox product. 
We’ve included everything you need to get started. 
If you have any problems, Magnavox Representatives can
help you get the most from your new product by explaining: 
• Hookups, 
• First Time Setup, and 
• Feature Operation.
Do not attempt to return this product to the store.

For fast help, call us first! 

1-800-705-2000

Thank you for making Magnavox a part of your home! 

Return

your Warranty

Registration

Card within 10

days.

IM

PORTANT!

SE

E

WHY INSI

DE

Summary of Contents for MRD-200

Page 1: ...any problems Magnavox Representatives can help you get the most from your new product by explaining Hookups First Time Setup and Feature Operation Do not attempt to return this product to the store F...

Page 2: ...VOX product Lawrence J Blanford President and Chief Executive Officer P S Remember to get the most from your MAGNAVOX product you must return your Warranty Registration Card within 10 days So please m...

Page 3: ...Video Out 29 Digital Output Night Mode 30 Speaker Settings 31 Language Settings 32 Parental Control Levels 33 Parental Control Password Defaults 34 Audio and Surround Sound Options Audio and Sound Fe...

Page 4: ...a long time Copyright Protection This product incorporates copyright protection technology that is protected by method claims of certain U S patents and other intellectual property rights owned by Mac...

Page 5: ...e for the DVD Receiver is 1 one Look for the correct region symbol on your DVDs The number inside the globe refers to a region of the world Region 1 represents the United States of America Canada uppe...

Page 6: ...age 24 SUBW Buttons Press to adjust the subwoofer s sound level CENTER Buttons Press to adjust the center speaker s volume MUTE DISC AUX TV AV TUNER 1 6 2 4 3 5 9 8 7 0 MENU MENU DISC SYSTEM OK SURROU...

Page 7: ...tations OPEN CLOSE 0 Button Press to open or close the Disc Tray Display panel Information about the current activity of the DVD Receiver appears here PREV ious 4 4 Button In DISC mode press to go to...

Page 8: ...l Digital Audio In jack on other audio equipment Details are on page 14 AUDIO IN TV AUX Connect these jacks to the red and white Audio Out jacks of a TV or VCR This lets you hear TV or VCR sound throu...

Page 9: ...as detailed in your Quick Use Guide or on page 13 Battery Installation 1 Remove the battery compartment lid by pressing in the tab then lifting off the lid 2 Place the batteries in the battery compar...

Page 10: ...inema System connect the supplied red and white audio cables to the DVD Receiver s red white right left TV AUDIO IN jacks and to the TV S right left AUDIO OUT jacks Match the cable colors to the jack...

Page 11: ...eiver s red white right left TV AUDIO IN jacks and to the TV S right left AUDIO OUT jacks Match the cable colors to the jack colors 3 Connect the power cords of the DVD Receiver and TV to a power outl...

Page 12: ...and to the TV S right left AUDIO OUT jacks Match the cable colors to the jack colors 3 Connect the power cords of the DVD Receiver and TV to a power outlet 4 Turn on the TV and set it to the correct S...

Page 13: ...jack on the Subwoofer Connect the Subwoofer s power cord to the Subwoofer and to a power outlet when connections are complete Set the Subwoofer s Volume On control to On Select the phase polarity 0 o...

Page 14: ...the other equipment for complete con nection and use details 1 Connect the DVD Receiver to a TV as shown on pages 9 12 or in your separate Quick Use Guide Make only one video con nection whichever fit...

Page 15: ...cks to the AUDIO OUT L R jacks on the VCR or cable satellite box 2 Select AUX mode to listen to the VCR or cable satellite playback on the surround sound speakers Connecting a VCR for Recording DVDs T...

Page 16: ...ress 98 to select an item then press OK 7 To stop playback at any time press STOP C To continue Disc playback after an interruption press RESUME before pressing STOP C The last viewed scene will be ke...

Page 17: ...Tracks Chapters Searching 1 Press and hold H or G for about two seconds to fast reverse or fast forward the Disc 2 Press PLAY PAUSE Bk to resume normal playback Stopping and Resuming Playback 1 Press...

Page 18: ...u Icons Setup Menu User Preferences Subtitle Select Subtitle language if available Language Select multiple audio languages if available Slow Play DVD in slow motion Fast Reverse Play DVD backward in...

Page 19: ...uages are available 1 Press SYSTEM MENU 2 Press or to select 3 Press 9 to select the desired audio language Or during Video CD playback press 9 to select the audio channels you want to hear during pla...

Page 20: ...rse FR speeds of FR x2 FR x4 FR x6 or FR x8 Or choose Fast Forward FF speeds of FF x2 FF x4 FF x6 or FF x8 During Video CD playback you may choose Fast Reverse speeds of FR x1 FR x2 FR x3 or FR x4 Or...

Page 21: ...rom left to right in the time edit box As each number is entered the next item will be highlighted 4 Press OK to start playback at the time you specified 5 Press SYSTEM MENU to remove the Menu Bar Tit...

Page 22: ...cture will appear at 1 5 twice or four times the normal size Or choose OFF to cancel zooming 4 Press 9 8 to move down up left or right through the enlarged picture 5 Press SYSTEM MENU to remove the Me...

Page 23: ...e picture will change to the angle you selected automatically 4 Press SYSTEM MENU to remove the Menu Bar Step Some DVDs and Video CDs will allow you to play the Disc one picture frame at a time To do...

Page 24: ...8 kHz Bit rates recording speeds 32 64 96 128 192 and 256 kbps and supported VBR bit rate 1 After you insert a Disc with MP3 files press DISC MENU The Album menu or list will appear on the TV screen I...

Page 25: ...you want repeat ed playback to begin press REPEAT A B 3 When the Disc reaches the point at which you want to end the segment press REPEAT A B again The segment will begin playing repeatedly On a DVD...

Page 26: ...LAY PAUSE Bk to play the Program 6 Press STOP C once to stop playback Press STOP C again to can cel the Program You can access the Program in the Menu Bar as well Press SYSTEM MENU then press repeated...

Page 27: ...1 While playback is stopped press SYSTEM MENU Press or to select the icon 2 Press 9 to select then press 3 Press 9 to select TV SYSTEM then press 4 Press 9 or 8 to select AUTO NTSC or PAL then press O...

Page 28: ...regular for mat Check the Disc case for details Select 4 3 LB letterbox if you want to see the picture with black bars at the top and bottom of the screen This looks like the pic ture you see when wat...

Page 29: ...R PB Y SCART CVBS S VIDEO Z Y d Z Y d You only need one video connec tion between the TV and the DVD Receiver You cannot use S Video and Component Video at the same time If you used the yellow VIDEO O...

Page 30: ...K Check the owner s manual of the optional audio equipment 5 Press SYSTEM MENU to remove the menu DIGITAL OUTPUT ALL NIGHT MODE PCM 96K CENTER DELAY PCM 48K REAR DELAY OFF TEST TONE SPDIF RAW OUTPUT N...

Page 31: ...an the Front Left Right speakers Reset the Rear speaker delay time REAR DELAY to improve the Surround Sound effect Choose 15MS milliseconds 12MS 9MS 6MS default or OFF Use the longer delay settings wh...

Page 32: ...to select a different language in the DVD Disc Menu Check your DVD or its case for details 5 Press SYSTEM MENU to remove the menu AUDIO ENGLISH SUBTITLE ENGLISH DISC MENU ENGLISH GOTO LANGUAGE SETUP P...

Page 33: ...ess or to select the icon 2 Press 9 repeatedly to select then press 3 PARENTAL will be selected Press 4 Press the Number buttons 0 9 on the remote control to enter your four digit code as requested Wh...

Page 34: ...ed level material 6 Press the Number buttons 0 9 to enter your NEW CODE number You will have to enter the same code twice to CONFIRM CODE 7 Press SYSTEM MENU or OK to remove the menu Defaults To reset...

Page 35: ...1 Press CENTER to adjust the volume of the Center speaker CNT XX DB will appear on the display panel XX denotes volume level between 15db and 10db 2 Press REAR to adjust the volume of the rear surrou...

Page 36: ...al Surround All five speakers front left front right center surround left and surround right and the Subwoofer of the DVD Home Cinema System must be connected to the DVD Receiver DTS Digital Theater S...

Page 37: ...e seconds press the Number buttons 0 9 to select a preset number If Program disappears from the display panel before you select a preset number repeat steps 2 3 4 Within five seconds press PROGRAM to...

Page 38: ...atedly to select the amount of time after which you want the DVD Receiver to turn off You may choose in min utes 30 45 60 90 120 or OFF To check the time remaining for the Sleep Timer after you have s...

Page 39: ...ure you did not connect any cables from the DVD Receiver to a Stereo s PHONO IN jack Make sure you did not connect the DIGITAL OUT COAXIAL or OPTICAL jack on the DVD Receiver to an analog jack on the...

Page 40: ...the power outlet for a few minutes Reconnect the power cord and try to operate the DVD Receiver again as usual There is no sound from the Center or Rear Surround speakers Press CENTER or REAR on the...

Page 41: ...kHz 4 Hz 44 kHz 96 kHz Digital Output SPDIF Coaxial Optical LASER Type Semiconductor laser GaAIAs Wavelength 650 nm Output Power 7 mW Beam Divergance 60 degree MISCELLANEOUS Power Supply Rating 120 V...

Page 42: ...log does Dolby Digital A surround sound system that provides 5 1 channel sound as used in movie theaters DTS Digital Theater Systems This is a surround sound system but it is different from Dolby Digi...

Page 43: ...al control levels 33 parental control password 34 password 34 paused playback 17 pbc 24 pcm 30 play pause Bk button 6 7 16 17 playable discs 5 playback control 24 playing a disc 16 17 power y y button...

Page 44: ...tries where the product is officially distributed by Magnavox In countries where Magnavox does not distribute the product the local Magnavox service organi zation will attempt to provide a replacement...

Reviews: