


English
19
Sound
Before you begin:
You must set
Home
in
Location
.
➠
Otherwise, personalized picture and sound settings will not be
memorized after the unit goes into Standby mode.
1
Press
MENU
and use ▲▼ to select
Sound,
then press
OK
.
Picture
Auto sound
Standard
Sound
Equalizer
Setup
SRS TruSurround XT
On
Features
Auto volume leveling
Off
Language
TV speakers
On
USB
Primary MTS
Stereo
2
Use ▲▼◄► to select the item you want to adjust, then press
OK
.
Auto sound
to select the desired setting, then press
OK
.
(
Personal
,
Standard
,
Vivid
,
Sports
,
Movie
,
Music
and
News
)
When you adjust the following settings (
Equalizer
,
SRS TruSurround XT
and
Auto volume leveling
),
Personal
will be set automatically.
Adjust the tonal quality for each frequency.
Equalizer
Cursor
◄
Cursor
►
to adjust the each level of tonal quality
Press
BACK
to go back to the previous menu.
This selects sound modes for more spatial or surround sound
reproduction.
SRS TruSurround XT
Off
to set SRS TruSurround XT
®
to Off
On
to set SRS TruSurround XT
®
to On
This function keeps a constant loudness differential between the TV
commercials and the programs.
Auto volume
leveling
Off
to remove the auto volume leveling
On
to reduce volume differences between
the TV commercials and the programs
You can select the Audio Output from the unit’s speakers or not. If your
amplifier is HDMI link function compatible and connected by an HDMI
cable to this unit, some sound operations such as volume up can be
changed by using this unit’s remote control. Make sure
fun-Link control
is set to
On
.
➠
TV speakers
On
to output sound from the unit’s
speakers
Off
not to output sound from the unit’s
speakers
CEC Link
to control Audio Output from your
connected fun-Link Compliant Devices
with
VOL + / −
by using this unit's
remote control.
You can set the output mode as a default for the sound mode (Analog TV only).
This setting is not interlocked when you change the output mode by
pressing
SAP
. Refer to
Switching audio mode
.
➠
Primary MTS
Stereo
to output stereo-audio
Mono
to output mono-audio
SAP
to output second audio program
Setup
Before you begin:
Make sure the unit is connected to antenna or cable.
1
Press
MENU
and use ▲▼ to select
Setup,
then press
OK
.
Picture
Autoprogram
Sound
Channel list
Setup
Add channels
Features
Antenna
Language
USB
2
Adjust the following items.
Autoprogram
Be sure the RF cable is correctly connected to this unit and you are
registered with your cable TV provider when you install Cable channels.
1
Use ▲▼ to select
Autoprogram
, then press
OK
.
• If you run
Autoprogram
when you have locked channels, a
message appears asking to enter your PIN . Enter your PIN in
order to complete the installation. You need to set the channel
lock again after the installation.
2
Use ▲▼ to select an appropriate option, then press
OK
.
– When
Antenna
is selected, the TV detects antenna signals.
It searches for DTV and Analog TV channels available in your
area.
– When
Cable
is selected, the TV detects signals supplied by cable. It
searches for DTV, Analog TV and Cable channels available in your
area.
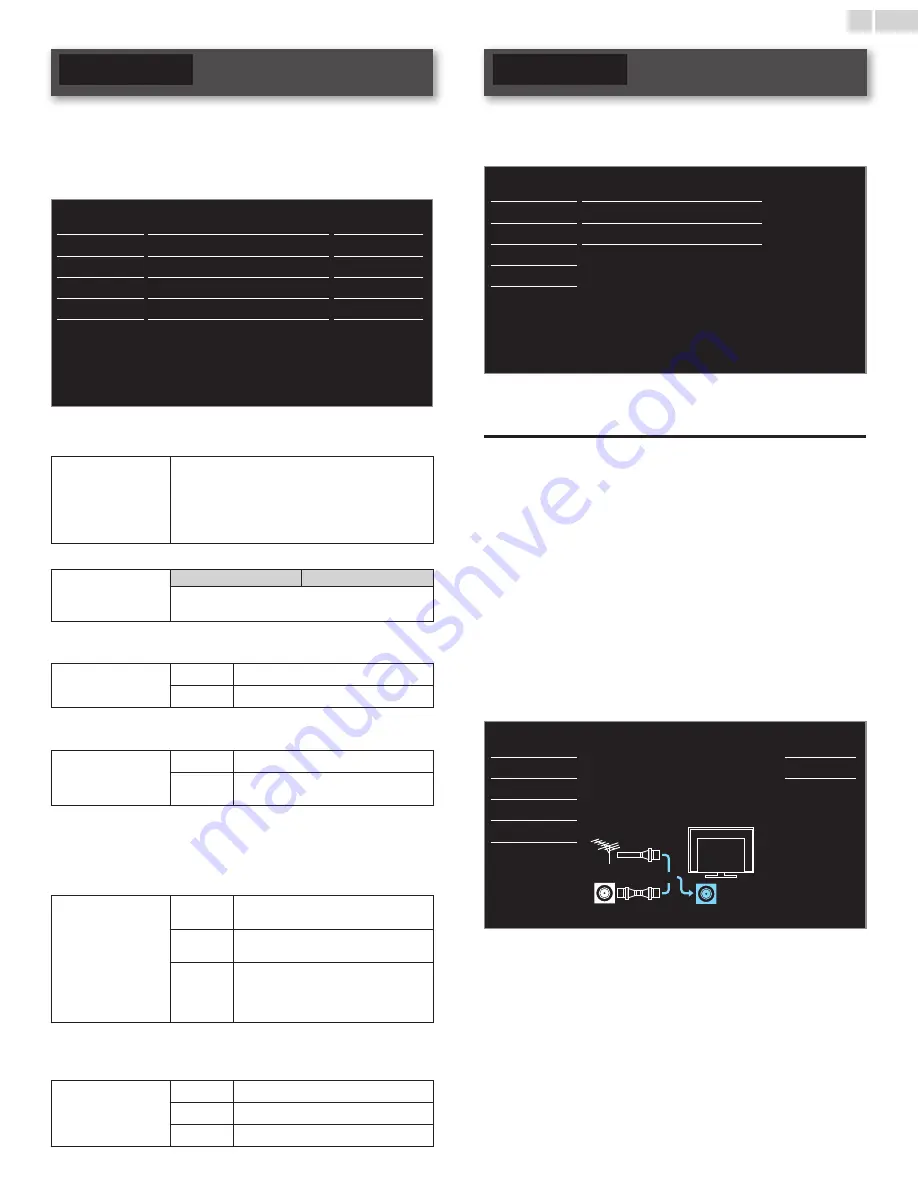
Picture
Autoprogram will rescan all channels.
Auto programming may take more than 20
minutes to complete.
Select your signal source.
Back
Sound
Antenna
Setup
Cable
Features
Language
Antenna
Cable
Or
ANTENNA IN
USB
Continued on next page.


