6
General Operations
CD Changer Operation (Optional)
Setting the Clock
1. Press DISP button (16) for more than 3 seconds
until the clock shown in the display area is flash-
ing.
2. Press the button (3) to adjust the hours
3. Press the
button (3) to adjust the minutes.
DISPLAY PRIORITY
Time Display Priority
Press and hold DISP button (16) while pressing
the
button to select Time Priority. Pressing the
DISP button while in Time Priority will temporari-
ly display selected station frequency.
In CD Mode
When the display priority is set to "TIME", the
clock will be displayed indicating the current
time.
Pressing DISP button will temporarily display CD
track number, time remaining or elapsed time
depending on current CD display option selected.
After 5 seconds the display will return to the
time.
Frequency Display Priority
Press and hold DISP button while pressing the
button to select Frequency Priority.
Pressing DISP button while in Frequency Priority
will temporarily display clock.
In CD Mode
When the display priority is set to "Frequency",
display indicates CD track number on current CD
display option selected.
Pressing the DISP button will temporarily display
the time. After 5 seconds the display will return
to the CD display.
Illumination Dimmer
Press LOUD / DIM button (18) for more than 2 sec-
onds to change the brightness of the LCD display
backlight.
Selecting a Mode
Press MODE button (4) to choose between Radio
mode, CD mode, CDC mode or AUX IN mode.
Select a Disc
1. Load your CD Changer with compact discs per
the manufacturer's operating instructions.
2. Press the
SHIFT button (5) to enter Shift
Mode. “SHIFT” will then appear in the display,
indicating the CD Changer is active.
3. To change the current CD, press the
or
button
(3) to scroll through the CDs loaded in the CD
Changer. If there isn’t any operation for several sec-
onds, the unit will exit Shift Mode automatically.
Notes on CD-Rs and CD-RWs:
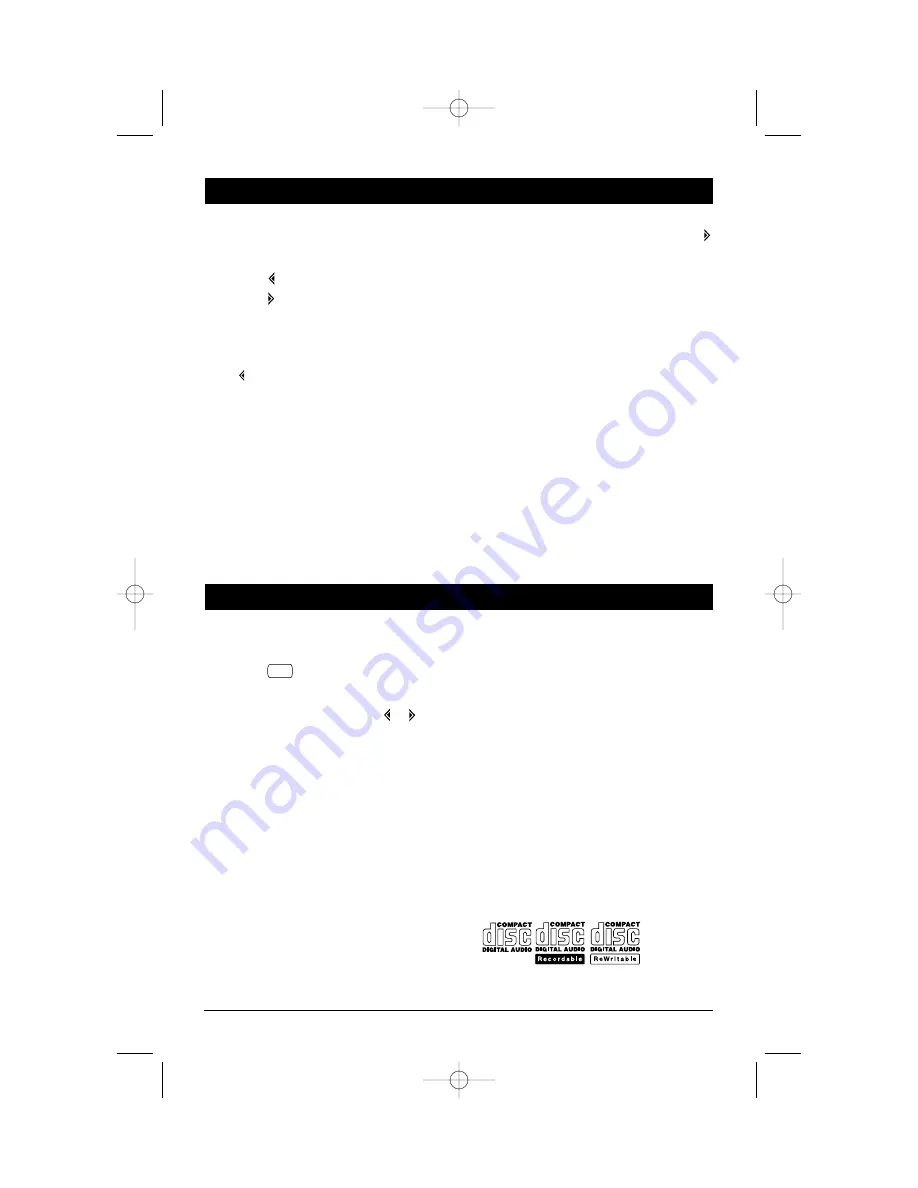
• Be sure to only use discs with the following labels
in this unit:
• The unit cannot play a CD-R and CD-RW that is
not finalized. (Please refer to the manual of your
CD-R/CD-RW recorder or CD-R/CD-RW software
for more information on the finalizing process).
• This unit will not play MP3 music or WMA music
recorded on any CD-R or CD-RW disc.
• Depending on the recording status/conditions of
the disc and the equipment used for the record-
ing, some CD-Rs/CD-RWs may not be compati-
ble with this unit. To have more reliable play back,
please follow these recommendations:
- Use CD-RWs with speed 1x to 4x and write at
speed 1x to 2x.
- Use CD-Rs with speed 1x to 8x and write at
speed 1x to 2x.
- Do not play a CD-RW which has been written on
more than 5 times.
SCAN
M4100CDUM.qxd 07/24/03 4:29 PM Page 6


