10
11
2. GETTING STARTED
2. GETTING STARTED
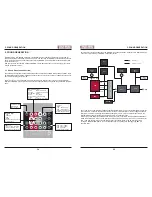
• USB: For MIDI via USB and firmware updates.
• MIDI IN: To control MAGMA from MIDI devices not equipped with USB.
• If you want to synchronise MAGMA with an external MIDI device via MIDI clock, connect the MIDI
output of the respective device to the MIDI input of MAGMA and send a MIDI-clock signal to MAGMA.
• If you want to play MAGMA from a keyboard, connect the MIDI output of the keyboard to the MIDI
input of MAGMA.
The default MIDI channel setting is 1 and should not be messed with at this point.
Please note that USB port and MIDI sockets should not be connected at the same time.
One short but important note about MIDI loops:
When using MAGMA in connection with a software MIDI sequencer, please make sure that
the MIDI-through function of your software sequencer has been disabled, at least on the MIDI
channel that is used by MAGMA. Otherwise, MIDI data (sequencer notes) output by MAGMA
are fed back into MAGMA, causing data overflow and thus erratic behaviour. Especially users of
Steinberg Cubase should keep an eye on this, since Cubase causes a MIDI loop when using its
default settings.
2.4. Check it out / First encounter (of a closer kind)
You are pretty curious to hear some sounds now, aren´t you? Because of your (perfectly understandable)
impatience, we will first go on a quick tour at this point. The following section will teach you how to load
some presets, run sequences and tweak some pre-programmed sounds. Everything else will be covered
later. Here we go:
• First turn down MAGMA‘s
VOLUME
control fully counter-clockwise.
• Power MAGMA up.
• Turn up
VOLUME
to a suitable level. When it hurts, it is probably a tad too much.
When running MAGMA together with a mixer, turn MAGMA‘s VOLUME up to the max and adjust the input
level on your mixer. This will yield the best signal-to-noise ratio possible.
As you might have guessed by now, MAGMA is a monophonic synthesiser with an on-board sequencer. So
what could be more obvious than checking out some sequencer patterns and listen to the sounds. Here we
go (again):
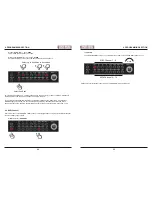
• Hit the
START/STOP
button.
• You will hear the machine playing and you will see the
STEP
buttons /
LEDs
light up. Pretty nice,
huh?
• Choose an adequate tempo by moving
TEMPO/VAL
.
• To stop the sequencer, simply hit
START/STOP
again.
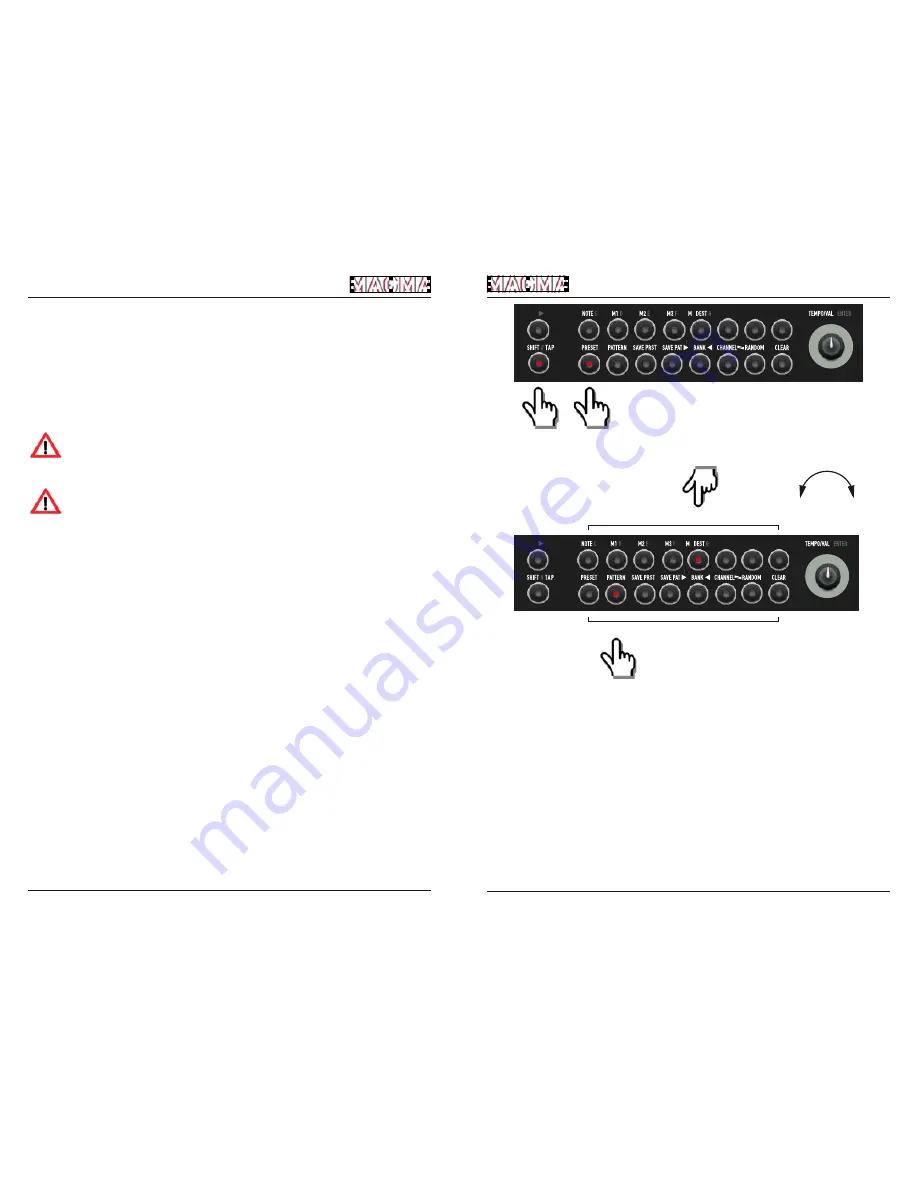
Now that we have got your attention, you might want to listen to some more presets. Go on like this:
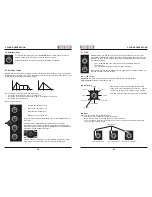
You already guessed it - hit
SHIFT
and keep it depressed while hitting
PRESET
.
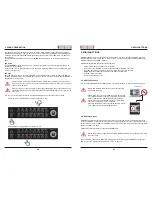
Then hit one button of the lower row to select a sub-bank. Keep it depressed while hitting one button of the
upper row – now you have changed sub-banks as well as presets.
Have your go at it and try out presets as you desire – enjoy!
To change tempo, leave the preset mode by pressing
SHIFT
and hitting
NOTE
(because in this mode, the
encoder will change presets). Now you are back in note mode and the
VAL
encoder adjusts the tempo.
Connect a MIDI keyboard to MAGMA via MIDI DIN connection. Set the MIDI channel of your keyboard to
#1. Now play some keys. The current sequence is transposed depending on the keys played. Please note
that keyboard velocity controls the volume of the sequence.
While a preset is active, you may also tweak the sounds by turning MAGMAs knobs. Feel free to experi-
ment.
All explanations about sound generation and programming the sequencer will follow later on.
TRANSP
A
SHUFFLE
B
SWING
RST
+
hold
move
TRANSP
A
SHUFFLE
B
SWING
RST
+
+
hold
or
Subbank 1 – 8
Pattern 1 – 8
Summary of Contents for EOwave
Page 23: ......


