background image

14

15

IRL

UK

Camera Description

Start

IRL

UK

Start

Contents of box

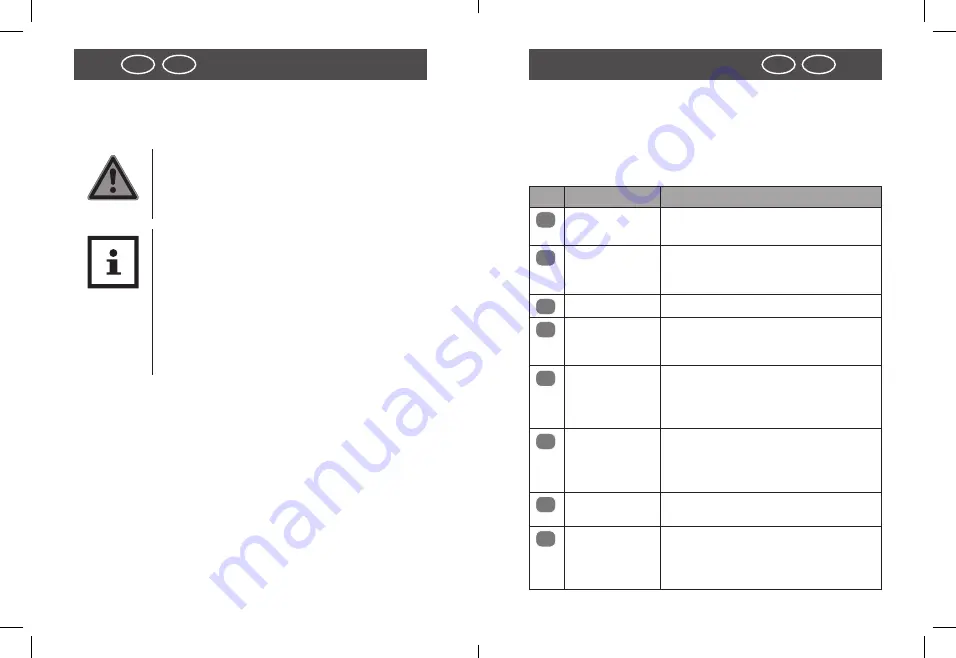
WARNING! 

Caution! Keep plastic foil and bags 

away from babies and small children as dan-

ger of suffocation.

NOTE!  
Danger of damage!

If the packaging is carelessly opened with a 

sharp knife or other pointed objects, the pro-

duct can be easily damaged. 


Please open packaging carefully.

1.  Check that delivery is complete (see 

Fig. A on page 4

).

2.  Remove Digital Camera from packaging and check 

whether the equipment or parts are damaged. If yes, do 

not use Digital Camera. Contact the service address of the 

manufacturer listed on the Warranty card.

Camera Description

Description of camera parts and buttons

Please follow up the description below 

(see 

Fig. B, C and D on 

page 5

).

No. Element

Description

7

Slot for carrying 
loop

Slot for fastening the carrying loop to the 
camera

8


Shutter Button

Press this button to take pictures, to start 
and end video recordings, or to confirm 
changes to the menu

9

Front monitor

Monitor for recording self portraits

10

Flash

Use the built in flash to better illuminate 
the target object in the dark (the opti-
mum flash distance range is up to 1.5 m)

11

Lens

Used for taking pictures and short films.

Note:

 Always keep the lens clean. Finger-

prints and dirt can negatively affect the 
image quality

12

Operation LED

When this LED is blinking, the camera is 
in the process of performing an action 
(loading the flash, performing a storage 
operation etc. ...)

13

Back monitor

To display photographs and videos, as 
well as to check and change settings

14

Tele

Menu mode:

 Up

Photo/ Video/ Playback mode:

 Digital 

zoom out

Video playback:

 Playback start/ pause

Summary of Contents for FUN

Page 1: ...nt technical equipment and respective accessory which is parti cularly easy to operate The device comes with a 3 year warranty In case of a defect in the Digital Camera you require the enclosed warranty card and proof of purchase Keep these in a safe place Imprint Issued by supra Foto Elektronik Vertriebs GmbH Denisstr 28A 67663 Kaiserslautern Germany ...

Page 2: ...tries Keep Operating Instructions for further use When passing on the Digital Camera to third parties please also include these Operating Instructions Explanation of symbols The following symbols and signal words are used in these Operating Instructions on the device or on the packaging DANGER These signal words indicate a high level hazard which could cause death or serious injury if not avoided ...

Page 3: ...rect connection or improper use The Digital Camera may not be operated with an external timer or separate remote control system Never immerse USB cable or plug in water or other fluids Keep Digital Camera and accessories away from open flames and hot surfaces Install USB cable in such a way that it does not become a trip hazard Do not kink USB cable and do not install it over sharp edges Never sto...

Page 4: ...y not be cleaned or maintained by children Keep packaging foil away from children They could get caught in it during play and could suffocate Do not leave Digital Camera unintended during operation Never place Digital Camera on or near hot surfaces e g stove tops etc Note Danger of material damage Incorrect use of the Digital Camera can cause the Digital Camera to be damaged Ensure that mains cabl...

Page 5: ...B C and D on page 5 No Element Description 7 Slot for carrying loop Slot for fastening the carrying loop to the camera 8 Shutter Button Press this button to take pictures to start and end video recordings or to confirm changes to the menu 9 Front monitor Monitor for recording self portraits 10 Flash Use the built in flash to better illuminate the target object in the dark the opti mum flash distan...

Page 6: ...mode Open menu Playback mode Deleting photos videos Picture playback Navigate to the bot tom in the enlarged image Playback mode File Manager press briefly 20 Macro switch O Macro mode Use this mode to take close up photos distance 11 cm 18 cm N Normal mode Use this mode to take pictures at a distances from 0 5 m infinity 21 On Off button Press this button for 2 seconds to turn on the camera and p...

Page 7: ...icator The battery is fully charged The battery is empty 7 Zoom display Show the zoom setting 8 Memory card A microSD SDHC card is inserted and used to store photos and videos 9 White Balance Display of the selected white balance 10 Photo video counter Photo mode Number of possible photos Video mode Recording time in seconds Preparation If necessary remove the protective foils from the colour mo n...

Page 8: ...amera and then open the battery com partment as previously described The memory card microSD SDHC card is inserted into the small compartment next to the batteries Slide in the memory card into the card slot with the gold pins first and facing the rear monitor until it clicks in place Do not forcefully insert the card since this coulddamage the card and the card slot Make sure to format the memory...

Page 9: ...ll menu settings can only be performed when the rear mo nitor is activated If the front monitor is activated no setting adjustments can be performed Photo mode In the Settings menu of the photo mode the settings for ta king photos can be made Press the M mode button and select the picture mode Press the button Menu 9 to access the settings menu In the photo menu select the desired option with the ...

Page 10: ...Daylight Cloudy Tungsten Fluorescent ISO This sets the light sensitivity for recording photos If the sen sitivity is increased and the ISO figure is increased photo graphy will become possible even in dark locations but the picture will then appear more grainy noisy Autom ISO 100 ISO 200 ISO 400 ISO 800 Exposure With the help of the exposure compensation the exposure value can be set manually from...

Page 11: ...e See white balance in the photo mode page 24 Auto Daylight Cloudy Tungsten Fluorescent Setup Menu In the setup menu the basic settings of your camera can be set Press the button Menu 9 in the photo mode or video mode to access the settings menu Select the Setup menu by pressing the button In the Setup menu select the desired option with the buttons and press the shutter button to enter the submen...

Page 12: ... displayed Using the camera Taking photos The camera is equipped with a 2 7 colour LCD TFT screen on the back that enables you to perform settings for pictures playback recorded pictures or video clips or adjust menu settings Press the ON OFF button to turn on the camera The came ra will automatically be in the photo mode Use the macro button to correctly adjust the distance to the object being ph...

Page 13: ...timer LED abo ve the lens will start to blink It will blink faster during the last 2 seconds before recording the photo Playback of the photos The camera offers two options for playback Single picture and preview Press the 7 button to access the playback mode The last picture or video clip will be displayed Press the buttons to individually scroll through the pictures During single image playback ...

Page 14: ...to protect Press and hold the button Menu 9 until the menu op tions are displayed Select Protect and press the shutter button Select Single or Protect All and press the shutter button Changing the size of the photos A recorded photograph can be downsized and stored sepa rately Follow the instructions below for changing the size of a photo Press the 7 button to access the playback mode The last pic...

Page 15: ...nnection The camera will install itself on the computer as an additio nal drive called Removable Disk If you double click on this drive you can copy or move the photo and video files to a folder on your computer System requirements Windows Hardware Pentium IV 3 0 GHz or higher Operating system Windows XP Vista 7 8 Main memory 2 GB RAM Hard disk space 1 GB Drive CD or DVD Connectors Free USB port M...

Page 16: ... mode If installation of the CD does not start automatically you can manually install the software by using the Explorer Open the icon for your CD DVD drive with a dou ble click and run the setup program The editing software is not supported on computers running Mac or Linux systems Possible number of photos The following table shows the approximate number of pho tographic images that can be made ...

Page 17: ...We expressly draw attention to the fact that under the GNU General Public License conditions no liability is accepted The starting point for the software is the software published online at http sg gpl net The software listed there is licensed pursuant to the GNU General Public License conditions Device related changes have been made to this software for the product in question The source text of ...

Page 18: ... 8 0 Megapixel CMOS sensor Image resolution Photo 14M 4 320 x 3 240 interpolated 8M 3 264 x 2 448 5M 2 592 x 1 944 3M 2 048 x 1 536 VGA 640 x 480 Video VGA 640 x 480 QVGA 320 x 240 Monitor 2 7 and 1 8 colour TFT LCD Recording medium MicroSD SDHC memory cards up to 32 GB File Format JPEG EXIF 2 2 Motion JPEG AVI Lens F 2 8 f 4 8 mm Focus range 0 5 m infinity Macro mode 11 cm 18 cm Exposure time Nor...

Page 19: ... mains connector prior to cleaning 2 Let Digital Camera cool down completely 3 Wipe Digital Camera with a slightly damp cloth Let Digital Camera dry completely Disposal Dispose of packaging Disposal information Visit www recyclenow com to see which items are collected in your area BOX INNER BOX CARD widely recycled BAGS FILM PLASTIC not currently recycled For disposal separate packaging into diffe...

Page 20: ... equipment and batteries Storage batteries and batteries do therefore contain the adjacent symbol WARRANTY CARD Description of malfunction Return your completed warranty card together with the faulty pro duct to Sertronics LTD 45 Regal Drive Walsall Enterprise Park Walsall WS2 9HQ United Kingdom info supra elektronik com Your details Name Address Email Date of purchase We recommend you keep the re...

Page 21: ... the warranty please send us together with the faulty item the original receipt and the warranty card properly completed the product with all components included in the packaging The warranty does not cover damage caused by Accident or unanticipated events e g lightning water fire Improper use or transport Disregard of the safety and maintenance instructions Other improper treatment or modificatio...

Reviews: