Page 6
2.1.1. Lighting Procedure (Manual BM Control)
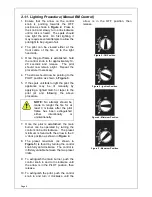
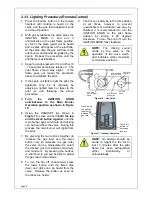
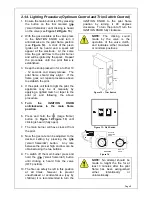
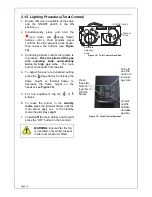
1. Ensure that the arrow on the control
knob is pointing towards the OFF
position as shown in
Figure 2
. Press in
the knob and slowly turn anti-clockwise
until a click is heard. The spark should
now light the pilot. On first lighting, it
may require several attempts to allow the
pilot light to be purged of air.
2. The pilot can be viewed either at the
front centre of the fire, or to the right
hand side.
3. Once the pilot flame is established, hold
the control knob in for approximately 10-
20 seconds and release. The pilot
should now remain alight. Repeat the
procedure if necessary.
4. The arrow should now be pointing to the
PILOT position as shown in
Figure 3
.
5. If the spark unit fails to light the pilot, the
appliance may be lit manually by
applying a lighted match or taper to the
pilot jet and following the above
procedure.
NOTE:
No attempt should be
made to relight the fire for at
least 3 minutes after the pilot
flame has been extinguished
either intentionally or
unintentionally.
7. Once the pilot is established, the main
burner can be operated by turning the
control knob anti-clockwise. The preset
minimum is found with the arrow in the 9
o’clock position as shown in
Figure 4
.
8. The preset maximum (as shown in
Figure 5
) is found by turning the control
knob fully anti-clockwise. The control is
infinitely variable between the two preset
limits.
9. To extinguish the main burner, push the
control knob in and turn clockwise until
the arrow is in the PILOT position, then
release.
10. To extinguish the pilot, push the control
knob in and turn it clockwise until the
arrow is in the OFF position, then
release.
Figure 2 - Off Position
Figure 3 - Ignition Position
Figure 4 - Minimum Position
Figure 5 - Maximum Position


