If you are using a game controller, use the D-Pad to highlight one of the options
above, and then press the “CROSS” button to make your selection.
If you are using a USB keyboard connected to your PlayStation
®
2, use the “UP” &
“DOWN” (arrow-keys) to highlight one of the options above, and then press the
“RETURN” or “ENTER” key to make your selection.
On the Main Menu screen you will also see the number of games/codes available
on your GameShark
®
2 Version 4. These numbers will increase accordingly every
time you add new codes to your GameShark
®
2 Version 4 and save them to your
memory card.
If you are on the Main Menu screen and you do not touch your controller or USB
keyboard for 10 seconds, it will automatically “rain” on the screen for 5 seconds,
then stop. This is repeated whenever you leave your controller.
SPECIAL FEATURE
You can create shapes and ripples in the “water” background of the Main Menu.
Simply press and hold the L3 button (left analog stick) and move it around. You will
notice a small dot moves around the screen making shapes.
You can also make it “rain” in the background by pressing and holding the R3
button (right analog stick)
4) Start Game
When you select this option from the Main Menu you will be prompted to insert the
game disc.
If you are using a game controller, press “CROSS” to start the game or “TRIANGLE”
to cancel this selection and return to the Main Menu.
If you are using a USB keyboard, press “Y” to start the game or press “N” to cancel
this selection and return to the Main Menu.
5) Select Game
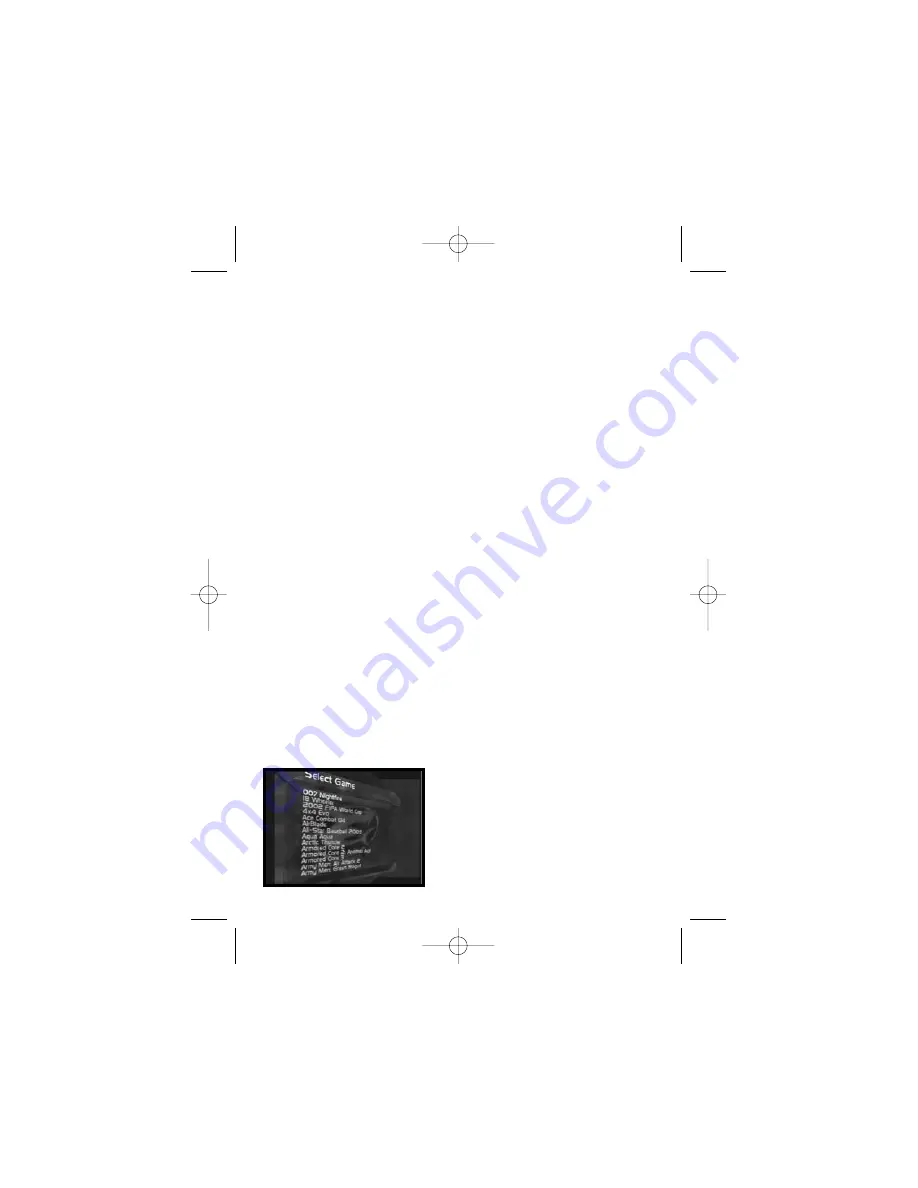
This option takes you to the "Select Game" screen, which contains the list of all
game titles supported by the GameShark®2 Version 4.
All game titles in your library are listed alphabetically. Your code library is
completely customizable – in this manual you’ll learn how to add, edit and delete
game titles and codes to form your own unique collection of Cheat Codes.
The Select Game Screen looks like this.
GameShark V4 Tin UG English 10/24/03 4:55 PM Page 5


