10
Mackie Digital X Bus
UAD-1 Powered Plugins Installation Guide
11
Mackie Digital X Bus
UAD-1 Powered Plugins Installation Guide
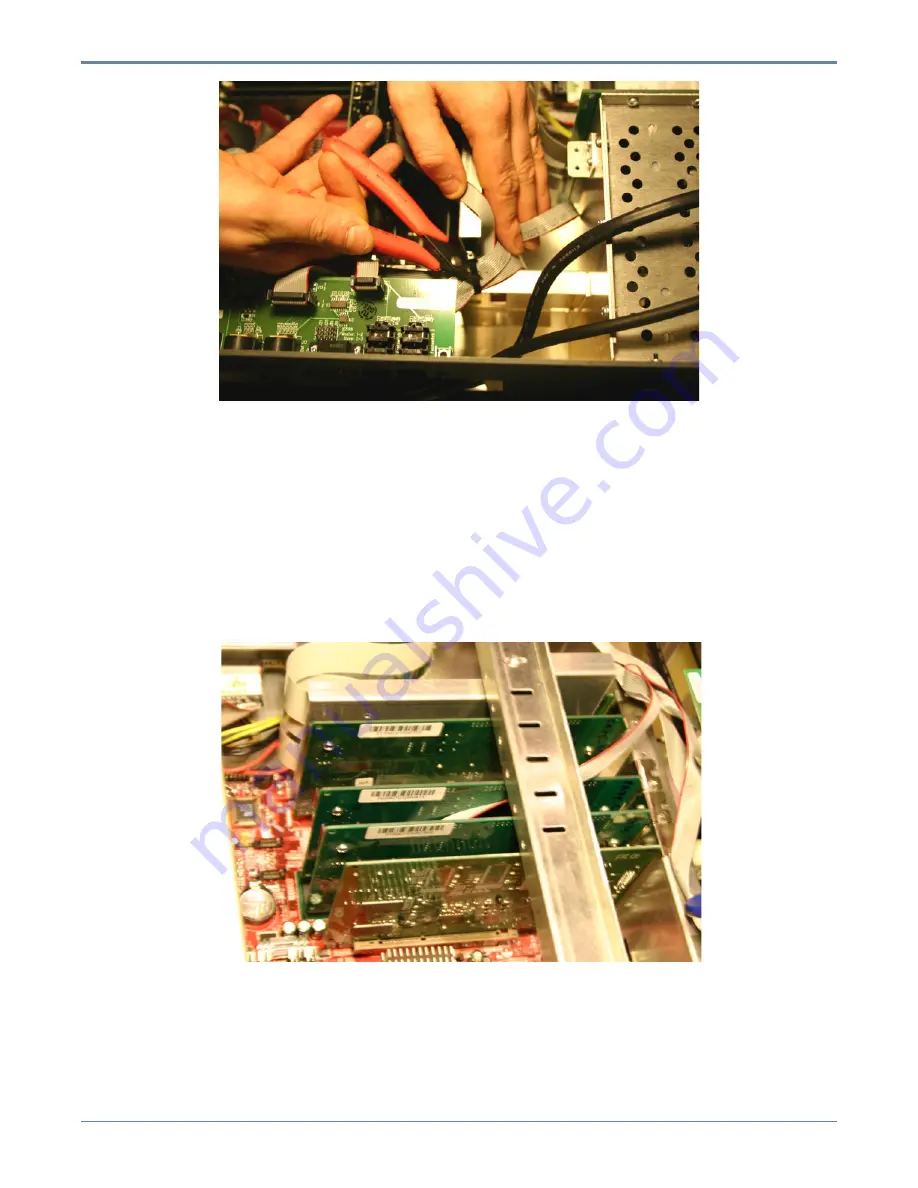
If that tie wrap is not interfering with the UAD-1 installation, leave it be. But, if you need to cut
that tie wrap, BE VERY CAREFUL not to cut any of the ribbon cables. Because that would be
bad…as bad as losing the list (private joke).
• Once all UAD-1 Cards are installed, screw back in the metal bracket you originally removed
and tie wrap the cables back to it (if you had to remove them). Make sure the bracket is
aligned exactly the same way it was before you removed it. You can tell by visually aligning
the screw hole that connects the bracket the Digital X Bus PCI Card, and screwing that
screw in first.
Figure M below shows a completed installation of three UAD-1 Cards:
• Following the steps in the “Getting Inside the Digital X Bus Guide” (backwards), re-assemble
the rear chassis back into the mixer and re-attach all the associated cables.
You can proceed to the next section (“Verifying Proper Installation) before screwing in all the
black Philips screws around the rear chassis, just to make sure everything went OK. It’s much
quicker to get back inside the mixer if you don’t have to go through all the screwing and un-
Figure M
Figure L


