MAINTENANCE AND SERVICING
Form 169017 / 169087 / 169095
200
Revision C
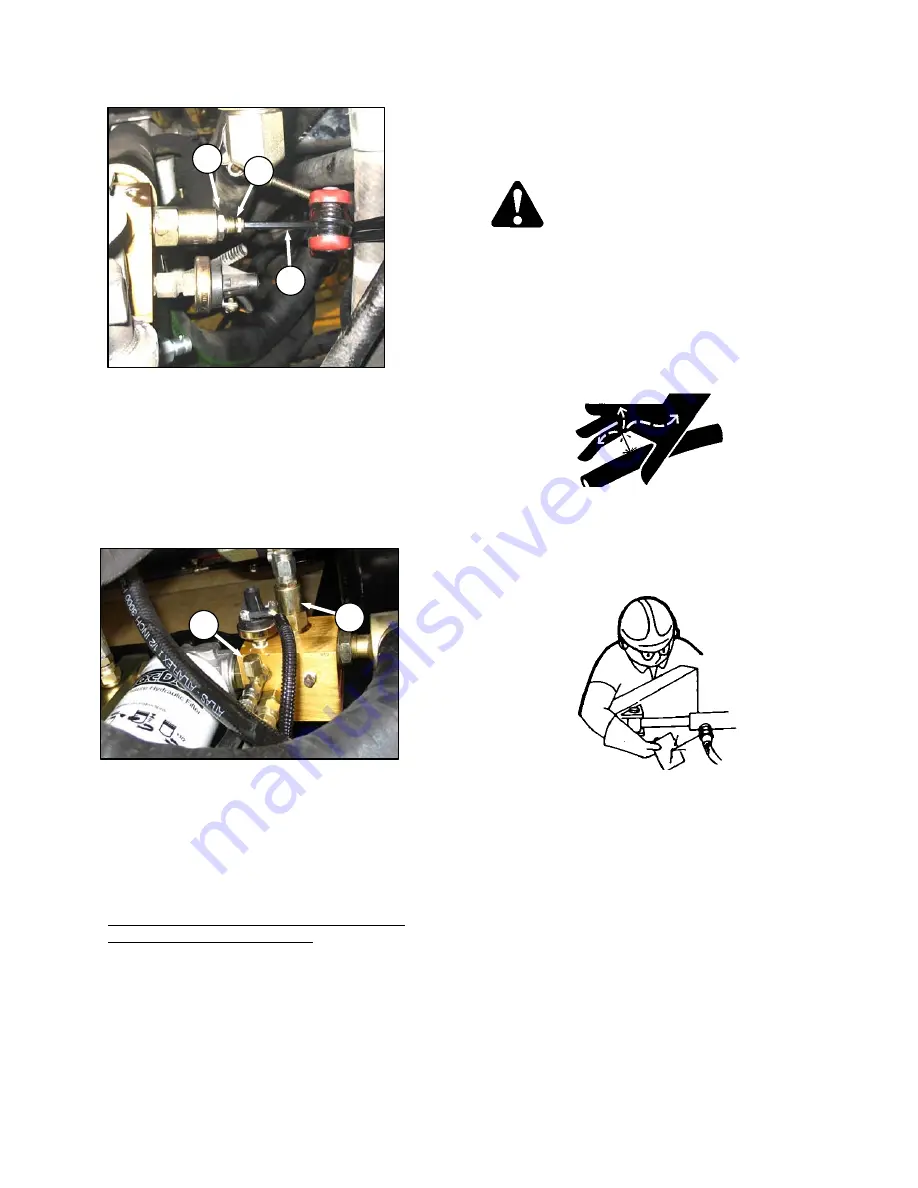
3. Hold screw (D) with Allen wrench (E), and
loosen jam-nut (F).
4. Adjust screw as required.
5. Repeat checking and adjustment until relief
pressure is correct, then tighten jam-nut (E)
while holding screw (D). Replace cap (C).
f.
If relief pressure does not increase after adjusting
two or three times, check relief valve as follows:
1. Remove relief valve (B) from manifold.
2. Check that no contaminant is preventing the
spring-loaded poppet from properly seating
against the valve body.
3. Clean as required with a solvent type cleaner
and compressed air, and reinstall valve.
4. Check all seals for integrity.
5. Reset adjustment screw to original position
before checking relief pressure.
g. Remove pressure gauge hose, and reinstall cap
(A) to fitting.
7.12.7 HOSES AND LINES
Check hydraulic hoses and lines daily for signs of
leaks.
WARNING
•
Avoid high-pressure fluids. Escaping fluid
can penetrate the skin causing serious
injury. Relieve pressure before
disconnecting hydraulic lines.
•
Tighten all connections before applying
pressure. Keep hands and body away
from pin- holes and nozzles which eject
fluids under high pressure.
•
If ANY fluid is injected into the skin, it must
be surgically removed within a few hours
by a Doctor familiar with this type of injury
or gangrene may result.
•
Use a piece of cardboard or paper to
search for leaks.
IMPORTANT
Keep hydraulic coupler tips and connectors
clean. Dust, dirt, water and foreign material
are the major causes of hydraulic system
damage.
DO NOT attempt to service hydraulic
system in the field. Precision fits require
WHITE ROOM CARE during overhaul.
E
F
D
A
B


