2
|
Quick Start Guide
3.
Follow the driver installer’s on-screen instructions.
4.
At various points in this installation process, you may be notified that the driver
being installed has not passed Windows Logo Testing. Click “Continue Anyway”
to proceed with the installation.
5.
Once the installer has completed, click “Finish.”
6.
Attach X-Session Pro to an available USB port.
7.
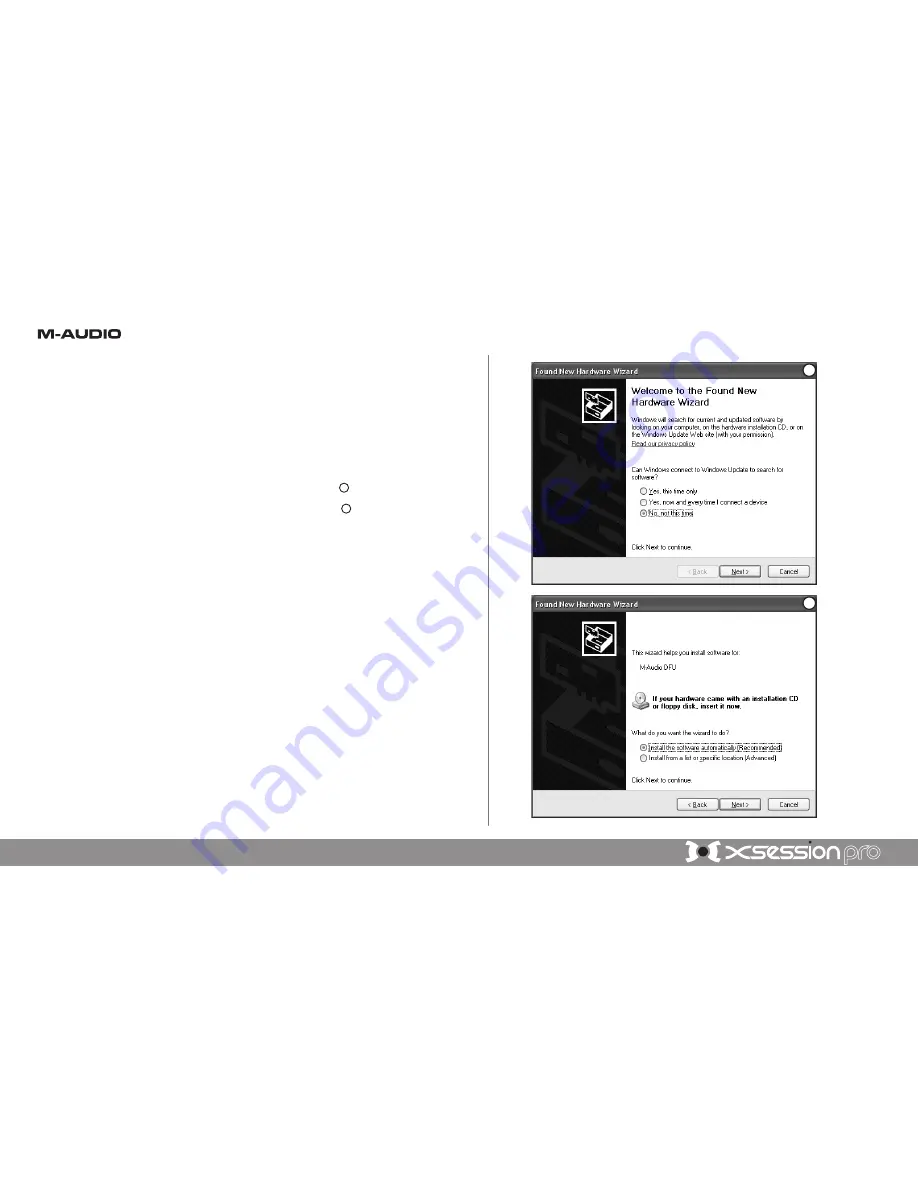
Windows will identify the controller and will ask if you want to search the Internet
for a driver. Select “No, not this time” and press “Next”
2
.
8.
Windows will display a “Found New Hardware” Wizard
3
.
9.
Choose “Install software automatically” and click “Next.”
10. Once the Wizard has completed, click “Finish.”
11. Once the installation is complete, you will see a message pop up stating, “Your
new hardware is installed and ready to use.”
2
3
Summary of Contents for X-Session Pro
Page 1: ...Quick Start Guide...


