background image

8

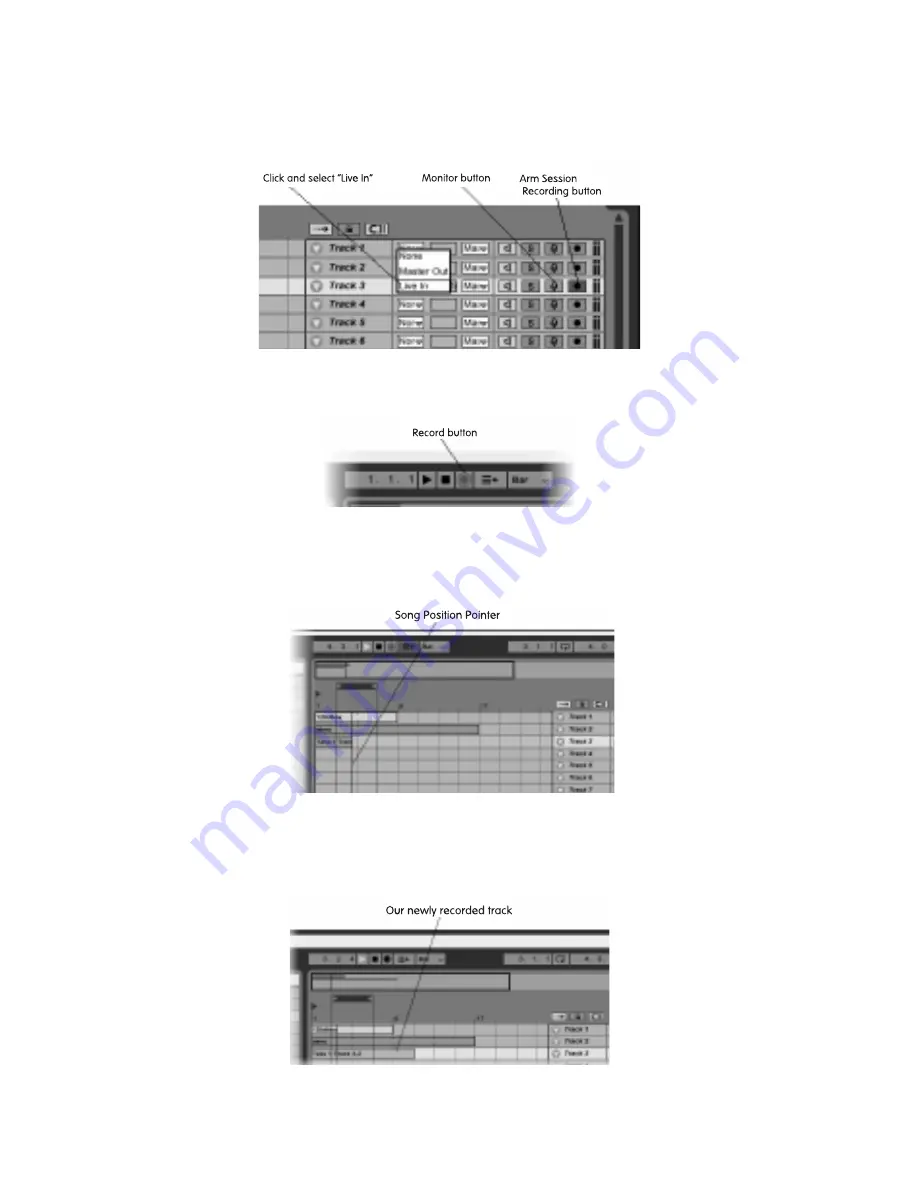
Enable the channel’s Monitoring (microphone icon) and Arm Session Recording (right-most icon)

buttons. You must select “Live In” as your input source.  To view this option, you must first browse

to the View menu and select In/Out. This will display a drop-down menu of your in/out options

in the first column to the right of the track number labels within your track. By default, it is set to

None. Click this field and select Live In. 

Now you are ready to record, so locate your transport controls at the top of the program

window, and enable the Record button (circular icon). 

Finally, enable the Play button (triangular icon). At this point, the record button will be highlighted

in red, and the Play button will be highlighted in green. You will also see the song position

pointer scrolling.

Speak into the microphone to record your voice. Now click the Stop button (square icon). You will

see a new bar representing your recording within the track. Now change your input source from

Live Input to none, so that you can hear your audio when played back. Finally press play to play

back what you’ve recorded. You can record additional tracks in a similar manner.


Summary of Contents for Groove Lab

Page 1: ......

Page 2: ...ws systems the GrooveLab Transit is capable of p pl lu ug g a an nd d p pl la ay y installation which means that you can simply connect it to your computer using the supplied USB cable so that your sy...

Page 3: ...installation windows if necessary Now connect your headset to the GrooveLab Transit s inputs Connect the green headphone plug to the GrooveLab Transit s green L Li in ne e O Ou ut tp pu ut t and the...

Page 4: ...ium Latency and 0dB Mic Boost We recommend leaving these settings for the moment You may wish to experiment with mic levels and latency settings once you ve got familiar with your setup Refer to the G...

Page 5: ...the program from the CD onto your hard drive Once you ve successfully installed Live Delta we suggest you have a look at the manual which can be found in the Docs folder inside the Live Delta folder...

Page 6: ...menu select the Misc tab The A Au ud di io o R Re ec co or rd d F Fo ol ld de er r is the location where Live Delta will save your audio files Press the B Br ro ow ws se e button and select a folder f...

Page 7: ...by selecting Arranger from the View menu Unlike the previous Session view which displayed tracks vertically you ll notice that tracks are now displayed horizontally in the Arranger view As mentioned a...

Page 8: ...op button square icon Using the included headset mic you can also record your own audio Full details on recording audio can be found in the Live Delta manual and we strongly recommend you read them bu...

Page 9: ...transport controls at the top of the program window and enable the Record button circular icon Finally enable the Play button triangular icon At this point the record button will be highlighted in re...

Page 10: ...ns to your composition and then mix it using Live Delta s onboard automation and mixdown function For this example we ll add EQ to the rhythm in Track 1 Click the Solo icon button with an S to the lef...

Page 11: ...ocals This is similar to the EQ we added above First click the Solo button of Track 1 to de select it and click the Solo button of Track 3 to solo Track 3 Now click Track 3 to select and highlight the...

Page 12: ...saving is the Desktop You can export your arrangement in order to burn your mix to CD using third party CD burning software For this example choose Render to Disk from the File menu You will see a win...

Page 13: ...ive Delta will not play them from the CD ROM To do this browse to your CD ROM drive to view its contents using Windows Explorer or My Computer if on PC or the Desktop CD ROM icon if on Mac Browse to a...

Page 14: ...Gr ro oo ov ve es s L Lo oo op ps s folder Notice that the loops have been organized into sub folders by instrument types Browse to any of these sub folders to view their audio loops You can drag and...

Reviews: