3
6
Plastic Tie Fitting
As an alternative to panel mounting it is also possible to fix the unit in
position using plastic ties and tie-saddles. This method of mounting
is useful to attach the unit to tubular structures and avoids the need
to drill fixing holes.
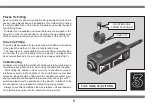
Suitable ties, tie-saddles and screw fasteners are supplied in the
fixing kit. In order to use the ties for mounting, the tie-saddles must
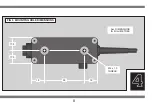
first be securely screwed in position on the back of the unit (fig 4).
Tube Clip Fitting
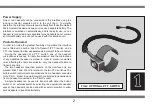
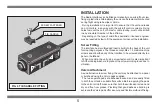
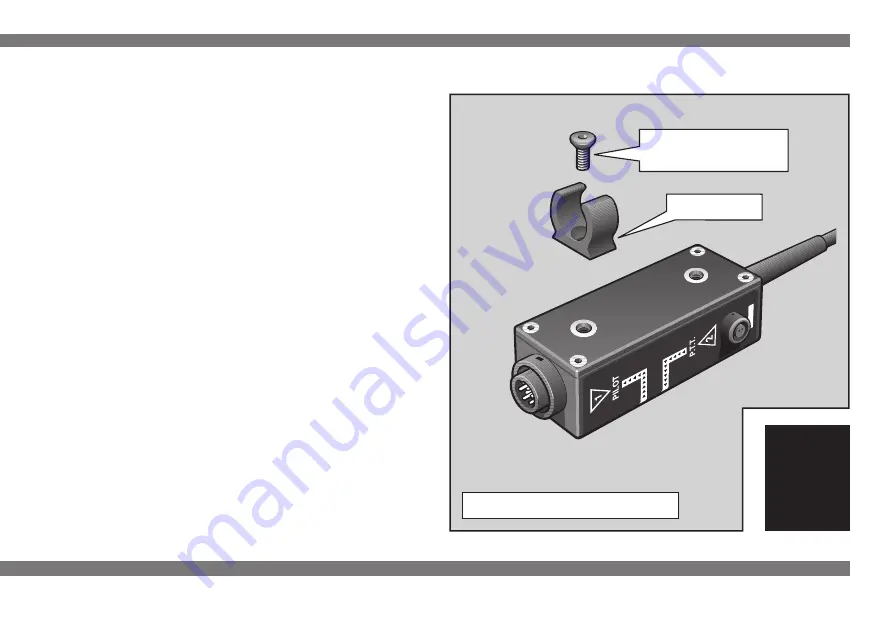
The unit is also supplied with two tube clips, which offer an alternative
to the plastic tie method, for fixing to tubular structures.
The tube clips are only suitable for use with 25mm diameter tube
but do allow the unit to be easily fitted or removed. The clips should
be securely attached to the unit using the screws supplied (fig 5).
Cable Routing
All cables connected to the interface should be carefully routed around
the airframe and attached in position using the cable ties supplied.
Avoid fitting the cables in close proximity to possible sources of
interference such as strobe lights or the aircraft antenna. Headset
extension leads should be fitted with the headset connecter in an
easily-accessible location next to the relevant seat. The external P.T.T.
switch and lead must be positioned in the aircraft, in relation to its
active headset, to avoid possible confusion during operation.
Always check after installation that the interface unit and leads do
not interfere in any way with the operation of the aircraft.
COUNTERSUNK
SCREW FASTENER
FIG 5 TUBE CLIP FITTING
TUBE CLIP

