SEDONA CARE & USE/INSTALLATION
|
25
The grill is factory set to use either propane (LP) or natural
gas (NAT). It is
critical that the gas
you use matches
that which the grill
was set up for. You
can verify that by
checking the
rating
plate.
The rating plate is located in one or more of the following
places:
• Attached to the underside of the drip tray
• On the heat shield behind the front panel
By carefully following the uncrating and unpacking steps,
you will improve the customer’s first experience.
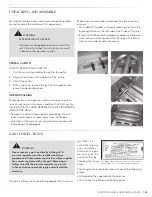
CRATE & CARTON
HOW TO REMOVE THE CARTON
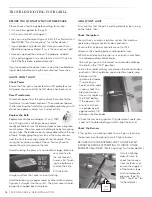
1. Cut the main strap holding the grill to the pallet.
2. Remove the straps at the bottom of the carton.
3. Lift off the carton.
4. With assistance, remove the grill from the pallet and
place into desired location.
INTERIOR PACKING
Sturdy zip-ties and straps are used to ensure your grill ar-
rives at your home in the same condition that it left our fac-
tory. BE SURE YOU HAVE REMOVED ALL ZIP-TIES BEFORE
USING YOUR GRILL.
• Remove the white accessory box and packing, the grill
racks, and remove any loose items from the firebox.
• Carefully cut the zip-ties securing the warming rack and
rotisserie spit (if equipped).
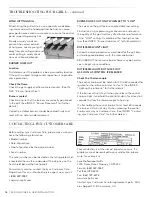
Make sure you remember to remove the zip-ties on the
burners
• On ProSear™ models, cut and remove zip-ties from the
burner partition on the left side of the ProSear™ burner.
• Ensure that all burners are properly seated on the burner
valve orifice and sitting level with the legs in the frame
slots and no side-to-side movement.
UNPACKING AND ASSEMBLY
EXCESSIVE WEIGHT HAZARD!
Use two or more people to move or install this
unit. Failure to follow this instruction can result
in back or other personal injuries.
WARNING
Never connect a gas line directly to the grill. A
pressure regulator must be installed on all gas
equipment. All local codes require it and Lynx supplies
the correct regulator with your grill. Removing or
failing to install the pressure regulator can result
in fire and serious personal injury and will void the
warranty.
WARNING
GAS CONNECTIONS
The Rating plate lists serial numbers, model numbers
and gas type. This one is underneath the drip tray.
Summary of Contents for L400PS
Page 1: ...SEDONA CARE USE INSTALLATION MAKE THE MOST OF YOUR...
Page 32: ...32 SEDONA CARE USE INSTALLATION WIRING SCHEMATICS L400 L500 NON ROTISSERIE GRILL...
Page 33: ...SEDONA CARE USE INSTALLATION 33 WIRING SCHEMATICS L400 L500 ROTISSERIE GRILL...
Page 34: ...34 SEDONA CARE USE INSTALLATION WIRING SCHEMATICS L600 L700 NON ROTISSERIE GRILL...
Page 35: ...SEDONA CARE USE INSTALLATION 35 WIRING SCHEMATICS L600 L700 ROTISSERIE GRILL...
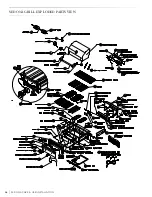
Page 36: ...36 SEDONA CARE USE INSTALLATION SEDONA GRILL EXPLODED PARTS VIEW...
Page 37: ...SEDONA CARE USE INSTALLATION 37 SEDONA GRILL PARTS LIST...


