


FinishLynx D
IAMOND
Package Quick Start Guide - For Vision Cameras
6
Remote Focus (adjusts near/far image focus)
1. Click and hold the
and
buttons on the keypad on
the right of the FinishLynx screen until the image becomes
crisp. Start by focusing on the far lane and adjust until all
lanes are in focus. Ensure that athletes in all lanes (near
and far) are in focus.
2. Once the camera appears to be aligned, click the green
alignment
icon to close 2-D alignment and then click on
the red 1-D alignment icon
.
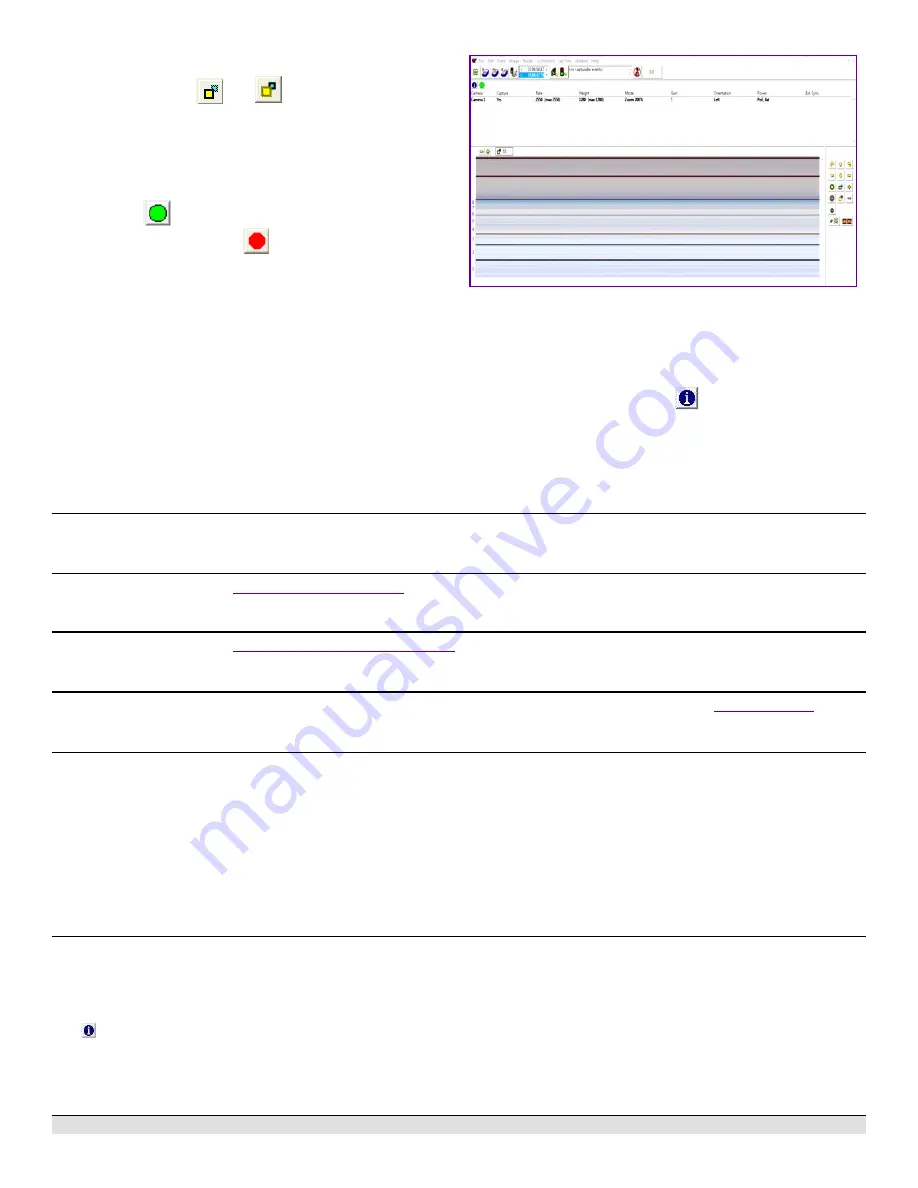
You will know when your camera is aligned on the finish line
because the 1-D image will be primarily white. See image to the
right for proper 1-D alignment.
If you followed the steps closely in 2-D Align, the camera should
already be aligned in 1-D mode as well. The 1-D image should
look similar to the following screen capture:
LuxBoost Low-Light Capture
In low-light conditions, enable the Auto-LuxBoost feature to allow
the software to automatically adjust the image brightness when
opening the iris alone is unable to maintain the AGC parameters:
1. Access the
Camera Settings
.
2. Under the
Parameters
tab, expand the
LuxBoost:
drop-
down list, and choose the highest number listed.
3. Check
Auto-LuxBoost
. Click
Ok
. The camera will now adjust
the amplification of the image brightness when needed.
Step 10:
Align the Reverse Angle Camera
1. Repeat Step 9 for the Reverse Angle Camera.
Step 11:
Mount & Install IdentiLynx Camera
Follow the instructions on the
Step 12:
Setup RadioLynx Wireless Start
Follow the instructions on the
Internal RadioLynx Quick Start Guide
Step 13:
Connect Scoreboard
Follow the instructions that are provided with the Infield Video Display (Setup Guide and Video), as well as the
Step 14:
Setup Wind Gauge
1. Connect the wind gauge to the SeriaLynx unit, and connect
both of these to their batteries. Connect the SeriaLynx unit
to your network via an Ethernet cable.
2. In FinishLynx, go to
File
|
Options
3. Select the
Wind
tab.
4. From the
Wind
Module
: drop-down list, select
Lynx
. Then,
click
Ok
.
5. In the
Serial
Port
drop-down list, select
Network
(Connect)
6. Enter the corresponding
Port
and
IP
Address
settings that
are on the label on your SeriaLynx unit.
7. In the
Default
Mode
drop-down list, select
100M
.
Click
Ok
.
8. Exit FinishLynx and then restart it to save the settings.
Step 15:
Automatic Capture Module (ACM) Setup and Operation
A: Using ACM to Stop Running Time
The following information will help to set up the ACM feature for
automatically capturing the athletes as they cross the finish line.
1. In the Hardware Control window, click the
Camera Settings
.
2. Navigate to the
Capture
tab and set
Capture Method
to
Automatic
, and uncheck
Manual
.
B: Using ACM to Stop Running Time
The following information will help to set up the ACM feature for
stopping or pausing the running time with each race. ResulTV
must be running for this section with Time and Results layouts
open.
1. In the
Camera Settings
, navigate to the
Inputs
tab and set
Photo Eye
to
Internal
. Click
OK
to close the Camera
Settings.
2. Go to
Scoreboard
|
Options
and set the Offset to
0.03
.


