


FinishLynx Scholastic System Quick Start Guide
Page 6
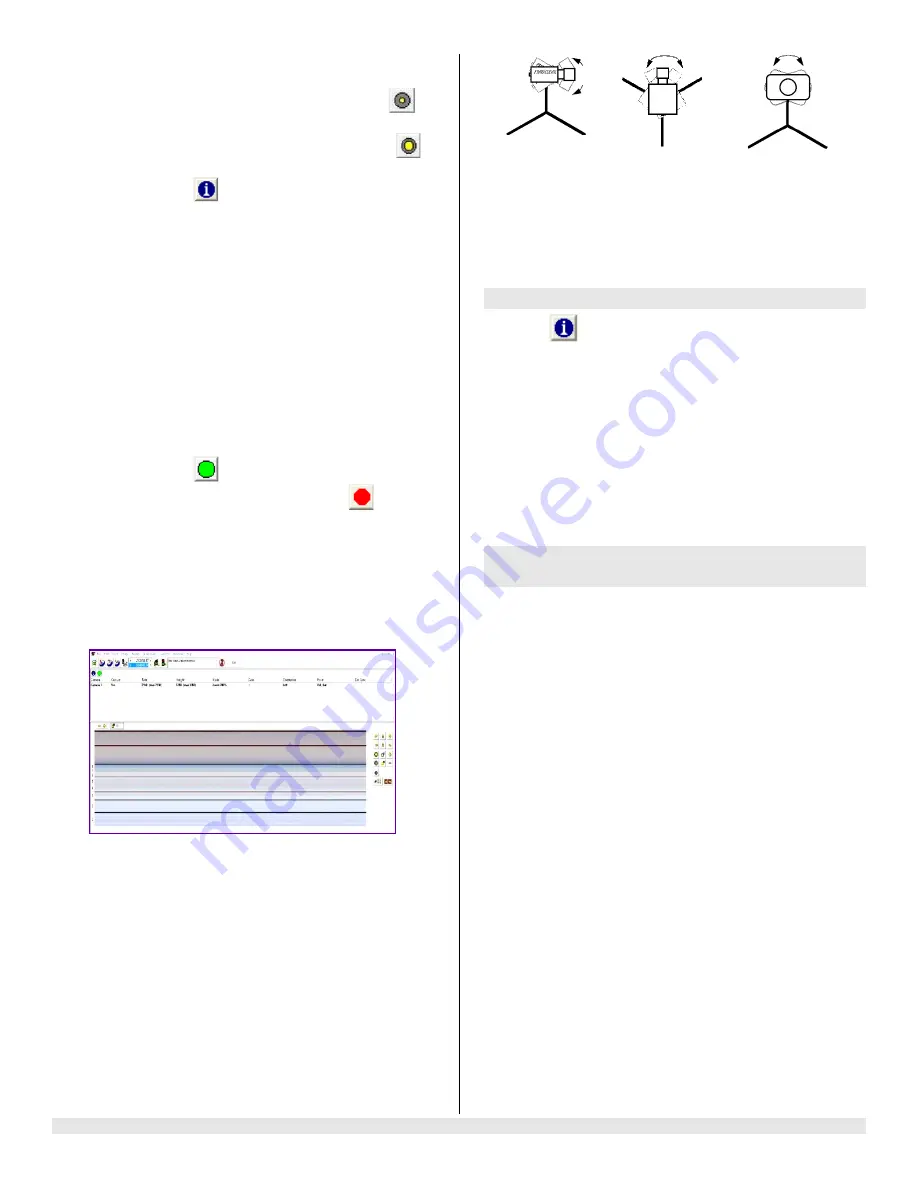
Remotely adjust lens aperture
to control the
amount of light in the lens. If your picture looks too
white or washed out, use the Close Iris button
in
FinishLynx to let less light in. Likewise, if your
picture looks too dark, use the Open Iris button
in FinishLynx to let more light in. To enable the Auto
Iris feature: click
Iris, and then click OK. FinishLynx will now
automatically remotely open and close the iris
depending on the amount of light.
Note:
By default, the iris will be in the
closed
position, so it is normal for the image in FinishLynx
to be very dark or black at first, until you open the
iris.
Manually adjust lens focus and zoom rings
.
This
lens is a
varifocal
lens, meaning it will not stay in
focus when you change the zoom. This step will
require some fine tuning to get the proper zoom and
focus in order to achieve a good image.
4. Once the camera appears to be aligned, click the
green alignment
icon to close 2D alignment and
then click on the red 1-D alignment icon
. You
will know when your camera is aligned on the finish
line because the 1-D image will be primarily white.
See image below for proper 1-D alignment.
If you followed the steps closely in 2-D align, the
camera should already be aligned in 1-D mode as
well. The 1-D image should look similar to the
following screen capture:
Note:
If your picture looks washed out by too much light,
turn the aperture ring to a higher f-number to let less
light in.
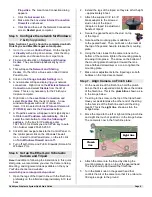
5. Have your assistant run through the finish line and
watch where they appear on the computer monitor.
The
goal is for the runner’s torso to be fully visible in
both the inside and outside lanes. Now, have your
assistant run through the inner-most and outer-most
lanes.
Adjust the
tilt
of the camera until they are
clearly visible on both ends of the finish line.
Note
: It may be necessary to move the camera
further back from the track if you cannot see all
lanes in the image.
Tilt
Pan
Swivel
6. After the image on the computer shows a white
background and black lane lines and your assistant
appears in the inner and outer-most lanes, adjust
the camera lens focus ring again until all lanes
appear crisp and in focus.
Step 10.
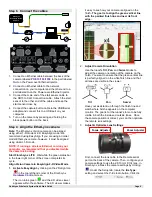
Adjust FinishLynx camera settings
1. Click
|
Parameters
|
AGC
.
2. Click the
Setup
tab and enter the number of lanes at
your finish line in the
Lanes
field.
3. Check that
Identify by…
is set to
Lanes
4. Click
Ok
.
5. Select
File
|
Options
from the FinishLynx Lite menu
bar
6. Under the
General
tab select the correct USB/Serial
Port from the
Capture Button
drop down listing.
Step 11.
Create a shared directory for
FinishLynx and LynxPad
1. Right-click on your computer desktop and select
New
|
Folder
. When the
New Folder
appears,
change the name to
Practice competition
.
2. In FinishLynx, click
File
|
Options…
. Click the
Browse
button on the
Event Directory:
and
navigate to the
Practice competition
directory
you
just created. Then, click
Ok
.
3. Still in FinishLynx, click
File
|
Options…
and click
the
Database
tab. Click the
Browse…
button next
to the
Output Directory:
and navigate to the
Practice competition
directory. Then, click
Ok
.
4. Now, start LynxPad by clicking the Windows
Start
button and then
All Programs
|
LynxPad
.
5. Click
File
|
Options…
and
uncheck
the
Load
Existing Results on Program Start
box. Then,
click
Ok
.
6. Open the sample competition by clicking
File |
Open.
Navigate to
C:\LynxPadData\Sample
and
then double-click the
lynx.cmp
file. A practice
competition opens on the screen.
7. Still in LynxPad, click
File
|
Options…
. Click the
Browse
button next to the
Directory:
text field.
Navigate to the
Practice competition
file you
created earlier. Select it and click
Ok
. Click
Apply
and then click
Ok
again.
8. Still in LynxPad, click
File
|
Save as…
and navigate
to the
Practice competition
folder. Then, click
Ok
.


