English
- 72 -
To select the “Yes” or “No” option, highlight the item by
using “ ” or “ ” buttons and press
OK
button.
Afterwards, the following OSD will be displayed on
the screen:
If you select CABLE option, the following screen will
be displayed:
You can select frequency ranges from this screen. For
highlighting lines you see, use “ ” or “ ” button. You
can enter the frequency range manually by using the
numeric buttons on the remote control. Set Start and
Stop Frequency as desired by using numeric buttons
on the remote control. After this operation, you can set
Search Step as 8000 KHz or 1000 KHz. If you select
1000 KHz, the Tv will perform search process in a
detailed way. Searching duration will thus increase
accordingly. When
fi
nished, press OK button to start
automatic search.
If you select AERIAL option from the Search Type
screen, the television will search for digital terrestrial
TV broadcasts.
Note: You can press
•
MENU
button to cancel.
After
all the available stations are stored, Channel List
will be displayed on the screen. If you like the sort
channels, according to the LCN,please select “Yes”
and than press “OK”.
Press
•
OK
button to quit channel list and watch TV.
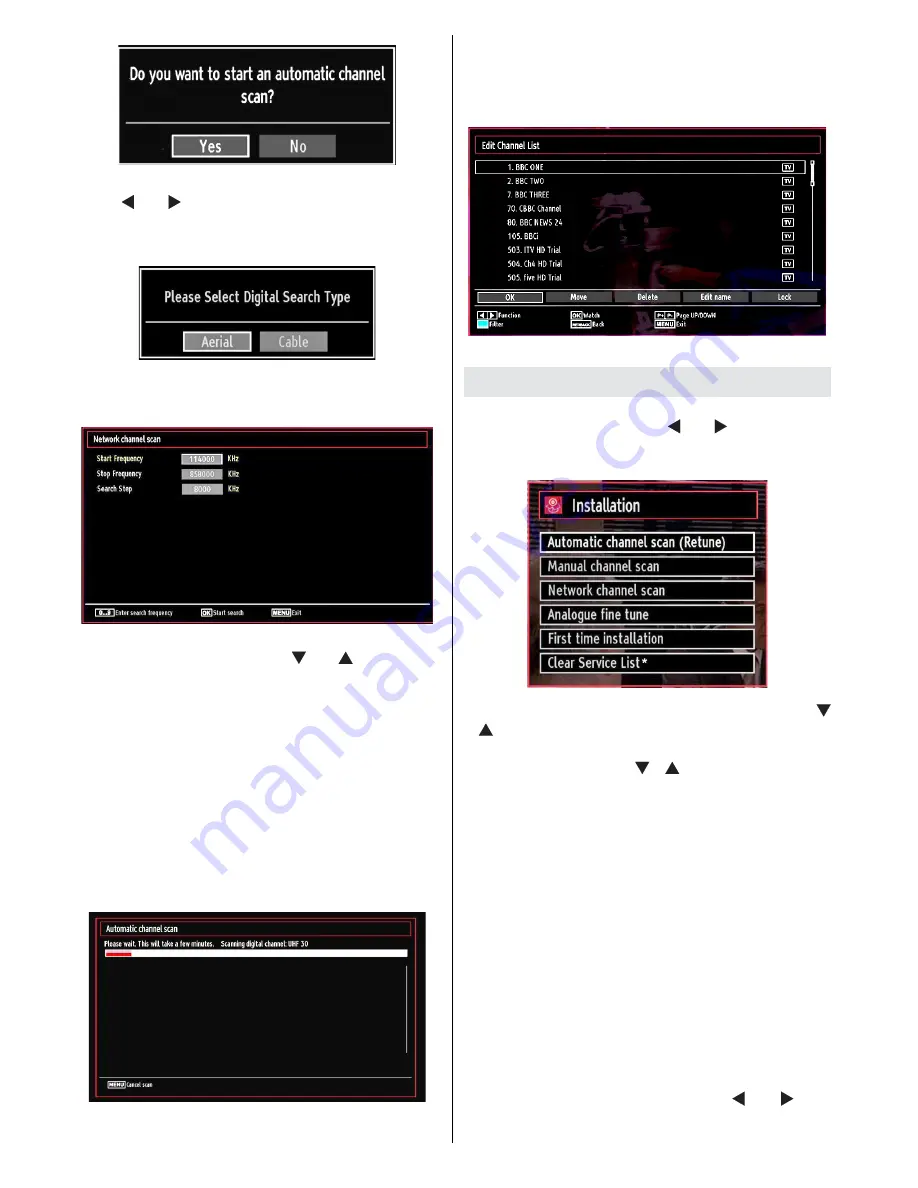
Installation
Press
MENU
button on the remote control and
select
Installation
by using “ ” or “ ” button. Press
OK
button and the following menu screen will be
displayed.
Select Automatic Channel Scan (Retune) by using “
”/“ ” button and press
OK
button. Automatic Channel
Scan (Retune) options will be displayed. You can
select options by using
“ ”/“ ”
and
OK
buttons.
Auto Channel Scan (Retune) Menu
Operation
Digital Aerial:
Searches and stores aerial DVB
stations.
Digital Cable:
Searches and stores cable DVB
stations.
Analogue:
Searches and stores analogue stations.
Digital Aerial & Analogue:
Searches and stores both
analogue and aerial DVB stations.
Digital Cable & Analogue:
Searches and stores both
analogue and cable DVB stations.
Whenever you select an automatic search type and
•
press
OK
button, a con
fi
rmation screen will appear
on the screen. To start installation process, select
Yes
, to cancel select
No
by using .“ ” or “ ” and
OK
button.
Summary of Contents for LX90626
Page 91: ...50175701...


