Section 7 – Video Input Menu
Copyright 2009-2016 Lumagen, Inc.
Radiance Pro, Rev 040116
15
Section 7 – Video Input Menu
The Video Input Menu is used to configure independent setting for each input, input memory, and input
resolution. Often no changes are needed using the Input Menu.
Input Setup Menu
The
Input Setup Menu
is used to select input settings based on the input resolution and vertical rate. For
each Input, Input Memory, and Input Resolution, there are 8 input configuration memories.
The
Video Input
Select Menu
does not affect the audio settings. See the
Audio Configuration
section for information on configuring
audio modes.
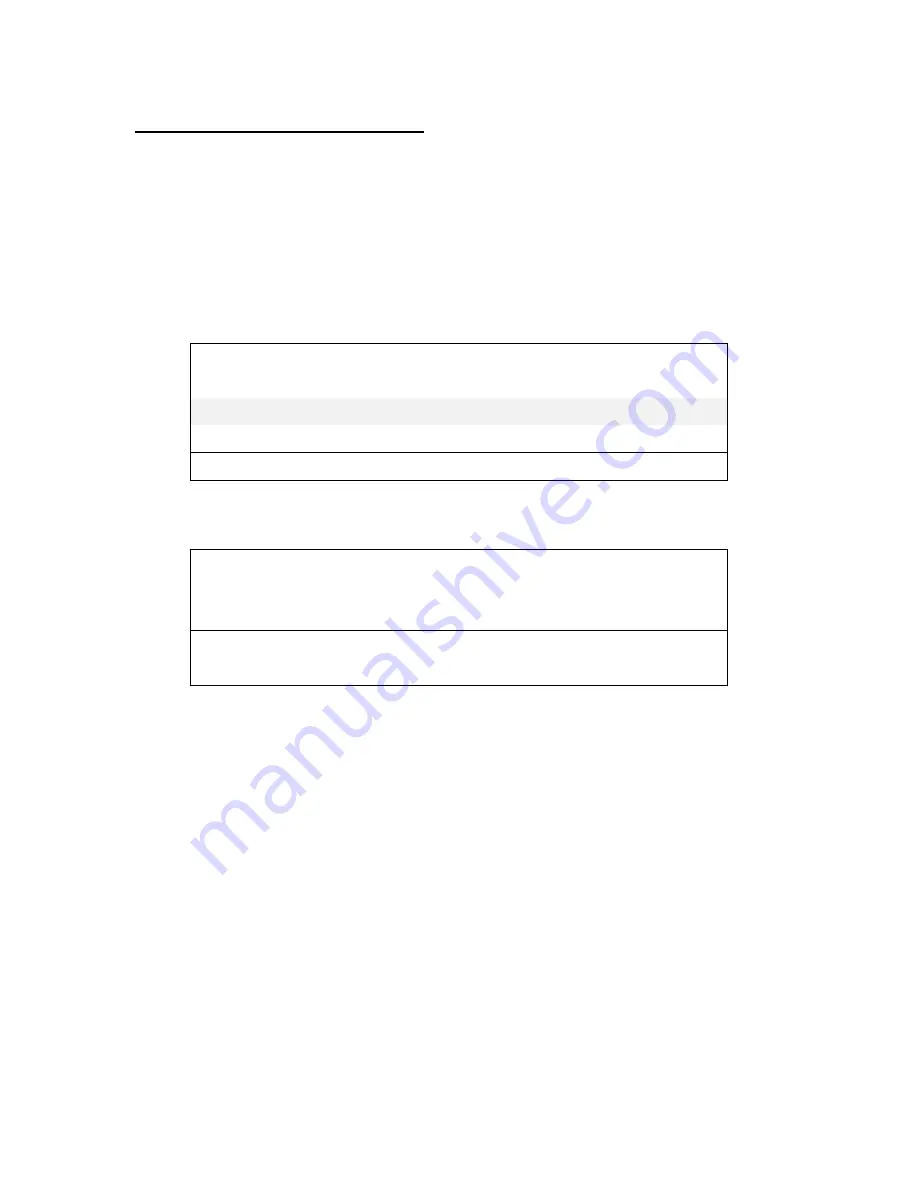
First highlight the ‘2D’ or ‘3D’ row and press “Ok” to edit.
Input Condition
-> Input Config Selection
In
Mode
Config
*2D
1A
1080
-> 1080-0
3D
1A
1080
-> 1080-0
^v Selects 2D or 3D setup, press OK to edit
Next highlight the input condition entry that you want to edit.
2D Input Condition
-> 2D Input Config Selection
In#
Mem
Mode
Config
1
A
1080
-> 1080-0
(Input to edit settings of)
<> Select, ^v Change, OK to set, Exit quits
The
and
buttons change the active column. The
and
buttons select the input number, input
memory, and input mode. In each Input Condition column one of the selections is “
All
.”
Shortcut:
You can press the number “4” button to select ”All” as the condition for any column of the Input
Condition. This allows you to apply the setup to multiple input, input memories, or input resolutions.
In Configs Setup
The
Base Input Resolutions
are 480, 576, 720, 1080, 4K, Cin4K, Other. The
4K
mode is automatically selected for
sources that send 3840x2160, and the
Cin4K
mode is automatically selected for sources that send 4096x2160. Each
Base Input Resolutions
has 8 user programmable configuration memories numbered 0 to 7.
For each input sub-memory adjustments include
Picture
,
Size
,
Control
, and
Enhance
.
Input Picture Controls
Black and White Levels
To set the input’s black-level (also referred to as brightness) and white-level (also referred to as contrast)
using the Lumagen controls, use a test pattern generator or select a PLUGE pattern from a test pattern disc.
Note that the input memory black and contrast are intended to compensate for variations in video source
levels, not to calibrate the display. The command is:
MENU
→
Input
→
In Configs
→
[Resolution]
→
[#]
→
Picture
→
(Black, White)


