background image

9

GRAYLINE

®

Grayline

 lets you distinguish between strong and weak

echoes. It "paints" gray on targets that are stronger than a
preset value. This allows you to tell the difference between a
hard and soft bottom. For example, a soft, muddy or weedy
bottom returns a weaker signal which is shown with a
narrow or no gray line. A hard bottom returns a strong

signal which causes a wide gray line.

If you have two signals of equal size, one with gray and the other
without, then the target with gray is the stronger signal. This helps
distinguish weeds from trees on the bottom, or fish from structure.

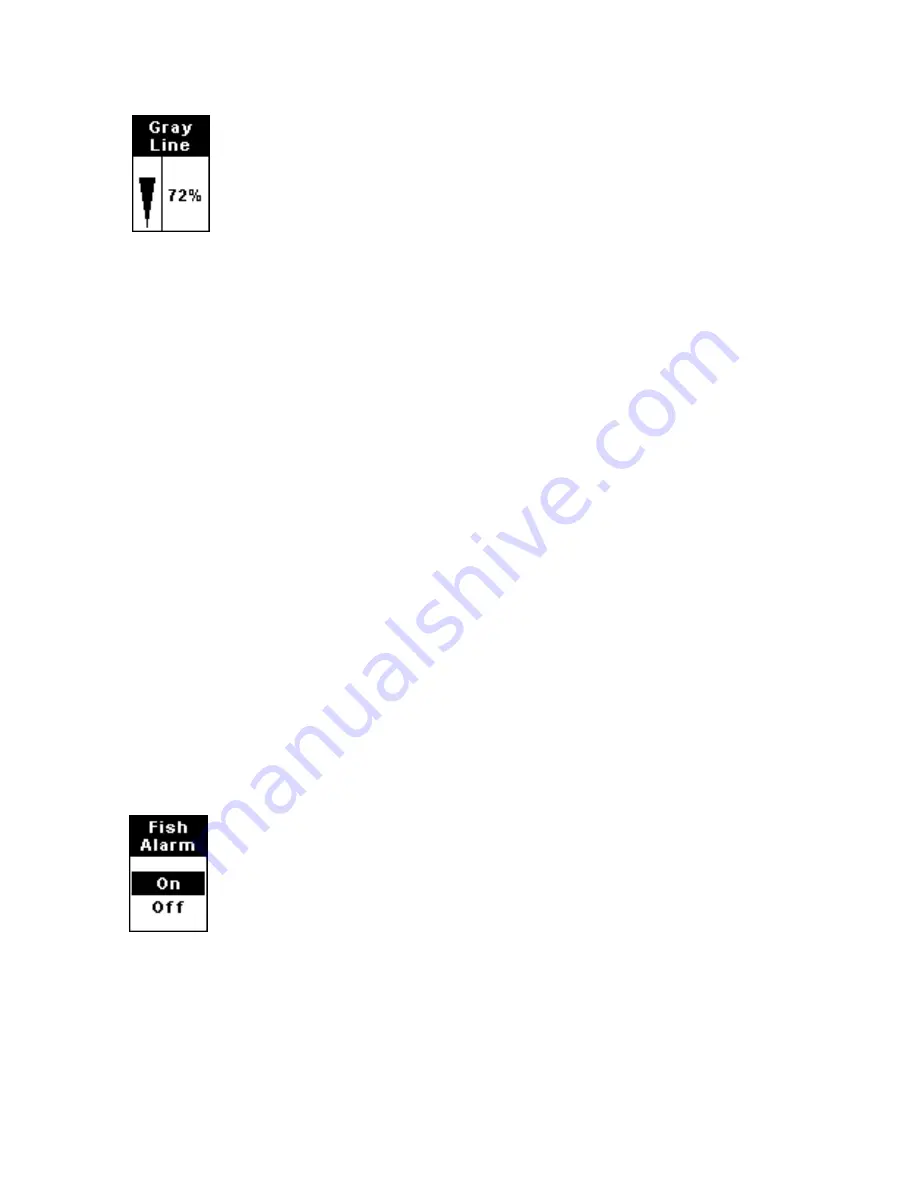
Grayline is adjustable. The factory default for this unit is 72 percent.
Since Grayline shows the difference between strong and weak signals,
adjusting the sensitivity may also require a different Grayline level.
The level chosen by the sonar unit at power on is usually adequate for
most conditions. Experiment with your unit to find the Grayline setting
that's best for you.

To change the Grayline level, press 

MENU

 until the 

G

RAYLINE

 menu appears.

Press 

UP ARROW

 to increase the level or press 

DOWN ARROW

 to

decrease it. The percentage of Grayline in use shows in this menu.
Echoes scrolling onto the screen will also show the effects of the
Grayline change. If you reach the maximum or minimum level, a tone
sounds alerting you to the limits. Press 

PWR

 to clear the menu.

ALARMS

The sonar unit has three different types of alarms: fish, shallow and deep.

Fish Alarm

The Fish Alarm sounds a tone when a fish symbol appears on
the screen. The default setting is on, but the Fish I.D. feature
must be turned on for fish alarms to work.

To turn Fish I.D. on, press 

MENU

 until the 

F

ISH 

ID

 menu

appears. Press 

UP ARROW

 to select 

O

N

, then press 

PWR

. Then,

press 

MENU

 until the 

F

ISH 

A

LARM

 menu appears. Press 

UP ARROW

 to

select 

O

N

, then press 

PWR

.

To turn off the fish alarm without turning off fish symbols, press 

MENU

DOWN

 until 

F

ISH 

A

LARM

 appears. Press 

DOWN ARROW

 to select 

O

FF

, then

press 

PWR

 to clear the menu. Repeat the above steps to turn the alarm

back on, but press 

UP ARROW

 to select 

O

N

 before clearing the menu.

Summary of Contents for LCF-1440

Page 1: ...Pub 988 0151 071 www lowrance com LCF 1440 LCD Flasher Sonar Installation and Operation Instructions ...

Page 2: ...nd it necessary to change or end our policies regulations and special offers at any time We reserve the right to do so without notice All features and specifications subject to change without notice All screens in this manual are simulated For free owner s manuals and other information visit our web site www lowrance com Lowrance Electronics Inc 12000 E Skelly Dr Tulsa OK USA 74128 2486 Printed in...

Page 3: ...ections 4 Transducer 4 Operation 5 Keyboard Basics 5 Memory 5 Menus 5 Display Opening Screen 6 Range 7 Sensitivity 7 Grayline 9 Alarms 9 Fish Alarm 9 Depth Alarms 10 Noise Reject and ASP Advanced Signal Processing 11 Display Adjustments 11 Temperature on Off 11 Depth Units of Measure 11 Backlights 12 Display Contrast 12 Sounds on Off Key Beep Menu 12 Simulator 12 System Info Unit Type Menu 12 ...

Page 4: ...ii Notes ...

Page 5: ...on can cause problems down the road especially if the transducer is badly mounted After you ve read the installation instructions install the unit and accessories Then read the rest of the manual The more you know about your sonar the better it will work for you Take advantage of the Simulator feature It allows you to practice operating your sonar before you get it in the water And when you finall...

Page 6: ... factory s Customer Service Department phone numbers are inside the manual s back cover Installation Instructions Preparation The design of the LCF 1440 allows convenient mounting in the dash of your boat or it can be mounted on any flat panel at least four inches in diameter To mount the LCF 1440 in the dash first make sure there is sufficient clearance behind the panel in the desired location Al...

Page 7: ... place Once the unit is in place you need to connect it to a power supply to the speaker provided and to the transducer All of these elements are described in the following paragraphs Refer to the following illustration as needed LCF 1440 system components installed including power connections Pod transducer 12 volt battery Flasher unit side view Power trans ducer cable Speaker cable temp sensor B...

Page 8: ...holder both to the red wire and directly to the power source This will protect both the unit and the power cable in the event of a short It uses a 2 amp fuse CAUTION Do not use this product without a 2 amp fuse wired into the power cable Failure to use a 2 amp fuse will void your warranty The black wire is ground and should be connected to the negative side of the battery or to a suitable ground b...

Page 9: ... off MEMORY This unit has permanent memory that saves the following user settings when power is turned off Units of Measure Fish Alarm Temp Size Depth Size Fish I D mode Noise Reject mode Display Contrast Shallow and Deep alarms It does not require nor does it use an internal backup battery so you never have to worry about replacement batteries MENUS This unit uses menus to guide you through the v...

Page 10: ...the one below will appear on the screen A circular dial shows all returning echoes at a high screen refresh rate It uses the Grayline feature see Grayline below to show weaker targets as shades of gray The bottom depth and temperature are also shown as digital displays in the center of the circle In the following figure the screen shows a depth range from 0 to 40 feet and the bottom depth is 17 3 ...

Page 11: ...more detail try increasing the sensitivity a little at a time There are situations when too much clutter appears on the screen Decreasing the sensitivity can reduce the clutter and show the strongest fish echoes if fish are present As you change the sensitivity setting you can see the difference on the chart as it scrolls You can change the sensitivity level whether you are in Auto Sensitivity mod...

Page 12: ...hows a display crowded with many return signals At right a lower Sensitivity setting shows only a few strong returns To adjust sensitivity Press MENU until the SENSITIVITY ADJUSTMENT menu appears Press UP ARROW to increase the sensitivity DOWN ARROW to decrease it When it s set at the desired level press PWR to clear the menu The sensitivity percentage in use shows in this menu As you change the s...

Page 13: ...g that s best for you To change the Grayline level press MENU until the GRAYLINE menu appears Press UP ARROW to increase the level or press DOWN ARROW to decrease it The percentage of Grayline in use shows in this menu Echoes scrolling onto the screen will also show the effects of the Grayline change If you reach the maximum or minimum level a tone sounds alerting you to the limits Press PWR to cl...

Page 14: ... tone sounds and a message box appears on the screen Press PWR to silence the alarm This turns the alarm sound off until the shallow alarm is triggered again To turn the alarm off press MENU DOWN repeatedly until SHALLOW ALARM appears Press DOWN ARROW until the words OFF FEET appear then press PWR to clear the menu Deep Alarm To set the deep alarm depth press MENU DOWN repeatedly until DEEP ALARM ...

Page 15: ...etting However if you are having trouble with noise we suggest that you take steps to find the interference source and fix it rather than continually using the unit with the high ASP setting There are times when you may want to turn ASP off This allows you to view all incoming echoes before they are processed by the ASP feature To change the ASP setting press MENU DOWN until NOISE REJECT appears U...

Page 16: ...ne sounds alerting you to the limits Press the PWR key to clear the menu SOUNDS ON OFF Key Beep Menu This unit sounds a tone whenever a key is pressed or an alarm goes off To disable sounds press MENU repeatedly until the KEY BEEP menu appears Press UP ARROW to turn sounds on or the DOWN ARROW to turn them off SIMULATOR This unit has a built in simulator that shows a simulated bottom signal with f...

Page 17: ...EMENT OR REFUND AS JUST DESCRIBED IS THE EXCLUSIVE REMEDY AVAILABLE TO YOU AGAINST US FOR ANY DEFECT MALFUNCTION OR NON CONFORMITY CONCERNING THE PRODUCT OR FOR ANY LOSS OR DAMAGE RESULTING FROM ANY OTHER CAUSE WHATSOEVER WE WILL NOT UNDER ANY CIRCUMSTANCES BE LIABLE TO ANYONE FOR ANY SPECIAL CONSEQUENTIAL INCIDENTAL OR OTHER INDIRECT DAMAGE OF ANY KIND Some states do not allow the exclusion or li...

Page 18: ...ange or end our shipping policies regulations and special offers at any time We reserve the right to do so without notice in Canada If you re in Canada and you have technical return or repair questions please contact the Factory Customer Service Department Before any product can be returned you must call customer service to determine if a return is necessary Many times customer service can resolve...

Page 19: ...ry to send a product for repair or replacement you must first receive a return authorization number from Customer Service Products shipped without a return authorization will not be accepted When shipping we recommend you do the following 1 Please do not ship the knobs or mounting bracket with your unit 2 If you are sending a check for repair please place your check in an envelope and tape it to t...

Page 20: ...Visit our web site Lowrance Pub 988 0151 071 Copyright 2003 All Rights Reserved Printed in USA 041703 Lowrance Electronics Inc ...

Reviews: