


4
|
HOOK2 series |
Quick Guide - EN
Creating a route on a chart/GPS Plotter page
1.
Activate a full screen page or maximize the panel on a
multi-panel page
2.
Press the Menu/Enter key to activate the menu, then select the
New route
option in
the menu
3.
Press the Arrow keys to position the first route point, then press Menu/Enter key to
confirm the position
4.
Repeat step 3 to position additional route points
5.
Press the X key to save the route
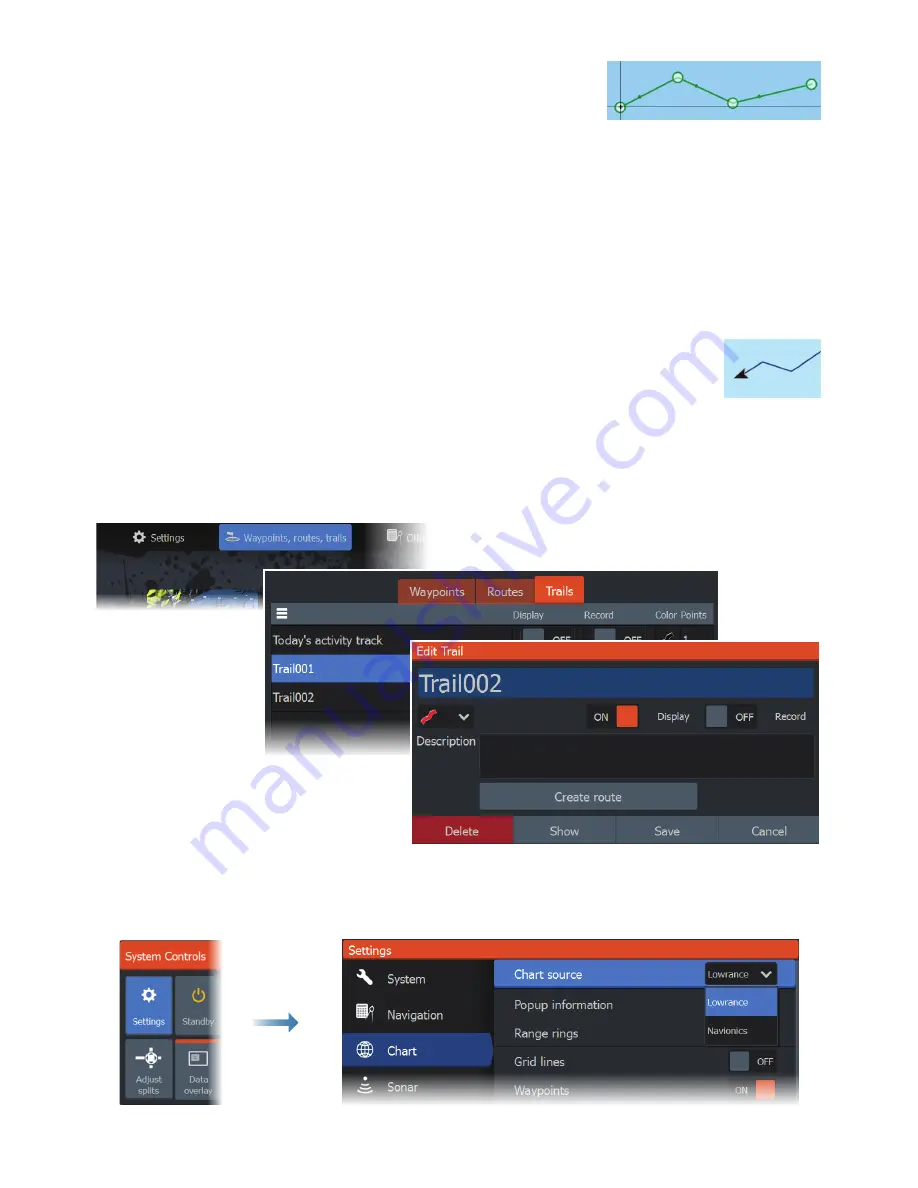
Trails
The system automatically tracks and draws the vessel's movement on the
chart/GPS Plotter panel. Trails are managed from the Trails dialog.
To display the trails dialog:
1.
Select
Waypoints, Routes, Trails
from the Home page
2.
Select the
Trails
tab in the dialog
3.
Select the trail you want to edit
Change chart source if card is inserted
¼
Note:
Charts not available for 7x TS models.