1.
Instant Playback:
Plays back recent video from the selected channel. By default, instant
playback is set to play the last 5 minutes of recorded video. See 16.4.16
, page 82 to set a custom playback length.
2.
Digital Zoom:
Click to enable digital zoom. Click-and-drag over the camera image to zoom
in on the selected area. Right-click to return to the full camera image. You can then repeat to
zoom in on a different area, or click the icon again to disable zoom.
3.
Real-time Backup:
Click to start recording the current channel manually. Click again to
stop recording and save the video file to a USB flash drive (not included).
4.
Snapshot:
Save a snapshot of the current camera image to a USB flash drive (not included).
5.
Two-Way Audio:
(Two—way audio cameras only)
Click to enable two-way talk on compat-
ible cameras.
6.
Warning Light:
(Deterrence cameras only)
Click to manually turn on the camera’s warning
light for 10 seconds.
7.
Siren:
(Deterrence cameras only)
Click to manually turn on the camera’s siren for 10
seconds.
8.
Remote Device Search:
Manage IP cameras over the network.
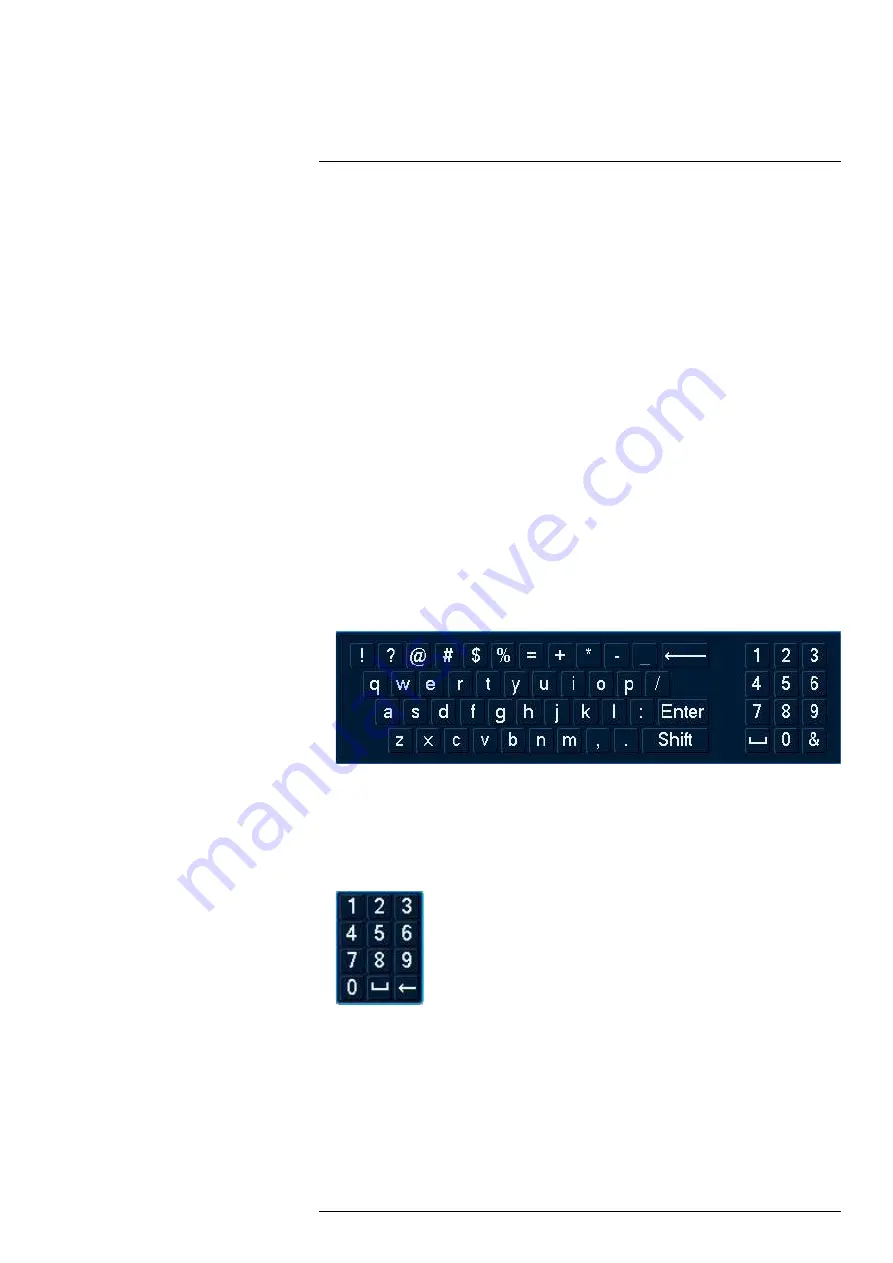
8.4 On-Screen Keyboards
The
Full Keyboard
is used to input alphanumeric characters, such as in user name or password
fields. The
Number Keyboard
is used to input numeric characters only, such as in the time or
date fields.
To use the Full Keyboard:
• Using the mouse, click on a field where alphanumeric characters are entered, such as the user
name and password fields.
• The Full Keyboard opens:
• Click
Shift
to switch between uppercase and lowercase characters.
• Right-click to close the Full Keyboard.
To use the Number Keyboard:
• Using the mouse, click on a field where numeric characters are entered, such as the date or
time fields.
• The Number Keyboard opens:
• Right-click to close the Number Keyboard.
8.5 Camera Image Settings
Use the Camera Setting menu to adjust image settings for your cameras.
#LX400117; r. 6.0/57895/57895; en-US
18


