


2. Click
CAMERA
. Click the
OVERLAY
tab on the side panel, then
Privacy Masking
on the
top panel.
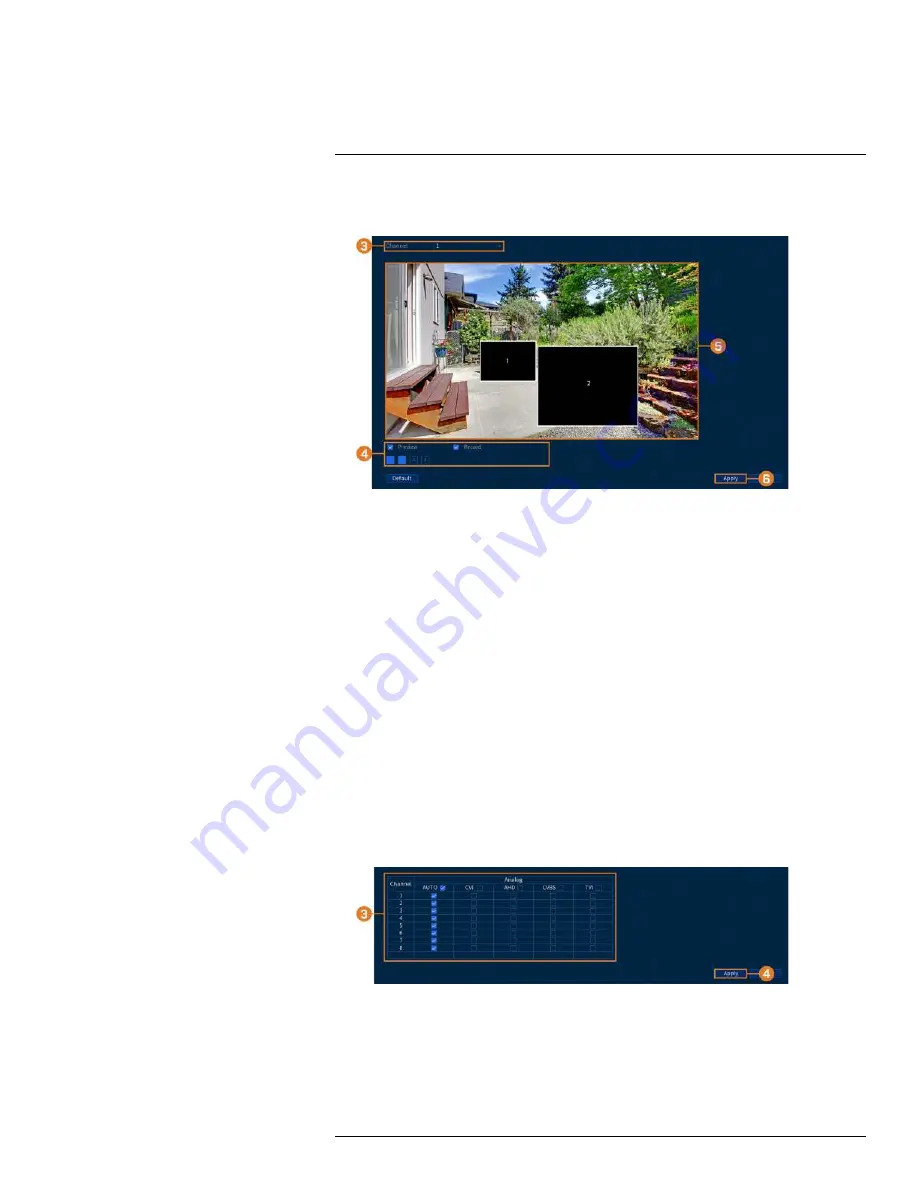
3. Select the channel you want to configure.
4. Configure the following settings:
•
Preview:
Check to set and preview privacy masks.
•
1–4:
Click the numbered boxes to create a corresponding privacy mask on the camera
image.
•
Record:
Check to include privacy masks in video recordings. Leave unchecked if you
would like privacy masks only to show during Live View.
5. Active privacy masks are shown on the camera image. Click-and-drag to move a privacy mask,
or click-and-drag the edge of a privacy mask to resize it.
6. Click
Apply
.
14.5.5 Connecting Multi-Format Cameras (Cable Type)
The recorder works with multiple types of HD analog cameras. By default, the system is set to au-
tomatically detect the type of camera so it works instantly with the recorder. If you experience is-
sues with image clarity or camera performance, you can set certain channels to a specific HD
standard.
To manually change the camera format:
1. From the Live View display, right-click to open the Quick Menu, then click
Main Menu
.
2. Click
CAMERA
, then click the
CABLE TYPE
tab.
3. By default, all channels are set to
AUTO
to automatically detect the camera’s format. Change
the selection for each channel as needed.
4. Click
Apply
.
#LX400111; r. 2.0/56089/56100; en-US
59


