


27
4
5
Login to your
my.loop3dprinter.com
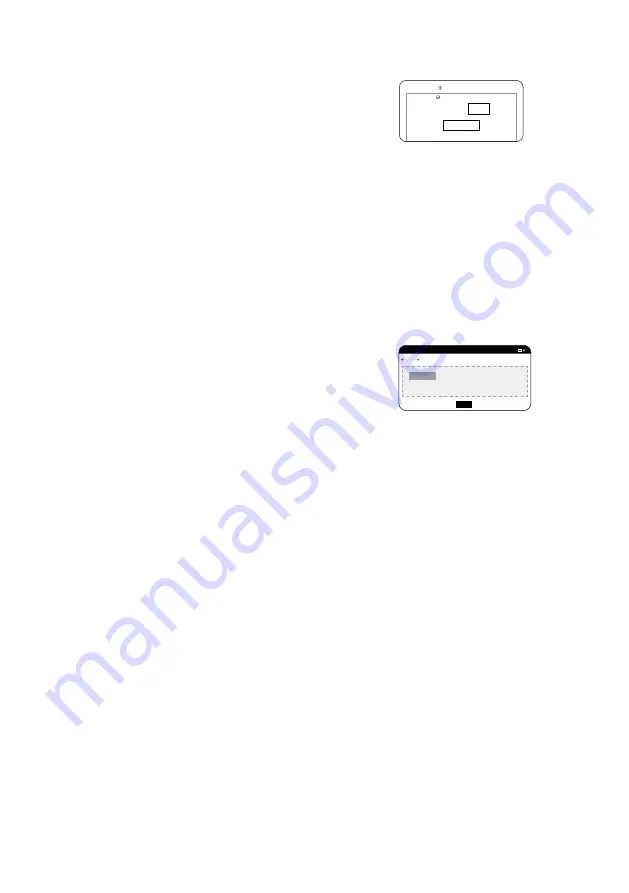
account and make sure your printer is defined
under the Printers tab. Click the tools button
right next to your printer and click the printer
settings. Turn on the ‘use filament tracking’
option and enter 2000 to the weight box.
You shall repeat this step everytime you load
a new batch of filament. Filament tracking may
not be precise. It will just give you a rough
estimation on how much filament is left after a
print.
Go to the Files tab and upload your
model. After uploading is done, click the
‘layout’ button to enter the model positioning
interface. In this interface you can translate,
rotate, copy and position your models as you
wish.
Keep in mind that it is always better to choose
a flat bottom surface with enough surface
area. To ensure the model sticks to the build
plate, the touching surface shall not be less
than a couple of milimeters thick on x-y axes.
Before saving, press ''On Bed'' button to
ensure you don't leave the model hanging
in the air.
When done, press ‘save and exit.’
Filament Tracking:
Use filament tracking
Filament left (g)
RESET TO 0.5 KG
CLOSE
Single f ile
Project
UPLOAD FILES
CHOOSE FILE
or simply drag f ile to this box (maximum f ile size 1GB)
Summary of Contents for LOOP PRO X
Page 1: ...1 Quick Installation Guide...
Page 3: ...3 Setting up...
Page 14: ...14 Inside the Box...
Page 15: ...15 1x Spool Dynamide CF Filament 2 Kg 1x Spool Dynamide GF Filament 2 Kg...
Page 17: ...17 Registering Activating...
Page 25: ...25 Getting Started...
Page 30: ...30...
Page 31: ...31...
Page 32: ...32 www loop3dprinter com loop3dprinter loop3d info loop3dprinter com...


