Once printed, this document is no longer controlled
www.cesphn.org.au
Last updated October 2018
Page 4 of 7
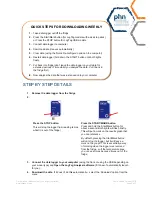
STEP BY STEP DETAILS
1. Remove the data logger from the fridge
2.
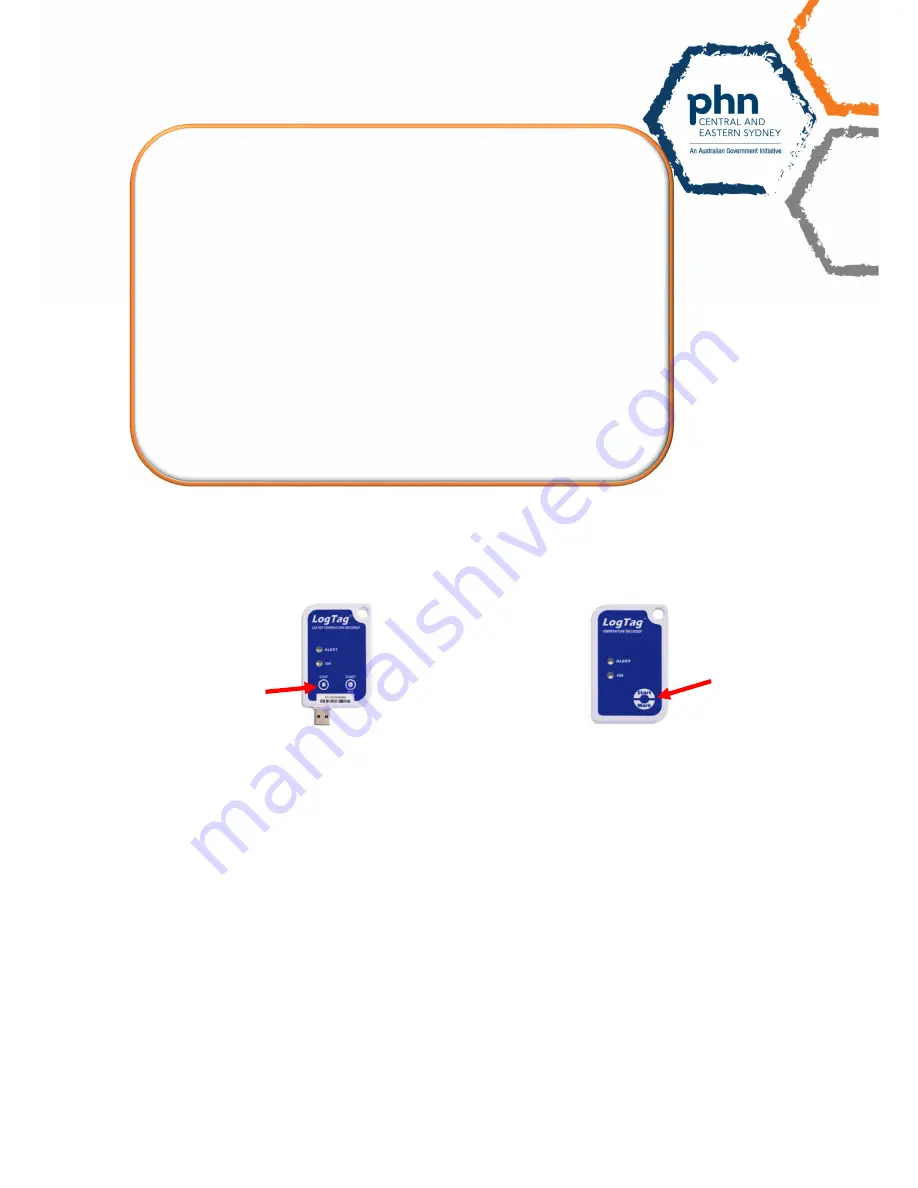
Press the STOP button
This will stop the logger from reading temps
whilst it is out of the fridge)
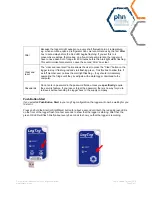
Press the START/MARK button
Press and hold the Start/Mark button for
about a second. Both lights will flash briefly.
This will put a mark on the results graph that
you can reference.
By default, pressing the Start/Mark button
will not stop the logger, but it will leave a
mark on the graph. This is essentially a way
of marking when the logger was removed
from the fridge, so if the temperature rises,
you can see it was because it was out of the
fridge
3. Connect the data logger to your computer
(using the Dock or using the USB depending on
your model type) and
Open the LogTag Analyzer software
(if it doesn’t automatically launch
for you).
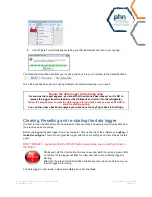
4. Download the data
. If it doesn’t do this automatically – select the ‘Download’ option from the
menu
QUICK STEPS FOR DOWNLOADING WEEKLY
1.
Take data logger out/off the fridge
2.
Press the Start/Mark button (for LogTag models with a desk top dock)
or Press the STOP button for LogTag USB models.
3.
Connect data logger to computer
4.
Download data (it saves automatically)
5.
Clear data (using the ‘Quick Re-configure’ option on the computer)
6.
Restart data logger (hold down the START button until both lights
flash)
7.
Put back into fridge
(don’t leave the data logger on your table for
extended periods of time whilst you analyse the data. Put it back in
the fridge first)
8.
Now analyse the data that was just saved onto your computer


