


11 -
Turning the set on/off
Switching the TV set to standby mode
Activate the mains switch on the back of the set.
The display in the control panel on the front of the set
will be illuminated red, the set is now in standby mode.
Switching the TV on/off on the control unit
Press the on/off button in the middle to switch the TV
set on/off.
Meaning of the display colour:
Red
: Standby mode
Green
: TV set is switched on
Orange
: Radio mode, TV set receives EPG data or timer
recording active
Switching the set on with the remote control
Press the
on/off
button.
or:
numeric buttons (0–99).
or:
TV
button.
or:
OK
button – station list is called.
Switching the set off with the remote control
Press the
on/off
button.
➠
Before switching off the set with the mains switch, we
recommend you to switch it to standby mode.
Switching on/switching to radio mode
Press
R
on the TV control unit.
or:
RADIO button
on the remote control.
(radio mode, see page 34).
First installation wizard
First installation after switching on for the first time
This wizard starts automatically after the set is switched on for the first
time, however it can also be called later manually in the TV index, see
Repeat initial installation
on page 14.
The first step with the wizard starts when selecting the
language for the user prompts. From this point on follow
the instructions on your TV set.
Brief explanation of button functions:
Press the ring (up, down, left, right) to move the cursor
and to select settings.
By pressing the
OK button
a setting is confirmed and you
will go to the next step.
You can select or remove several items with the
yellow
button
(see example below).
When an element is selected, it is marked by a
checkmark
.
Use this button to go back one step.
Exit the wizard with the
END button
(if available).
An example of multiple selection using the
yellow button
.
continued on the next page
Initial installation
OK
OK
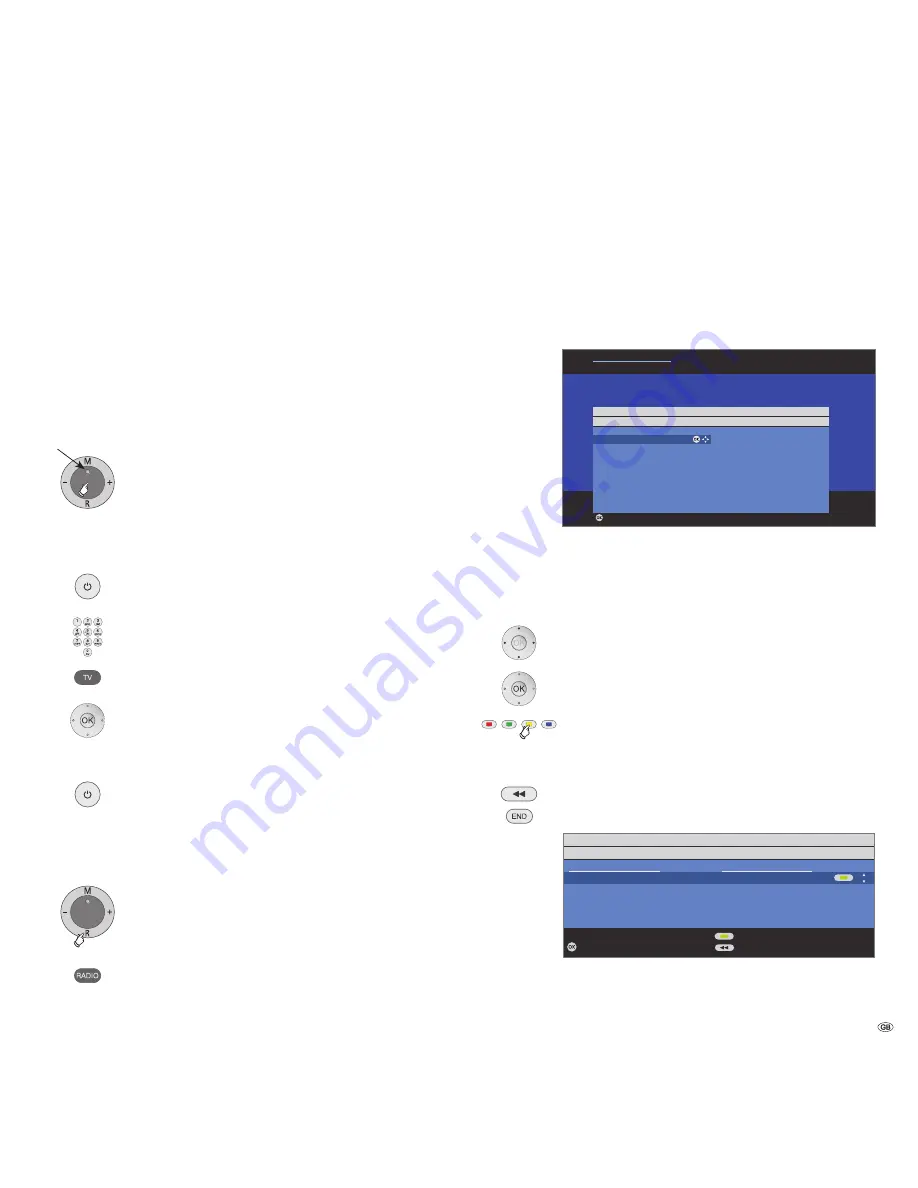
First installation wizard
Which language do you want to use for operation?
Initial installation
Language
Sprache D Kieli SF
Language GB Jezik SLO
Langue F Jazyk SK
Lingua I Lisan TR
Idioma E Språk S
Taal NL Sprog DK
Jazyk CZ Idioma P
Γλώσσα GR Язык RUS
Język PL Språk N
Nyelv H
Proceed
Initial installation
Connect antenna cable(s)
Antenna cable(s) for: to antenna socket(s):
Antenna/cable (analogue) ANT TV
DVB-T ANT TV
DVB-C ANT TV
DVB-S (cable 1) ANT SAT
DVB-S (cable 2) ANT SAT2
Connect/disconnect
Proceed Back
OK
Display


