LOBSTER Phenom Owner'S Manual Download Page 15

®

®

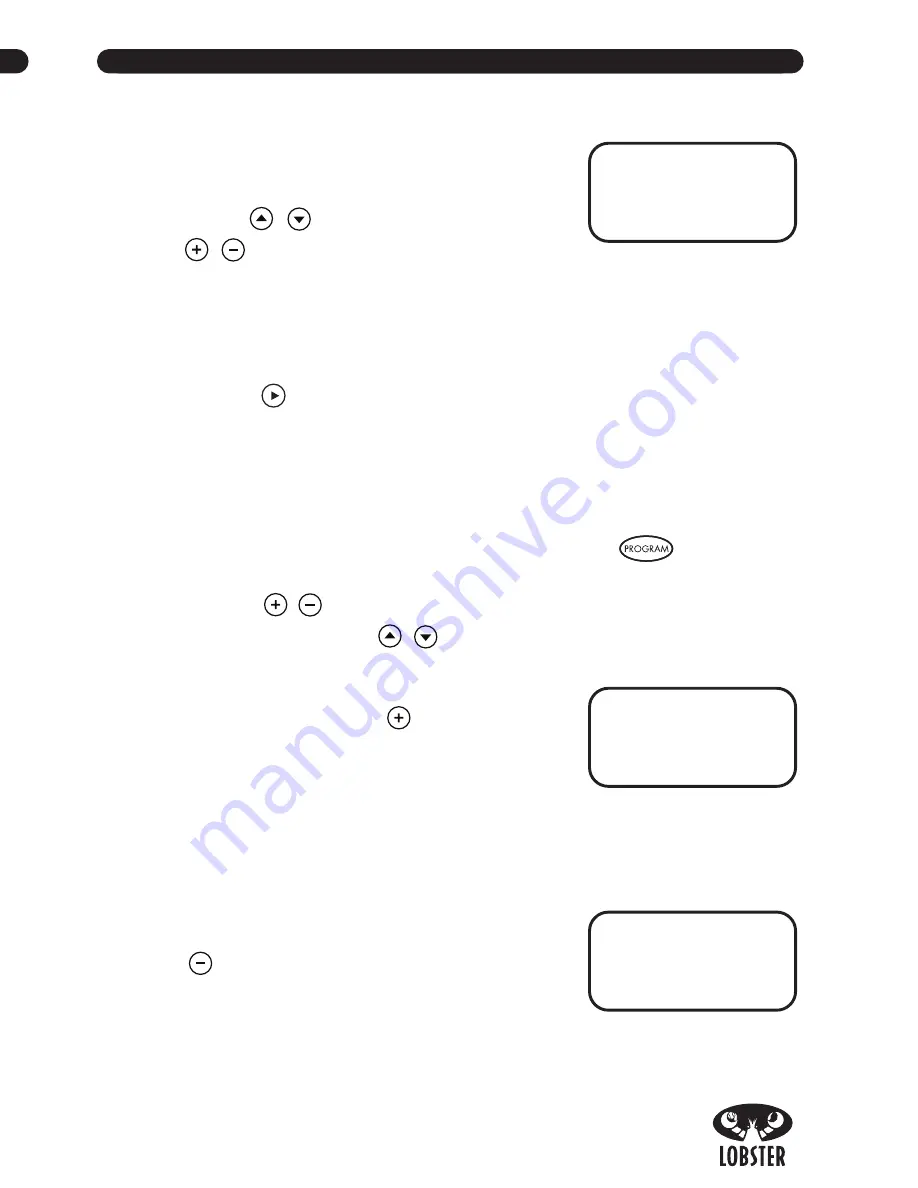
PHENOM CONTROL PANEL

A

Power Button

– Push and hold the POWER button to turn the machine on.

Both the horizontal and vertical motors will perform functional checks to
calibrate the machine when it is turned on or off. 

B

Remote

– Push this button to turn on/off the remote control receiver.

C

Menu Buttons

– Use to scroll through the menu options to be selected and

adjusted. A cursor on the LCD will highlight the current selection.

D

.

Settings

– Use to adjust a highlighted option on LCD screen.

E

Play/Pause

– Use to begin the play of a selected function and/or to pause

the feed.

F

.

Presets

The nine buttons in the center of the control panel are used to select the
play mode. Menu and Settings buttons are used to select and adjust shot
parameters. After the shot parameters are satisfactory, press play to start.

G

Manual

– Machine will continuously throw a certain shot to a specific location.

H

Test

– Used to align your machine for proper ball placement on the court.

C

F

PHENOM TWO OPERATING INSTRUCTIONS CONTINUED

   5. Selecting and running a drill can be done from the Overall Program Screen:

        •  The top line displays your program number. 

You can change the program number from 

1-6 by highlighting the top line with the menu

buttons 

/

 and adjusting the number with

/

settings buttons. 

        •  Line 2 will show you the court location of each ball thrown. One number 

for each ball.

        •  Line 3 allows you to edit or view the settings of an existing shot in 

the program.  

        •  Pressing 

at any time on this screen will run the program.

Editing An Existing Program 

Once you have created a program you may want to adjust or completely redesign
any aspects of the program.

   1. If you are not already in the program function, press the 

button to

display the overall Program screen.

   2. First use the 

/

settings buttons to select the program you wish to adjust.

   3. Next use the menu buttons 

/

to highlight SHOT then adjust the number

to reflect which shot in the sequence you wish to 
adjust (1st, 2nd, 5th…)

   4. Highlight edit and press the 

button to change 

to a yes. This will take you to the Select Location
Screen. 

   5. The current location of this shot is now displayed in 

the upper right corner. If you are satisfied with the location, press the same
number to select it again and you will advance to the shot parameters screen
which will display your current settings.

   6. If you chose another location, the defaults will reset. 

   7. You can remove the shot from the drill by pressing

the 

button. This will return you to the overall

program screen and the drill will run with one 
less shot.     

P#1 SHOT#2 LOC 4
Press a location
To prgrm shot, or
Press – to erase

PROGRAM # : 1
LOCS  3 4 5 1 6 3
SHOT: 2   EDIT : NO
PUSH PLAY TO RUN

OVERALL PROGRAM SCREEN

PROGRAM # : 1
LOCS  3 4 5 1 6 3
SHOT: 2   EDIT : NO
PUSH PLAY TO RUN

OVERALL PROGRAM SCREEN

SHOT LOCATION SCREEN

D

A

B

G

E

H

Summary of Contents for Phenom

Page 1: ...phenom phenom two owner s manual lobster phenom D641 437 play more win more ...

Page 2: ...ennis balls in machine W A R N I N G S Serial Number Purchase Date TO OUR CUSTOMERS Thank you for purchasing a Lobster ball machine Please read this owner s manual in its entirety before operating your Lobster ball machine These instructions were written to ensure your safety and to protect the machine CHECK FOR DAMAGE Inspect your machine for damage The machine may appear undamaged externally but...

Page 3: ...wheels Do not remove the wire deflectors A Phillips head screwdriver is required for assembly Remove the black handle from all packaging material Remove the screws from the enclosed bag and separate the three types of screws Included are two 3 Screws four 2 Screws four Wing Screws four Washers Setup 1 Slide the black handle A into the mounting holes on the base unit 2 Insert the larger 3 screws B ...

Page 4: ...ase unit and is not being pinched where the two units meet 8 Place the hopper into the proper location using the guides There are 4 metal extensions on the bottom of the hopper unit that will fit into 4 holes on the top of the base unit They will click into place when properly aligned 9 Use the provided 4 wing screws and 4 washers to secure the base unit to the hopper unit from the underside as de...

Page 5: ... positioned over the baseline at the court s center mark AFTER USE To disengage the brake step on the red base with your foot pushing forward with your body weight Calibration Power on the machine and allow it to go through a self test Push the TEST button One tennis ball should be thrown over the net to land within a 2 foot area of the opposite side of the court where the service and center lines...

Page 6: ...ght the current selection D Settings Use to adjust a highlighted option on LCD screen E Play Pause Use to begin the play of a selected function and or to pause the feed F Presets The nine buttons in the center of the control panel are used to select the play mode Menu and Settings buttons are used to select and adjust shot parameters After the shot parameters are satisfactory press play to start G...

Page 7: ...to three levels Depth Deep Mid Short or Random settings Feed Adjust between 2 9 second intervals or scroll down to random OSCILLATION Throws balls the entire court left right short deep using a fixed speed Sweep Throw balls randomly across the width of the court Shot parameters are adjustable and include Depth Deep Mid Short or Random settings Speed Choose from 40 to 80 MPH in 5 mph increments Spi...

Page 8: ...ce to select MOONBALLER drill which utilizes a high arc over the net with moderate to heavy top spin POWER BASELINER utilizes the full back court with little spin and more ball speed SLICER Press POWER BASELINER twice to select the SLICER drill with backspin or underspin that utilizes a low arc over the net ALL COURTER utilizes both the front and back court with some top spin and less ball speed L...

Page 9: ...el 2 and 80 in 1 level increments to change the height of the shot thrown on the court Spin Increase and decrease top and back spin up to three levels Angle Choose position along baseline 0 is center court with positive numbers moving to the right and negative numbers moving to the left Feed Adjust between 2 9 second intervals or scroll down to random setting When you are satisfied with your adjus...

Page 10: ...highlighted option on LCD screen H 1 18 Numbered Buttons Used to select desired position for ball to land in program mode More detailed information can be found in the program section I Test Used to align your machine for proper ball placement on the court J Play Pause Press to play and pause the machine K Random Random throws using variations of speed spin and trajectory L 2 Line Alternating fore...

Page 11: ...proach from behind the baseline into the front court with balance and speed Attack Defend Six ball drill designed to teach a player to move in all directions from the baseline Forehand Plus Six ball drill challenging the player to maintain dominant court position by using their forehand for every shot Beginner Six ball drill to help beginners improve and build confidence Intermediate Six ball dril...

Page 12: ...GRINDER utilizes the full back court with different types of spin MOON BALLER Press GRINDER twice to select MOONBALLER drill which utilizes a high arc over the net with moderate to heavy top spin POWER BASELINER utilizes the full back court with little spin and more ball speed SLICER Press POWER BASELINER twice to select the SLICER drill with backspin or underspin that utilizes a low arc over the ...

Page 13: ...ourt using variations of speed spin and trajectory Feed Adjust between 2 9 second intervals or scroll down to random 2 line Function Speed Choose from 40 to 80 MPH in 5 mph increments Spin Increase and decrease top and back spin up to three levels Depth Row A Deep Row B Mid Row C Short Random depth will constantly change Feed Adjust between 2 9 second intervals or scroll down to random Sweep Throw...

Page 14: ... will not stay within the court If a setting will not produce a viable shot the display will blink to tell you that the shot is not possible and remain at the previous setting When you have filled up the 6th shot in a program selecting next will automatically take you to the overall program screen To Create Your First Personal Program 1 Press the button 2 The screen will prompt you to select a loc...

Page 15: ...buttons to select the program you wish to adjust 3 Next use the menu buttons to highlight SHOT then adjust the number to reflect which shot in the sequence you wish to adjust 1st 2nd 5th 4 Highlight edit and press the button to change to a yes This will take you to the Select Location Screen 5 The current location of this shot is now displayed in the upper right corner If you are satisfied with th...

Page 16: ...ILLS Press button multiple times to scroll through pre programmed drills SWEEP Press button multiple times to scroll through the short mid deep and random settings for the sweep function DEPTH Press button multiple times to scroll through left to right position settings for the depth function Lower 8 black buttons Use to change shot parameters on the fly for the presets Speed Adjust the ball speed...

Page 17: ...e machine While the custom cover for the machine will protect it from light weather conditions prolonged exposure to humidity and extreme temperature can affect the electronics and mechanics even if covered Storage Store the machine unplugged in a clean dry location Extreme temperatures and conditions can affect the machine s electronic board and power supply Exposure to rain and snow will damage ...

Page 18: ...ion with a new or functionally operative part Warranty extends only to the original customer and may be enforced only by such person This warranty does not cover the following conditions A Damage resulting from misuse neglect alteration accidents tampering abuse fire war insurrection civil disorder flood acts of God or any other casualty B Failure of Customer to properly follow operating instructi...

Page 19: ...this product circle Quality Design Price Reputation Previous Customer Portability Better Features Income circle 40 60K 60 80K 80 100K 100 120K 120 140K 140 160K 160 180K 180 200K 200K Age circle 15 25 25 35 35 45 45 55 55 65 65 75 75 85 85 Occupation _______________________________________ OPTIONAL EXTENDED WARRANTY Please send in a separate envelope within 60 days of purchase One Year 65 Credit C...

Page 20: ...place stamp here 7340 Fulton Avenue North Hollywood CA 91605 l ...

Reviews: