21
Using the Scanner
1. Turn the computer on.
2. Plug the scanner power supply into a wall outlet.
3. Turn the projector on using the rocker switch on the rear of the projector.
The blue LED on the projector will flash briefly.
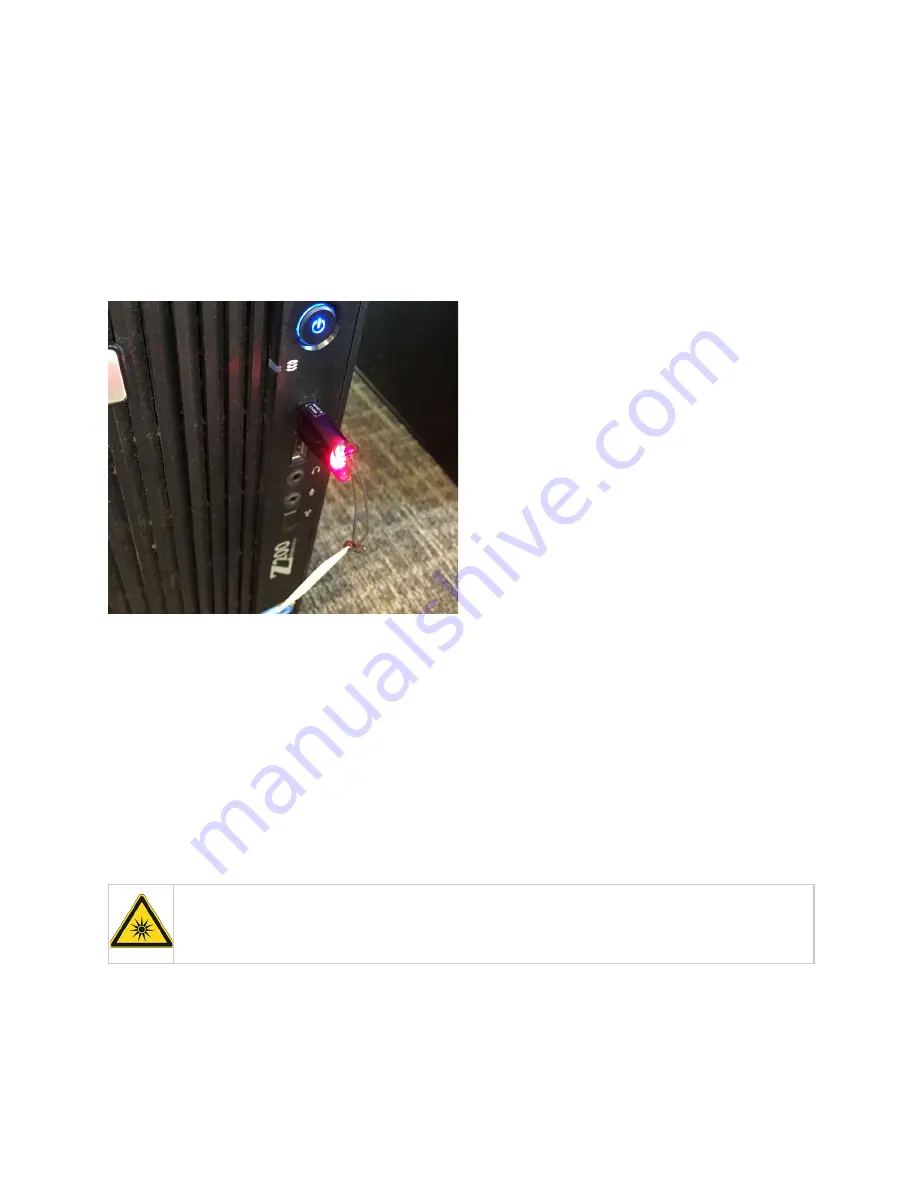
4. If you are going to perform measurements, insert the dongle into a free USB port.
The dongle is required to perform measurements, but not to acquire data.
Windows may install a driver when you insert the dongle.
5. Launch the MikroCAD software.
If the scanner is not listed in the scanner selection dialog, or if the scanner repeatedly tries
to connect to the scanner, see “Troubleshooting” on page 24.
6. Put the sample below the scanner in the center of the camera image.
Looking into the light projector for more than one minute presents a risk to
vision. Avoid looking into the light projector or limit exposure to less than
one minute.


