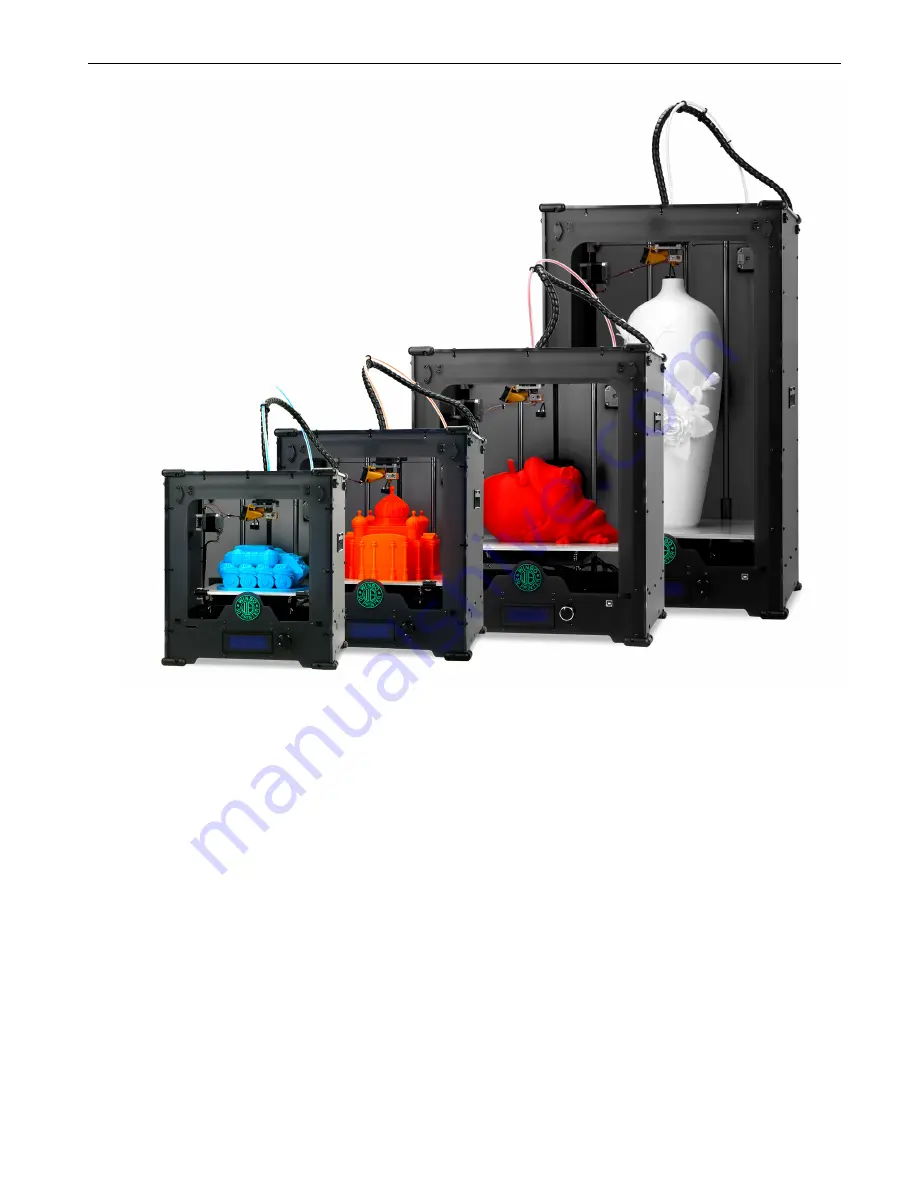
background image

User Manual for LIQUIPRINT 3D Printers     


Version: 

WB20141117


Table of Contents 

A. MACHINE SPECIFICATIONS

............................................................................................................................................ 2


B. SOFTWARE INSTALLATION

............................................................................................................................................. 2


B.1 SOFTWARE INSTALLTION............................................................................................................................................ 2


B.2 SOFTWARE CONFIGURATION ..................................................................................................................................... 3


C. SOFTWARE SETTINGS

..................................................................................................................................................... 4


C.1 CONFIGURATION FILE LEAD-IN ................................................................................................................................ 4


C.2 QUICKPRINT PRINTING................................................................................................................................................ 5


C.3 FULL SETTINGS PRINTING .......................................................................................................................................... 6


D. ACCESSORIES INSTALLATION AND BASIC FUNCTIONS

....................................................................................... 7


D.1 A

CCESSORIES 

I

NSTALLATION

............................................................................................................................................. 7


D.2 B

ASIC 

F

UNCTIONS

.............................................................................................................................................................. 8


D.2.1 MACHINE TESTS

................................................................................................................................................... 9


D.2.2 Level Build Plate (Important)

................................................................................................................................. 9


D.2.3 LOADING

............................................................................................................................................................... 10


D.2.4 Change Filament During Printing

........................................................................................................................ 11


D.2.5 UNLOADING

.......................................................................................................................................................... 13


Summary of Contents for WB20141117

Page 1: ...User Manual for LIQUIPRINT 3D Printers Version WB20141117 LIQUIPRINT 3D PRINTER USER MANUAL VERSION WB20141117...

Page 2: ...RE CONFIGURATION 3 C SOFTWARE SETTINGS 4 C 1 CONFIGURATION FILE LEAD IN 4 C 2 QUICKPRINT PRINTING 5 C 3 FULL SETTINGS PRINTING 6 D ACCESSORIES INSTALLATION AND BASIC FUNCTIONS 7 D 1 ACCESSORIES INSTAL...

Page 3: ...NTING 14 F 1 MODEL EDITION 14 F 1 1 ROTATE 15 F 1 2 SCALE 15 F 1 3 FLIPPING MIRROR 16 F 1 4 OTHER EDITTINGS 16 F 1 5 VIEM MODE 17 F 2 PRINT FROM SD CARD RECOMMENDED 17 F 3 PRINT FROM COMPUTER 18 G CON...

Page 4: ...for unknown reason please turn off the machine and contact us as soon as possible 4 The materials for this machine are PLA and PETG 5 Since it is a kind of plastic modeling machine it may give out ce...

Page 5: ...IZE 335 x 305 x 390 mm CBM 475 x 445 x 560 mm MACHINE WEIGHT 9 2 kg SHIPPING WEIGHT 14 4 kg TEMPERATURE NOZZLE TEMPERATURE 0 240 no more than 260 BUILDPATE TEMPERATURE 0 110 adjustable BUILDPATE HEATI...

Page 6: ...sion WB20141117 3 B 2 SOFTWARE CONFIGURATION To run the software for the first time you will encounter a welcome interface Click on Next to enter the First time run wizard and you may follow the instr...

Page 7: ...omputer you may skip the First time run wizard When running the software you may enter the First time run wizard by coming to the Expert ReRun first run wizard under the menu C SOFTWARE SETTINGS C 1 C...

Page 8: ...ications and Screen as shown below There are 3 types of QUICK PRINT High quality print Normal quality print Fast low quality print You may print with PLA or PETG A 3 types of QUICK PRINT High quality...

Page 9: ...etract the filament while it is not printing Enable recommended otherwise it will create fine lines during printing 4 Bottom Top thickness it is related to the printing speed 5 Fill Density normally i...

Page 10: ...ter bed then this feature could help you 6 Travel speed the speed at which the printhead moves when it is not printing 7 Bottom layer speed the speed at which the printhead moves while it is laying do...

Page 11: ...ate it counter clockwise you are reading the next menu Rotate it clockwise you are reading the last menu With power on the LCD panel shows as below Put the spool holder Load the filaments spool Connec...

Page 12: ...u and watch temperature fluctuations If it is on the rise it is OK Notes by preheating the machine you may save time waiting for the printing You may stop the heating by go to Prepare Cooldown D 2 2 L...

Page 13: ...ate roughly first and then make small adjustment during printing The gap should be 0 3mm D 2 3 LOADING For smoother feeding the spool should be rotated clockwise as below The feeding should be Use a n...

Page 14: ...ind that the material is running out during printing or you want to change another color you may do as shown below Note the yellow material is the current one while the green one is the new material O...

Page 15: ...ooth In the same way make sure the cut on one end of the current filament is flat and smooth Push the new filament into the feeder to make sure the new one and the current one are well jointed Take aw...

Page 16: ...reen Prepare Temperature Print From SD O CARD Prepare Sub menu Main Auto Home Move Axis MOVE AIXS Sub menu Prepare Move X Move Y Move Z Extruder On the main menu prepare preheat PLA or Preheat ABS to...

Page 17: ...ndition It is not adviced that changes shoould be madeonit Here we will make introduction to certain functions Main ozzle Bed Fan Speed With the start of printing there will be more functions appear o...

Page 18: ...1 1 ROTATE Click and you can rotate the model from X Y or Z axis The red one is X axis green Y axis and yellow Z axis Reset reset the model that has been rotated Lay flat lay down the model that has b...

Page 19: ...F 1 3 FLIPPING MIRROR Click on to flip the model as below Mirror X flip the model toward X axis Mirror Y flip the model toward Y axis Mirror Z flip the model toward Z axis F 1 4 OTHER EDITTINGS Right...

Page 20: ...for the model as below F 2 PRINT FROM SD CARD RECOMMENDED After editting you may save it into SD card as G Code Insert the SD card and click on Toolpath to SD to save the model The model is saved into...

Page 21: ...g automatically Note if you find the extrusion is too little or no extrusion at all during the printing process you may use a rocket screwdriver to adjust the feeder s gear as below F 3 PRINT FROM COM...

Page 22: ...Bed Temp you may make changes to the temperatures on the extruder and the build plate When the target temperatures are higher than the actual ones the extruder and the build plate will be heated autom...

Page 23: ...int is stopped However you may continue the print as shown below it is applicable when the object stays on the glass 1 Heat up the extruder to be 230 2 Lower the build plate Make sure the model is sep...

Page 24: ...into 3 parts the head code printing code and the tail code Shown as below 6 Seek the Z axis s position by inputting Z axis s value just taken down before The head code Information on the printing sett...

Page 25: ...LIQUIPRINT 3D Printers Version WB20141117 22 7 Within the printing code delete all information above this position 8 Modify the head code s information as shown below 9 Save the Gcode and put it back...

Page 26: ...h soft cloth to remove the dust and plastic fragment 2 Axis When you find that there is unpleasant noise or intense vibration on the axis it is time to lubricate them Apply some lube on the axis with...

Page 27: ...ing Voges Phone Nr 34 956 37 2043 Whats app 34 652 24 7355 Skype liquidtrade E mail info rotulacionypublicidad com Declaration CURA software is owned by Ultimaker We use CURA to perform simple operati...

Page 28: ...six months from the date of receipt 2 Warranty coverage main board LCD panel the key board power switch motor and structural parts non artificial damage 3 Not covered by the warranty nozzle printing m...

Page 29: ...ion WB20141117 26 5 Repair charge If the replaced parts are not covered by the warranty or the machine is out of warranty the customer needs to pay for them For machines out of warranty customers need...

Reviews: