background image


4   


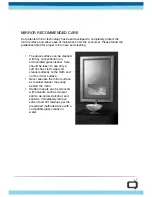
MIRROR RECOMMENDED CARE 

Our patented mirror technology has been developed to completely protect the 
mirror surface and allow ease of maintenance for the consumer. Please follow the 
guidelines listed for proper mirror care and cleaning: 


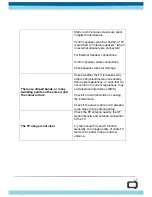
The glass surface can be cleaned 
with any conventional non-
ammoniated glass cleaner. Care 
should be taken to use only a 
soft lint-free cloth. Apply all 
cleaners directly to the cloth and 
not the mirror surface.  


Never saturate the mirror surface 
as residual cleaner may seep 
behind the mirror. 


Stubborn spots can be removed 
with solvents such as mineral 
spirits, de-natured alcohol, and 
acetone, Immediately remove 
solvent and dirt residues per the 
prescribed methods above with a 
compatible glass cleaner or 
water. 


Summary of Contents for Lifestyle LWB-47MBE

Page 1: ...1300 699 788 info liquifi com au Lifestyle Series LWB 47MBE INSTALLATION GUIDE...

Page 2: ...please go to www liquifi com au or call 1300 699 788 APPLICABLE MODELS This guide is applicable to the LWB 47MBE 47inch Mirror Frame TV PACKAGE CONTENTS Your television package should consist of the f...

Page 3: ...lay These conditions will diminish the television brightness and hinder its performance LIGHT DIRECTION Avoid directing lights toward the mirror Position lights such that they provide light on the per...

Page 4: ...th any conventional non ammoniated glass cleaner Care should be taken to use only a soft lint free cloth Apply all cleaners directly to the cloth and not the mirror surface Never saturate the mirror s...

Page 5: ...Interrupter GFCI to protect against electric shock fire and or injury Failure to do so will void any warranty for this product Only qualified individuals should attempt to service the product Removing...

Page 6: ...secured to the TV via M3 screws WARNING Do not handle or remove your television mirror from the packaging until it is ready to be installed To avoid damage to the television mirror only transport it...

Page 7: ...ld be installed directly behind the input panel at the rear of the television 3 Verify that the rough opening is to required dimensions for your television Not applicable for surface mounting The size...

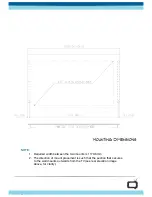
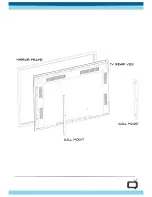
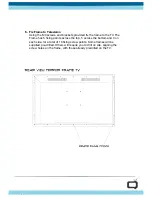
Page 8: ...1 Required width between the two mounts is 1170 6mm 2 The direction of mount placement is such that the section that secures to the wall mounts outwards from the TV see rear elevation image above for...

Page 9: ...9...

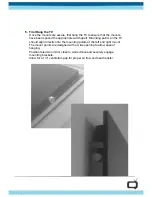
Page 10: ...art Mounting points on the TV should align directly onto the mounting points of the left and right mount The mount points are designed with a wide opening to allow ease of hanging Position television...

Page 11: ...11...

Page 12: ...the TV The Frame has 5 fixing points across the top 5 across the bottom and 3 on each side for a total of 16 fixing screw points Some frames will be supplied pre drilled Others will require you to dri...

Page 13: ...on test for vision and sound Test that the television turns on can read the connected inputs and that the sound works properly 10 Troubleshoot if issues are encountered If you have encountered issues...

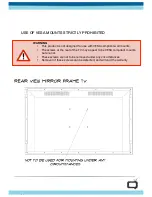
Page 14: ...s not designed for use with VESA compliant wall mounts The screws at the rear of the TV may appear to be VESA compliant mounts but are not These screws are not to be removed under any circumstances Re...

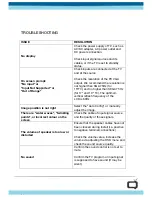
Page 15: ...9 TV The optimum vertical refresh frequency of the LCD is 60Hz Image position is not right Select the Auto Config or manually adjust the image There are water waves twinkling points or incorrect colou...

Page 16: ...ur is dark Check whether the TV is disturbed by other strong electrical sources nearby Some older appliances or ones that do not conform to current regulations may emit electrical interference EMS Che...

Page 17: ...17 NOTES...
Page 18: ...HE PERIOD SET FORTH LIQUIFI WILL NOT BE LIABLE FOR ANY LOSS DAMAGE DIRECT INCIDENTAL OR CONSEQUENTIAL DAMAGES OF ANY KIND WHETHER BASED UPON WARRANTY CONTRACT NEGLIGENCE OR STRICT LIABILITY OR ARISING...

Reviews: