background image


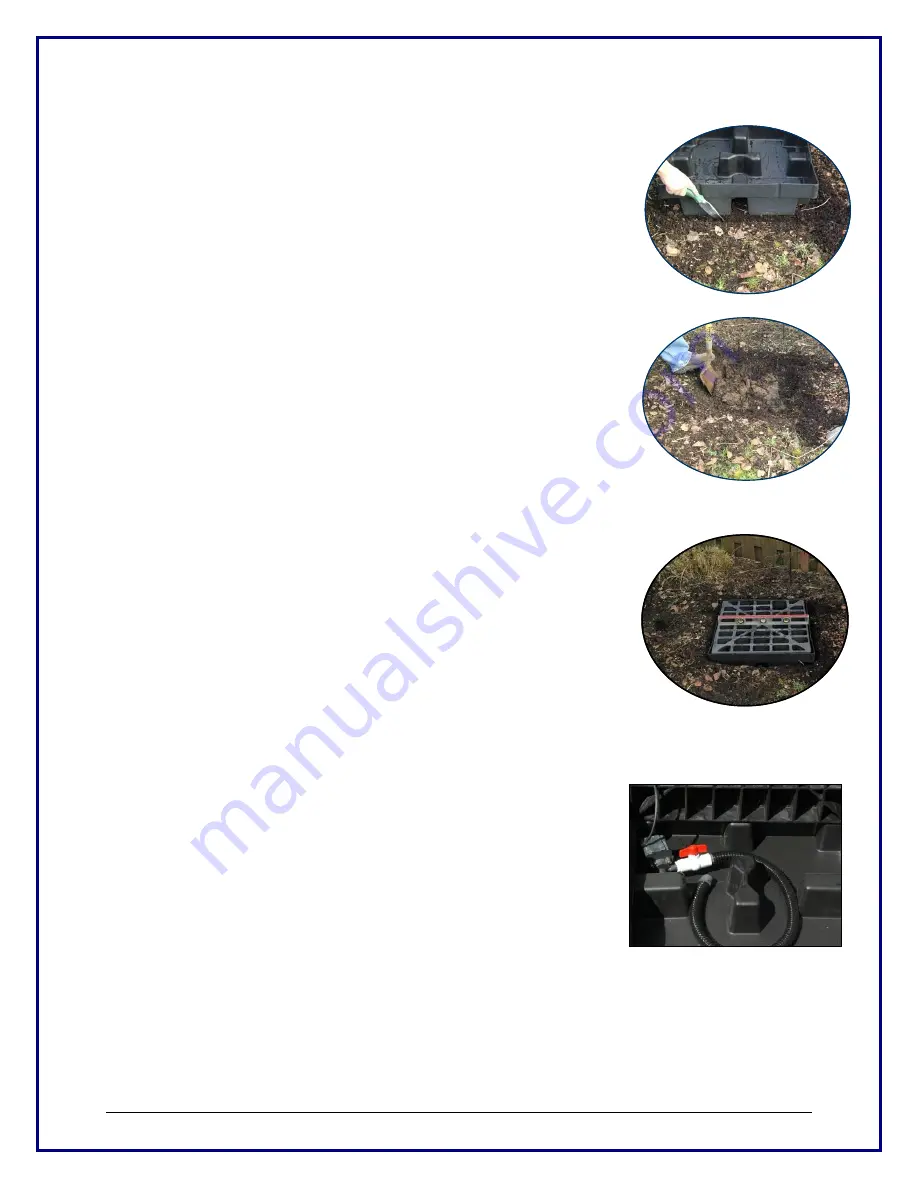
Step 1—Choosing Your Fountain Base Location


Choose a location for the 2’x2’ pondless reservoir. Use the base (or marker paint, 
if available), to mark the ground where the hole will be dug. 
 

NOTE: 

When choosing a location for your fountain, select an area large enough 

to accommodate the base AND any possible water overspray. The base should 
not be put near vegetation or structures that are not suitable for excessively wet 
conditions. 


Step 2—Digging the Fountain Base Hole


Follow the outline and dig a 6”-7” deep hole.  Make sure the top edge of the water 
reservoir is slightly above ground level to help keep debris from falling into the 
reservoir. 


Step 3—Leveling the Fountain Base


Insert the fountain base into the hole and use a level to make sure the base 
is even from front-to-front and side-to-side. If necessary, use crushed rock 
or gravel to level the ground beneath the fountain base, giving it a level, solid, foundation. 


Step 4—Assembling the Valve/Water Pump


Thread the valve assembly onto the water pump (in some cases, it is shipped 
already attached) and place the pump in the reservoir beneath the access hole in 
the grating. Wind the hose so that you can pull it up through holes near the 
center of the grate when the grate is installed.   

NOTE: The pump must lay on its side to fit properly inside the basin, and 
to allow clearance for the grate. 


Summary of Contents for Hollow Springs

Page 1: ...tain Kits Included Inside Step By Step Instructions Parts List Many color installation photographs Warranty Card Customer Survey for free Extended Warranty LiquidArt LLC 401 S Redwood St Canby OR 9701...

Page 2: ...trol valve with attached hose approximately 30 inches long NOTE Depending on which fountain kit you ordered you will also have either the Hollow Springs rock shown above center or the Klamath Basin ro...

Page 3: ...ve ground level to help keep debris from falling into the reservoir Step 3 Leveling the Fountain Base Insert the fountain base into the hole and use a level to make sure the base is even from front to...

Page 4: ...Bubbler Place the bubbler on top of the grating with the pipe center over the protruding hose Tilt the bubbler on its edge and thread the union and hose together as shown above right It should be don...

Page 5: ...brush until the efflorescence is gone This may need to be repeated until all the salt has been worked out of the rock The key is to not let any efflorescence dry If efflorescence has been allowed to...

Page 6: ...traveling along the cord The National Electric Code requires that a ground fault circuit interrupter GFCI be installed in the branch circuit supplying fountain or pond equipment LiquidArt has several...

Page 7: ...Removal and or disposal costs of defective or non defective product Freight and or shipping costs to return defective or non defective product to place of purchase or LiquidArt Additional Information...

Page 8: ...vailable to aid in purchasing decision 1 2 3 4 5 3 Helpfulness of salesperson in purchase 1 2 3 4 5 4 Helpfulness of installation manual 1 2 3 4 5 5 Ease of installation process 1 2 3 4 5 6 Price of P...

Reviews: